Getting Started
Manage Your Organization Members
Learn how to manage member roles, reset passwords, and view activity logs for users in your organization.
Step 1 of 14
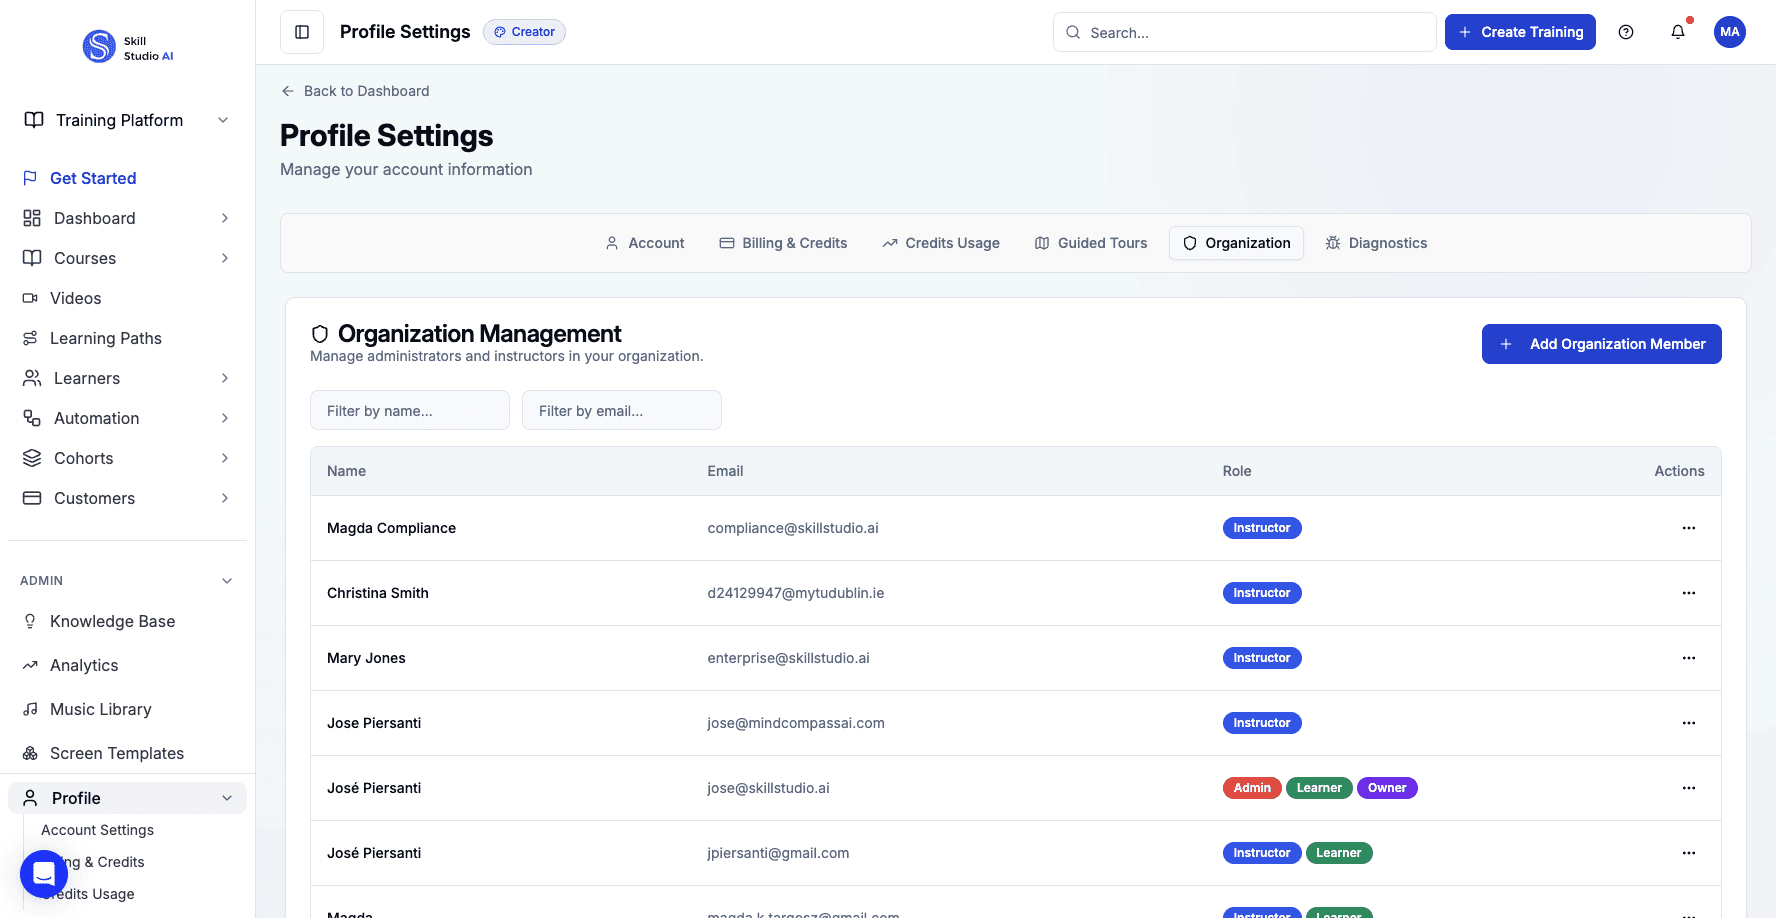
Click the Organization tab to access the member management interface.
Let me start by clicking on the Organization tab, where all of your member management tools are located.
Step 2 of 14
Click the actions menu for a team member to access management options.
You'll see each team member listed here. I'll open the actions menu for one of them to show you what options are available.

Step 3 of 14
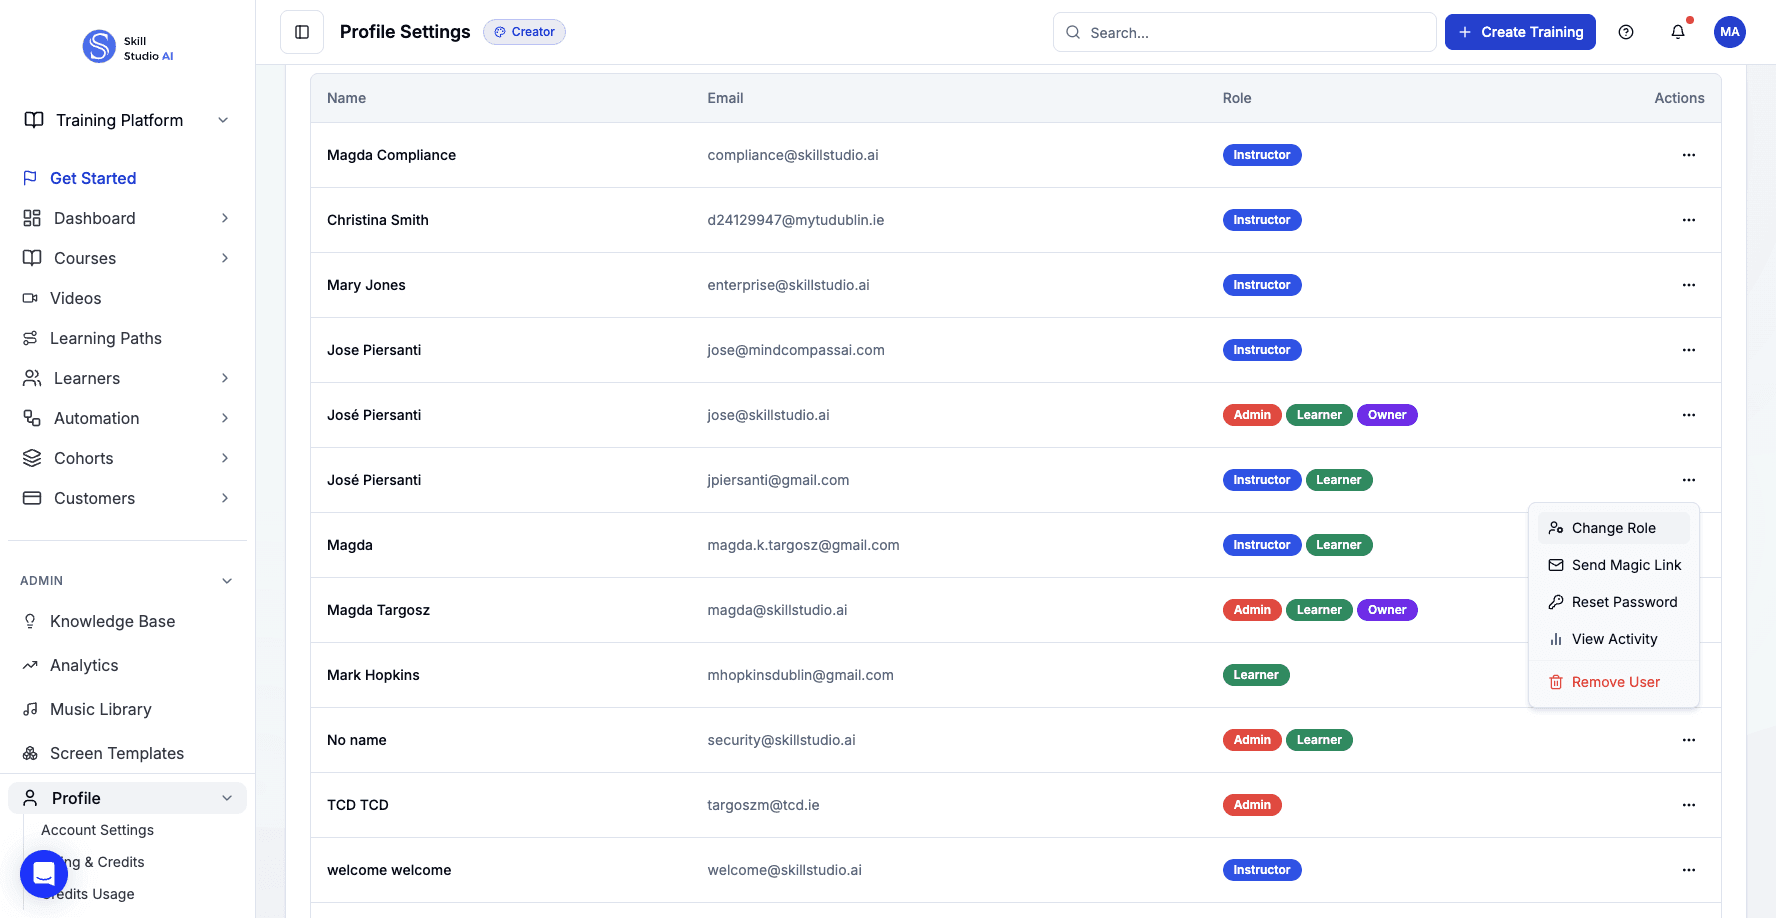
Select Change Role to update a team member's permissions and access level.
The first option here is Change Role, which lets you adjust a team member's permissions and what they can access in the system.
Step 4 of 14
Click Cancel to close the role change dialog without making updates.
For now, I'll just close this dialog without making any changes.

Step 5 of 14
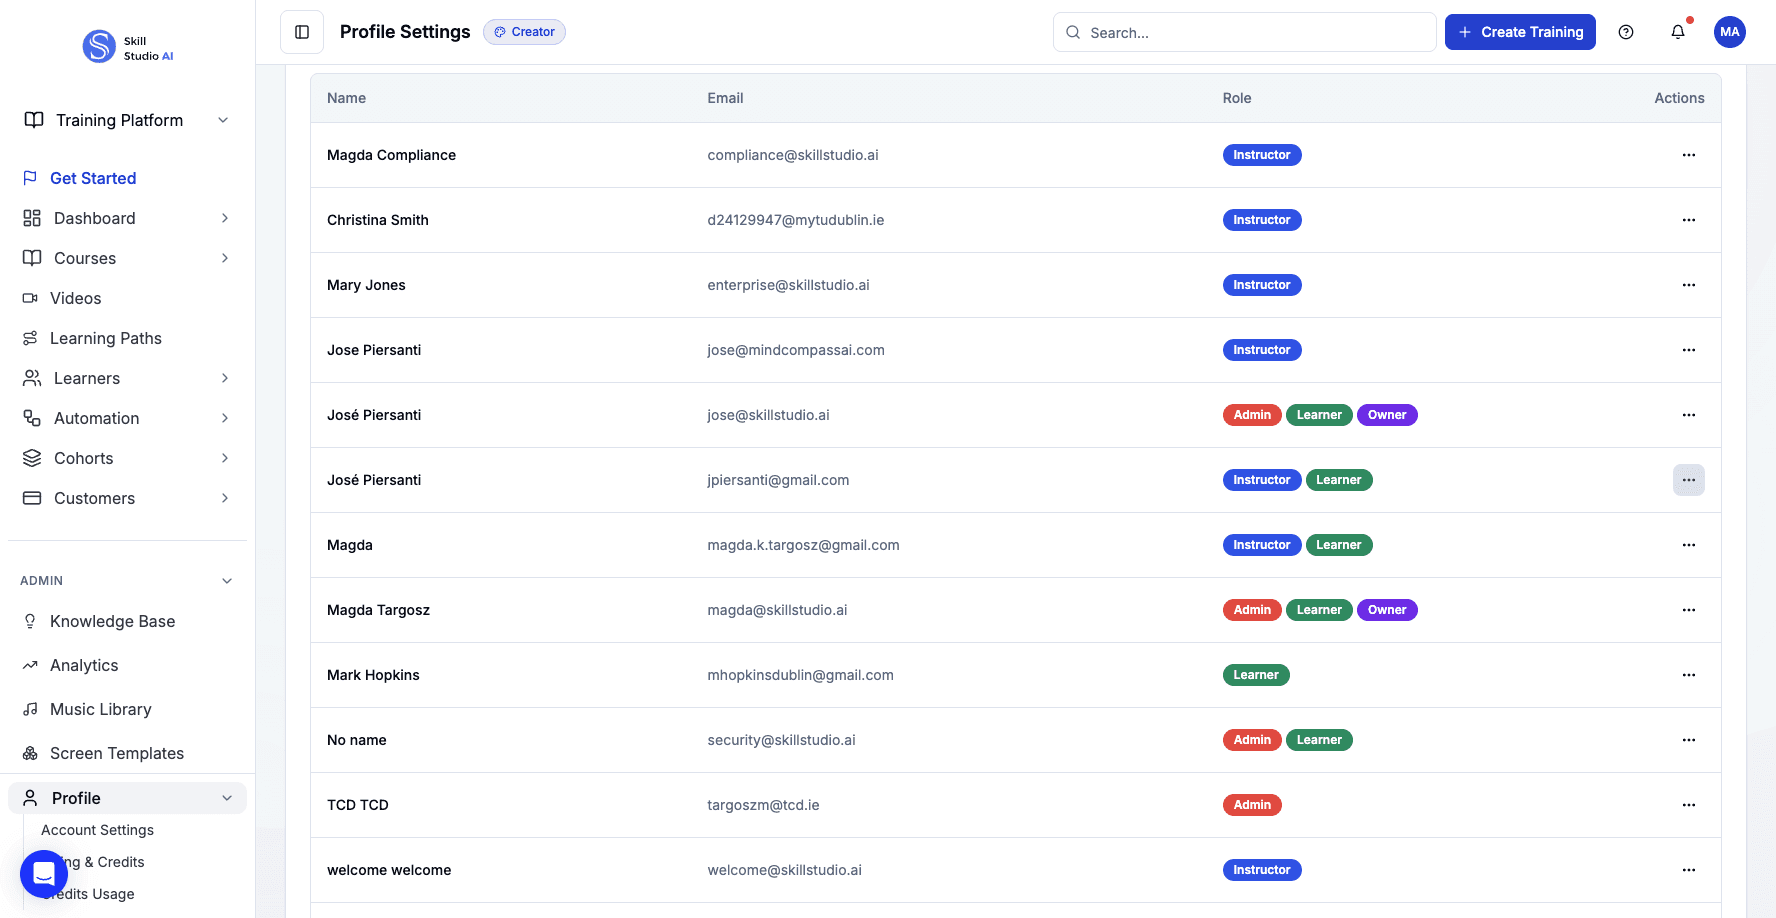
Open the actions menu again to explore additional member management options.
Let me open that actions menu again so you can see another useful feature.
Step 6 of 14
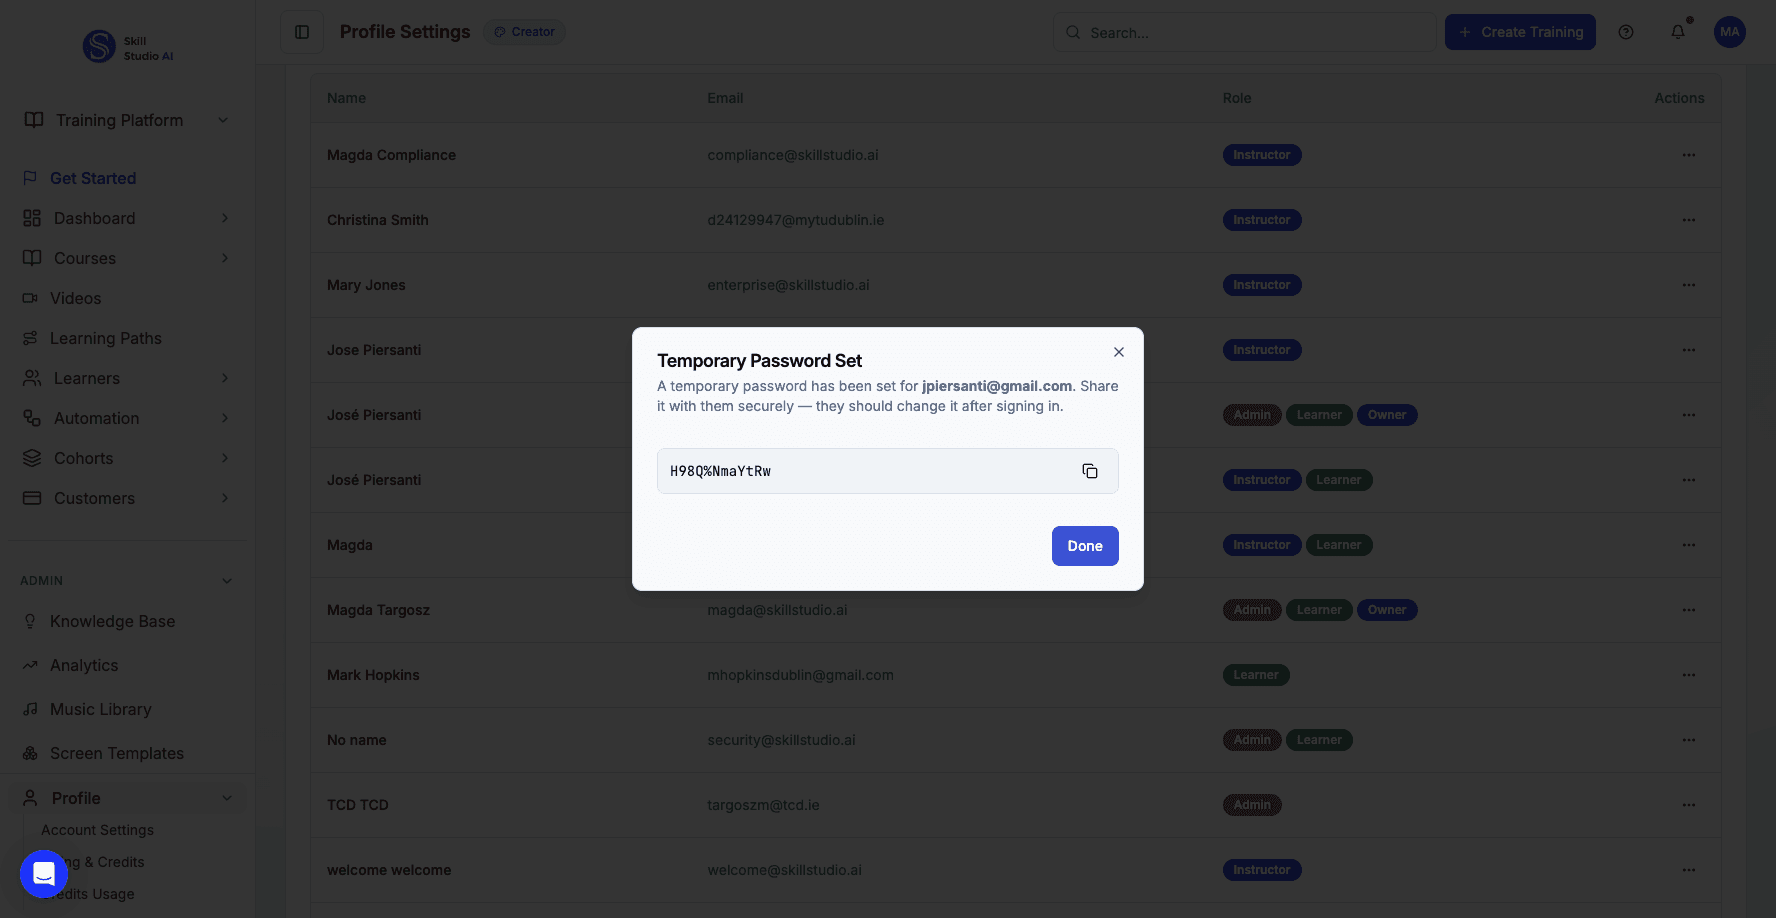
Select Reset Password to generate a new temporary password for the user.
Here's the Reset Password option, which creates a temporary password that you can share with the user if they're having trouble logging in.

Step 7 of 14
Click Done to confirm the password reset and close the dialog.
Once the password is reset, just click Done to finalize it.
Step 8 of 14
Open the actions menu once more to access user activity tracking.
I'll open the menu one more time to show you the activity tracking feature.

Step 9 of 14
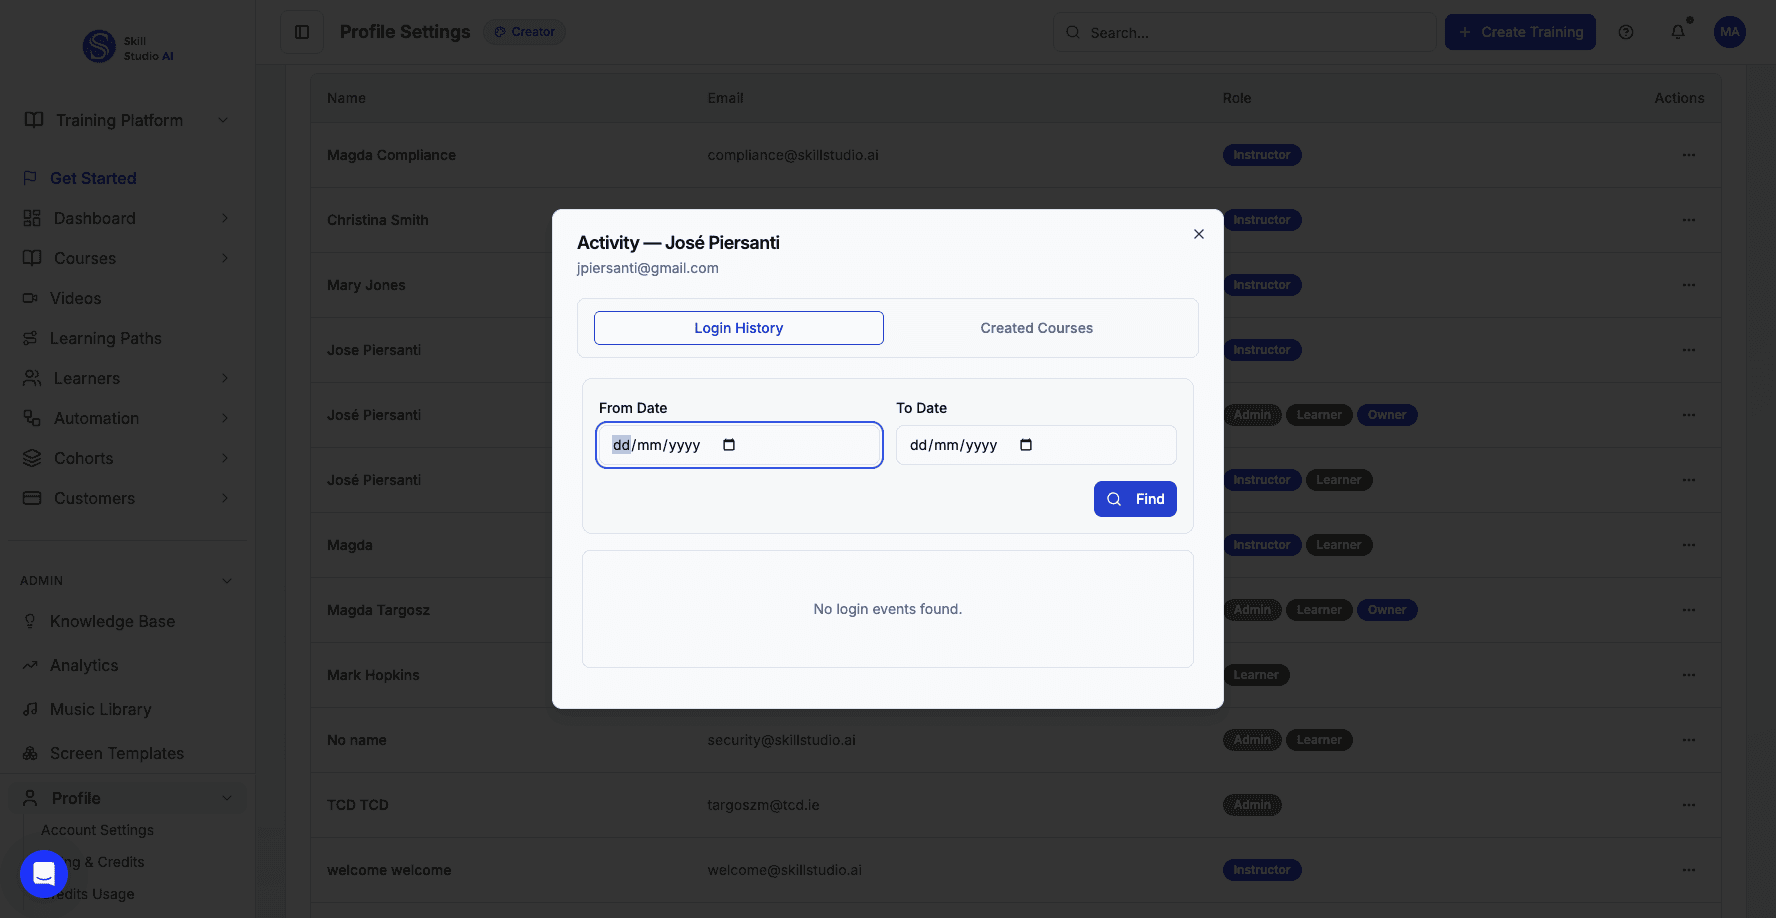
Select View Activity to see the user's login history and course creation.
When you select View Activity, you can see a detailed record of the user's login history and all the courses they've created.

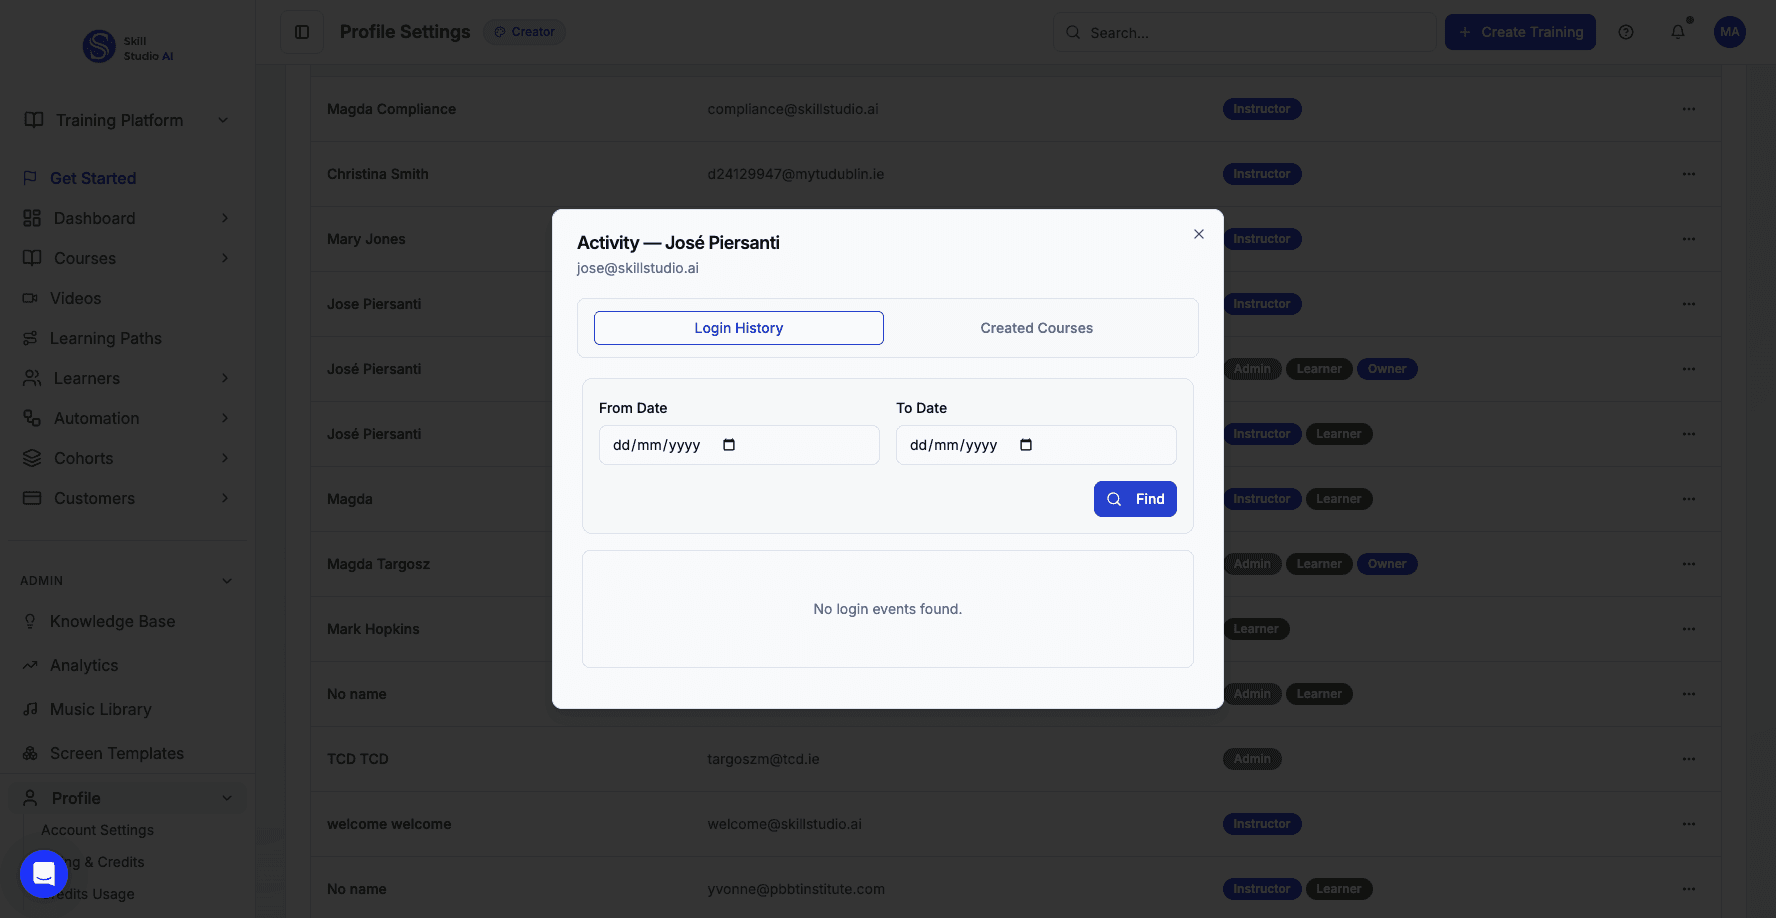
Step 10 of 14
Set the end date filter to complete your activity date range.
Then set your end date to complete the date range you want to review.
Step 11 of 14
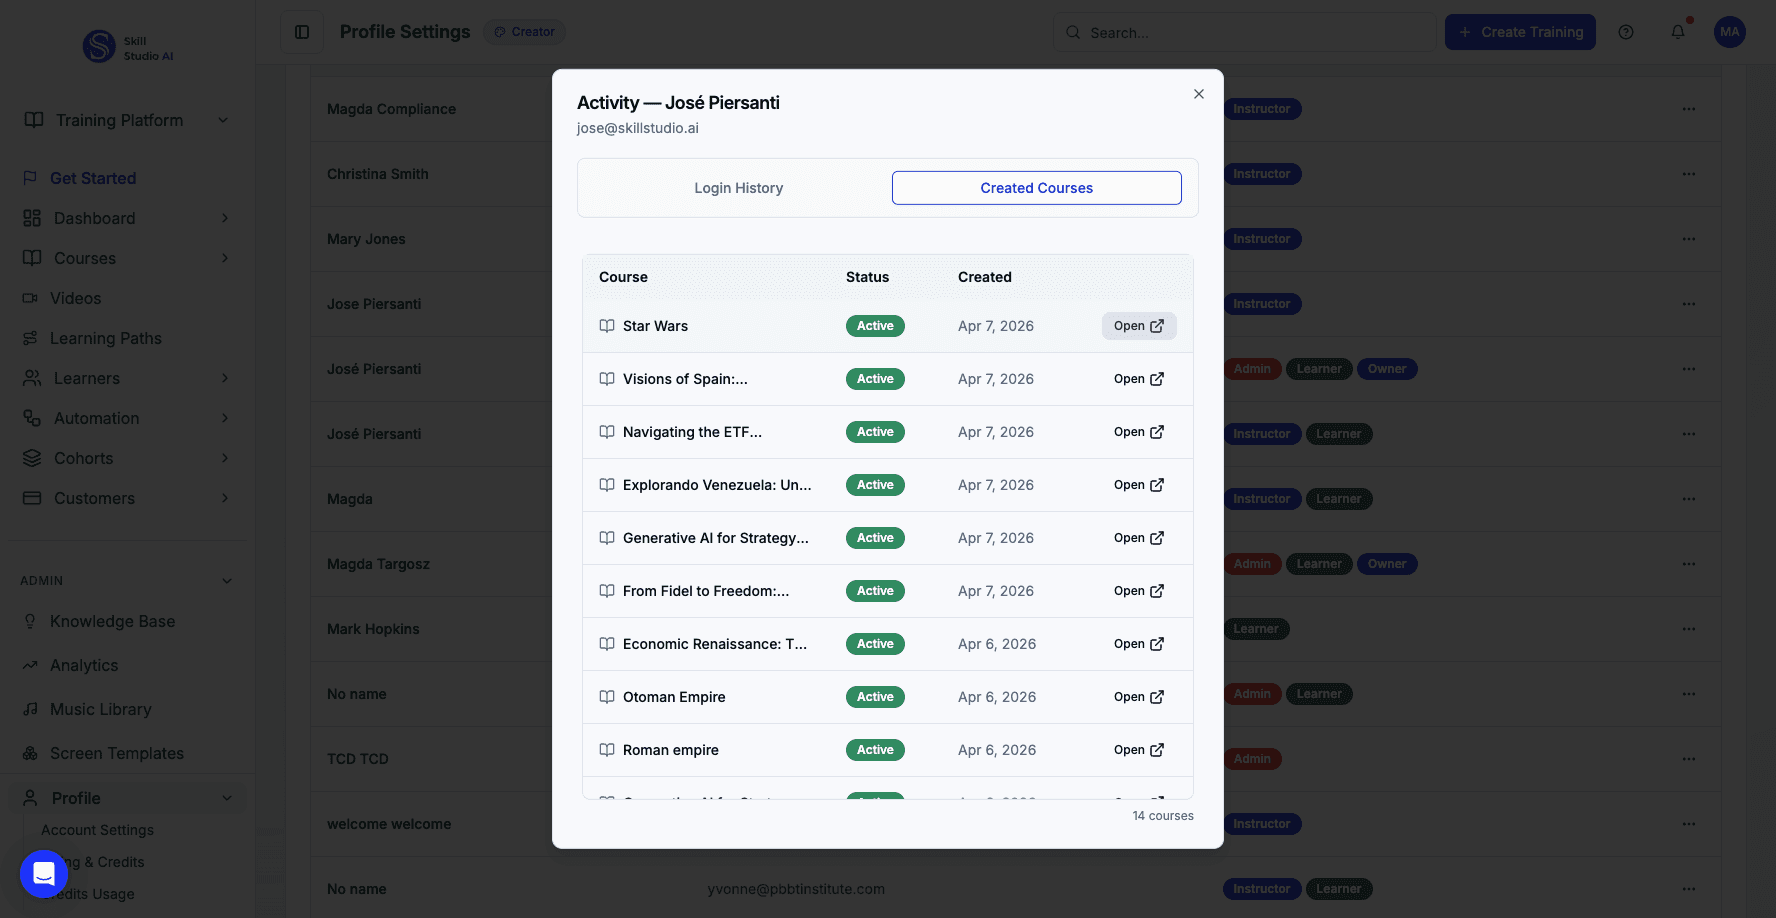
Switch to the Created Courses tab to review the user's course portfolio.
Switching to Created Courses shows you their complete portfolio of training content.
Step 12 of 14
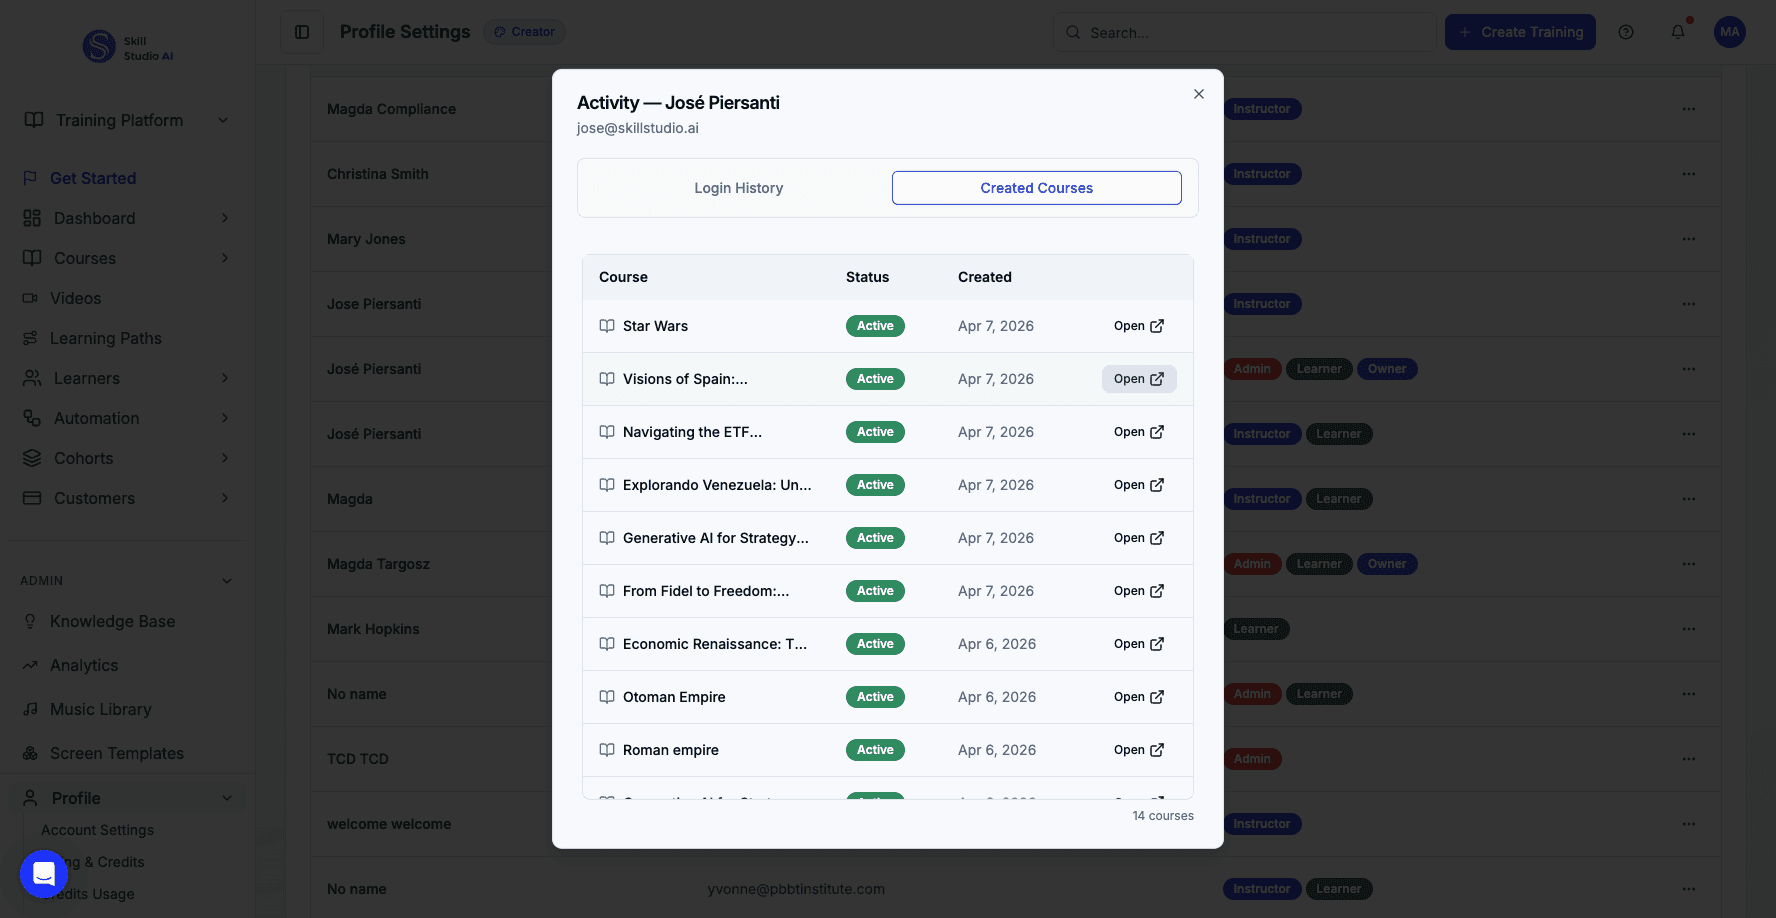
Click Open next to a course to view or edit it directly from the activity list.
If you want to see the actual course content, just click Open next to any course in the list.
Step 13 of 14
Click another Open button to navigate to a different course this user created.
You can open any course directly from here to review or edit it.
Step 14 of 14
This is the full course editing interface where you can review all screens and content blocks.
This takes you right into the full course editor where you can see all the screens, content blocks, and everything else the user has built.
You're all set!
You now know how to manage organization members, modify their roles, reset passwords, and track their course creation activity.
Other Platform Tutorials
" width="127.00000416148792px"><path d="M 34.636 96.693 C 34.636 104.66 34.81 110.758 35.012 115.183 C 35.329 122.001 40.986 127 47.625 127 C 54.264 127 59.921 122.001 60.238 115.183 C 60.44 110.758 60.614 104.66 60.614 96.693 C 60.614 88.727 60.44 82.628 60.238 78.203 C 59.921 71.386 54.264 66.386 47.625 66.386 C 40.986 66.386 35.329 71.386 35.012 78.203 C 34.81 82.628 34.636 88.727 34.636 96.693 M 30.307 34.636 C 22.34 34.636 16.242 34.81 11.817 35.012 C 4.999 35.329 0 40.986 0 47.625 C 0 54.264 4.999 59.921 11.817 60.238 C 16.242 60.44 22.34 60.614 30.307 60.614 C 38.273 60.614 44.372 60.44 48.797 60.238 C 55.614 59.921 60.614 54.264 60.614 47.625 C 60.614 40.986 55.614 35.329 48.797 35.012 C 44.372 34.81 38.273 34.636 30.307 34.636 M 96.693 92.364 C 104.66 92.364 110.758 92.19 115.183 91.988 C 122.001 91.671 127 86.014 127 79.375 C 127 72.736 122.001 67.079 115.183 66.762 C 110.758 66.56 104.66 66.386 96.693 66.386 C 88.727 66.386 82.628 66.56 78.203 66.762 C 71.386 67.079 66.386 72.736 66.386 79.375 C 66.386 86.014 71.386 91.671 78.203 91.988 C 82.628 92.19 88.727 92.364 96.693 92.364 M 92.364 30.307 C 92.364 22.34 92.19 16.242 91.988 11.817 C 91.671 4.999 86.014 0 79.375 0 C 72.736 0 67.079 4.999 66.762 11.817 C 66.56 16.242 66.386 22.34 66.386 30.307 C 66.386 38.273 66.56 44.372 66.762 48.797 C 67.079 55.614 72.736 60.614 79.375 60.614 C 86.014 60.614 91.671 55.614 91.988 48.797 C 92.19 44.372 92.364 38.273 92.364 30.307" fill="rgb(143, 191, 250)" height="127.00000416148792px" id="QYbpY2x7X" width="127.00000416148792px"/><path d="M 46.465 0 C 38.316 0 31.75 6.685 31.75 14.79 C 31.75 22.208 37.341 28.823 45.166 28.864 C 48.482 28.879 51.797 28.759 55.104 28.503 C 57.852 28.296 60.046 26.128 60.287 23.382 C 60.576 20.054 60.643 16.614 60.605 13.537 C 60.507 5.735 53.975 0 46.465 0 M 0 80.535 C 0 88.684 6.685 95.25 14.79 95.25 C 22.208 95.25 28.823 89.659 28.864 81.834 C 28.879 78.518 28.759 75.203 28.503 71.896 C 28.296 69.148 26.128 66.954 23.382 66.713 C 20.108 66.447 16.822 66.341 13.537 66.395 C 5.735 66.493 0 73.025 0 80.538 M 80.535 127 C 88.684 127 95.25 120.315 95.25 112.21 C 95.25 104.792 89.659 98.177 81.834 98.136 C 78.518 98.121 75.203 98.241 71.896 98.497 C 69.148 98.704 66.954 100.872 66.713 103.618 C 66.447 106.892 66.341 110.178 66.395 113.463 C 66.493 121.265 73.025 127 80.538 127 M 127 46.465 C 127 38.316 120.315 31.75 112.21 31.75 C 104.792 31.75 98.177 37.341 98.136 45.166 C 98.121 48.482 98.241 51.797 98.497 55.104 C 98.704 57.852 100.872 60.046 103.618 60.287 C 106.946 60.576 110.383 60.642 113.463 60.605 C 121.265 60.507 127 53.975 127 46.465" fill="rgb(40, 89, 197)" height="126.99999098710076px" id="T8KewQXUv" width="126.99999098710093px"/></g></svg>)