How-To
Magda
Add all screen types to a training course
82 steps
Add Content Screens to Your Course
Learn how to add all available screen types to build a complete training course with interactive and engaging content.
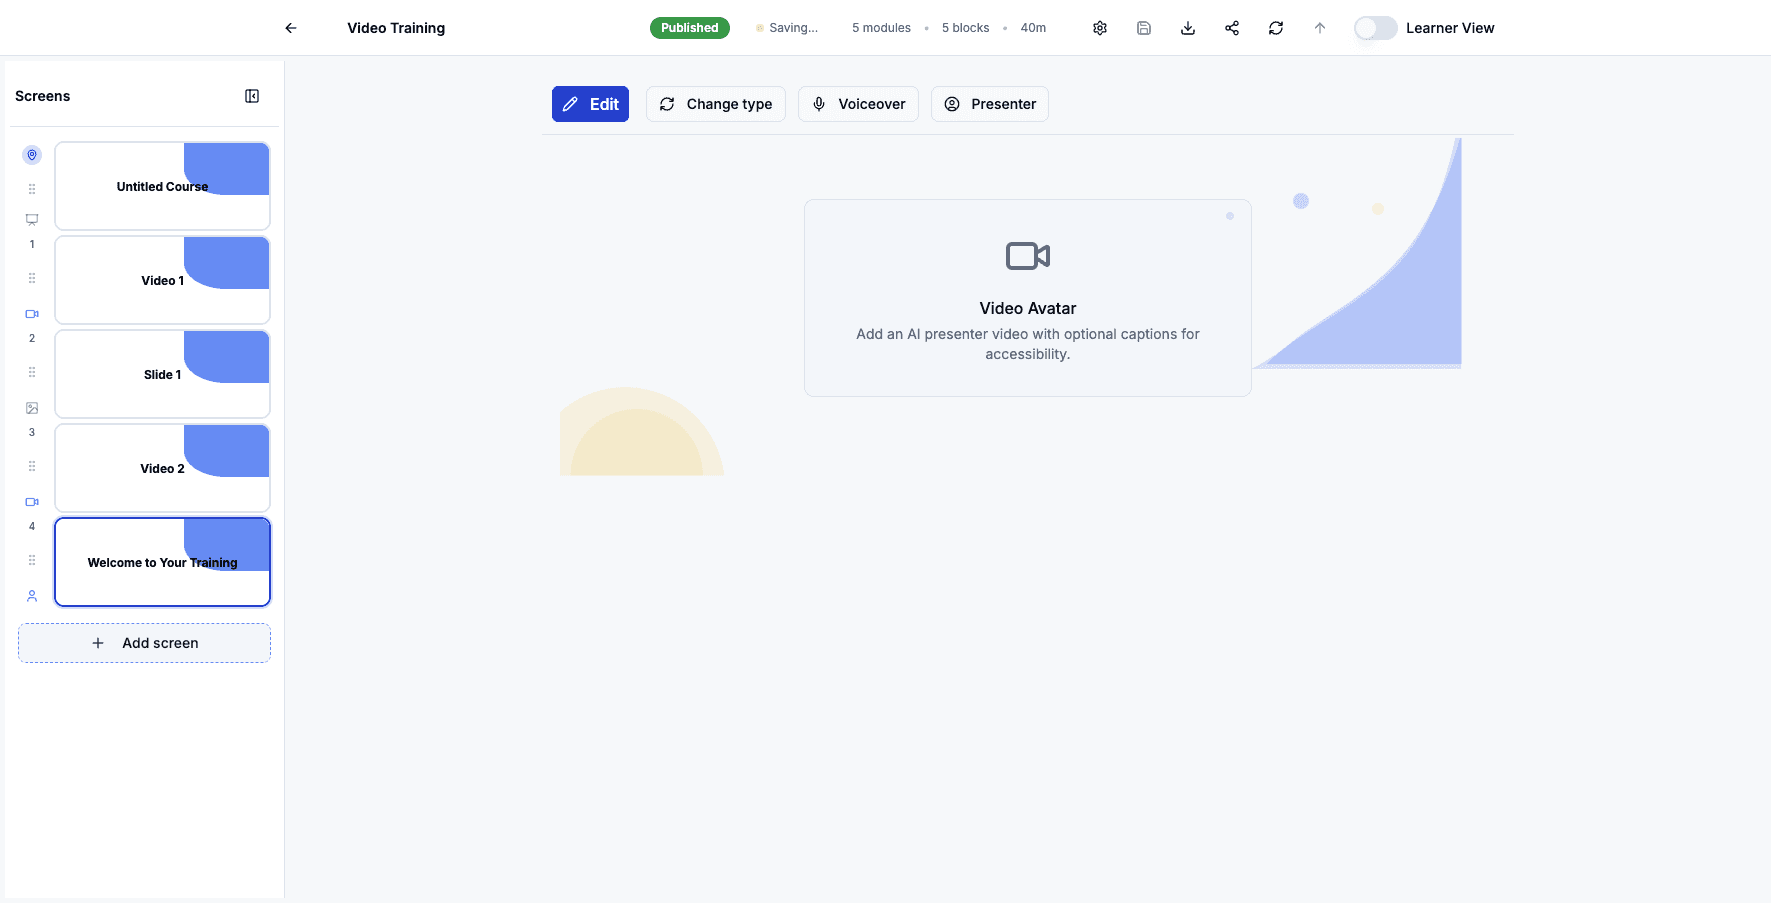
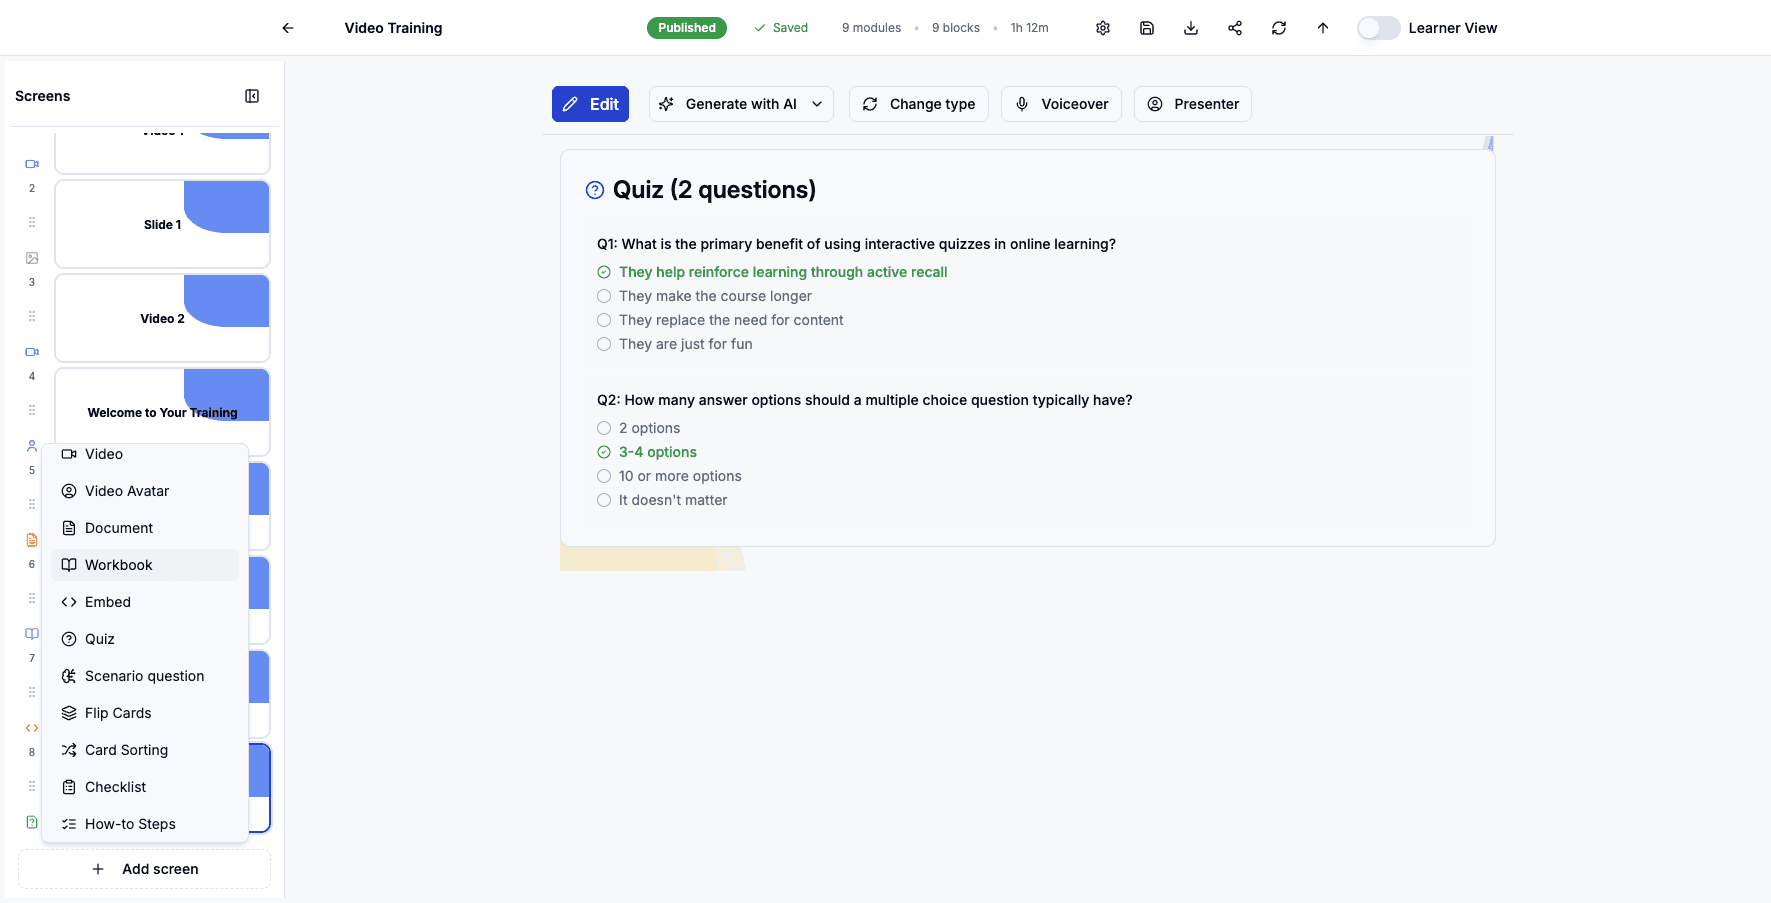
Step 1 of 82
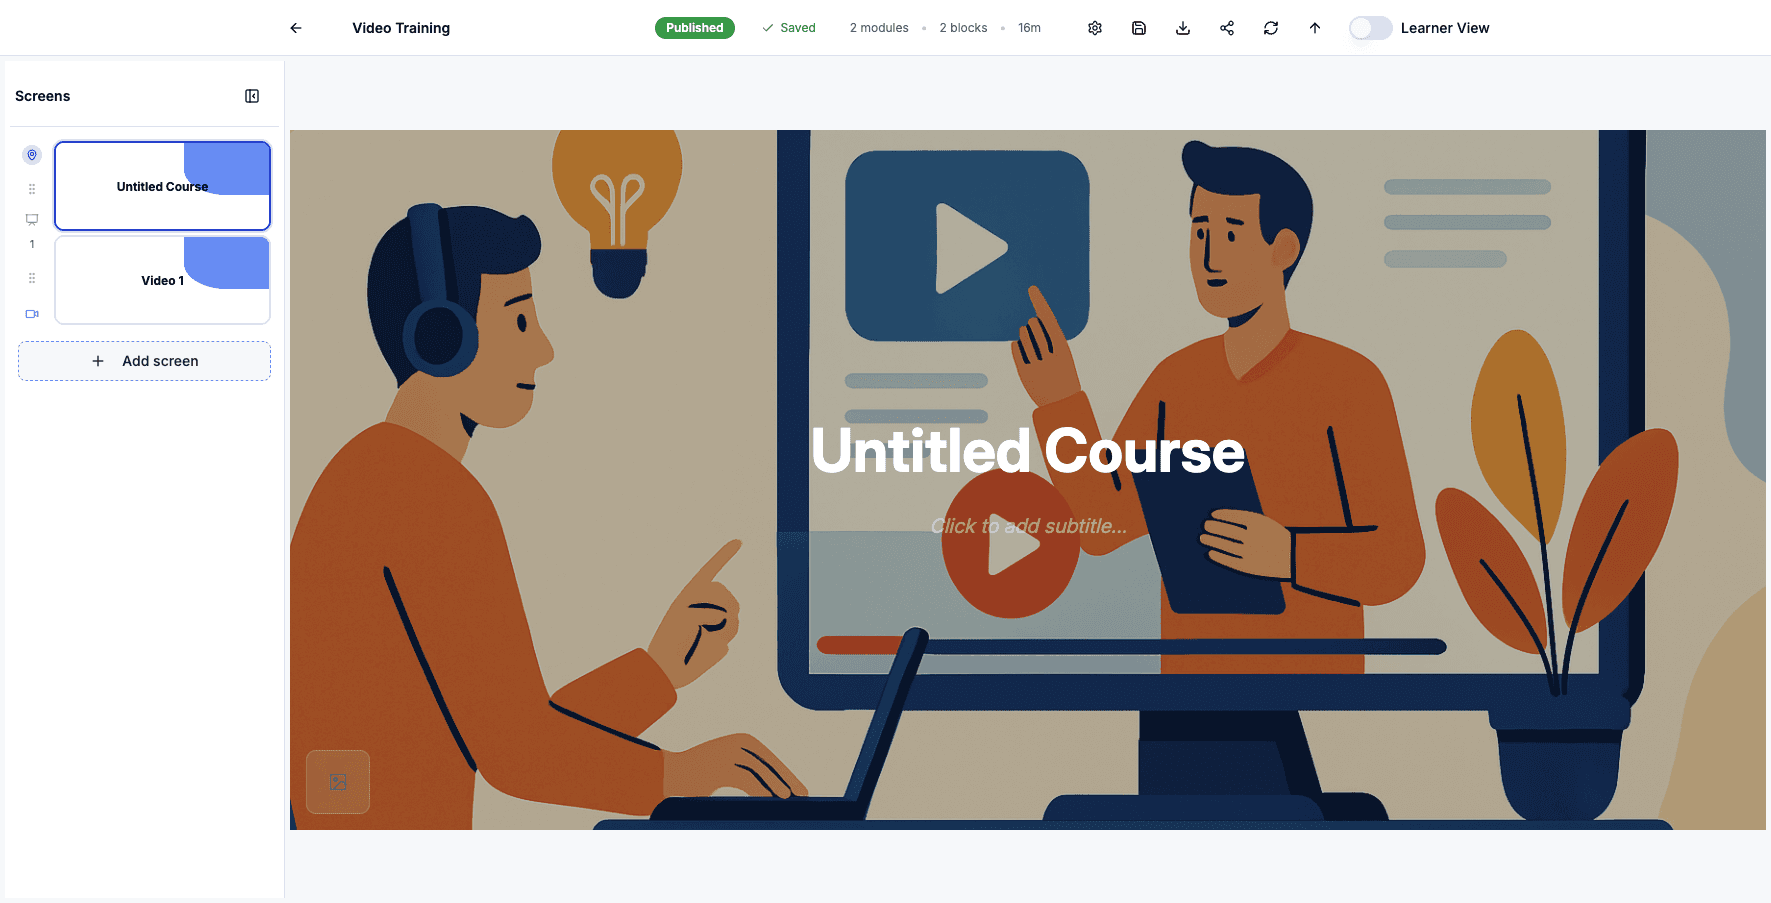
Click Add screen to view all available content types you can add to your course.
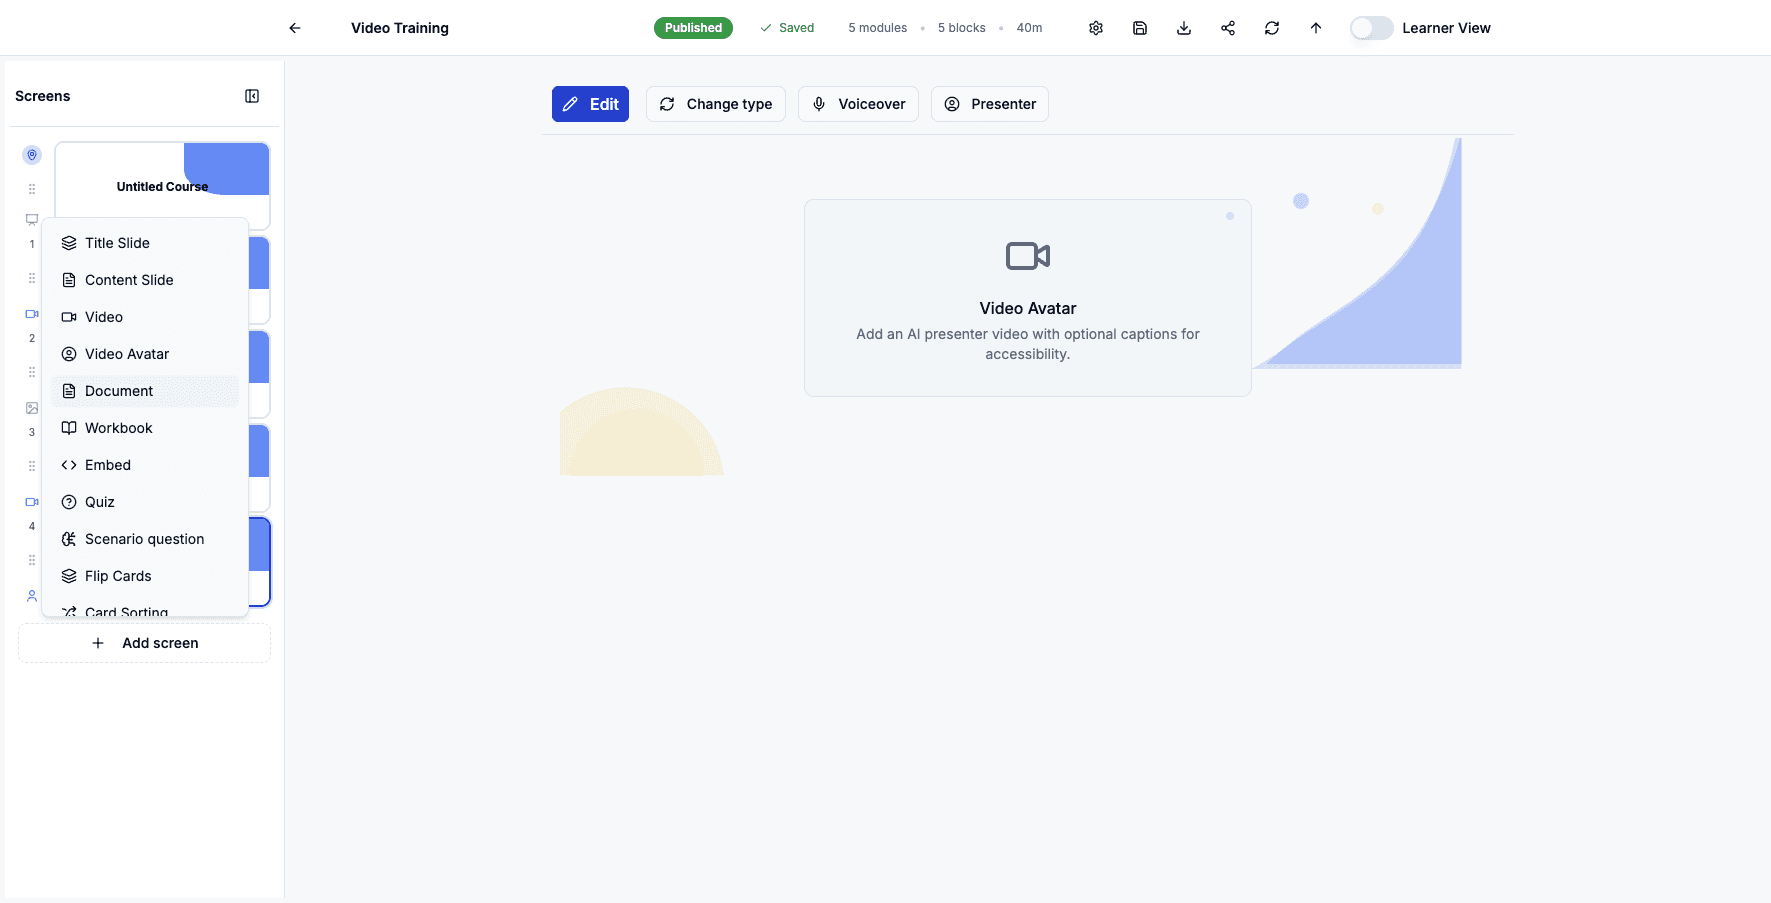
Step 2 of 82
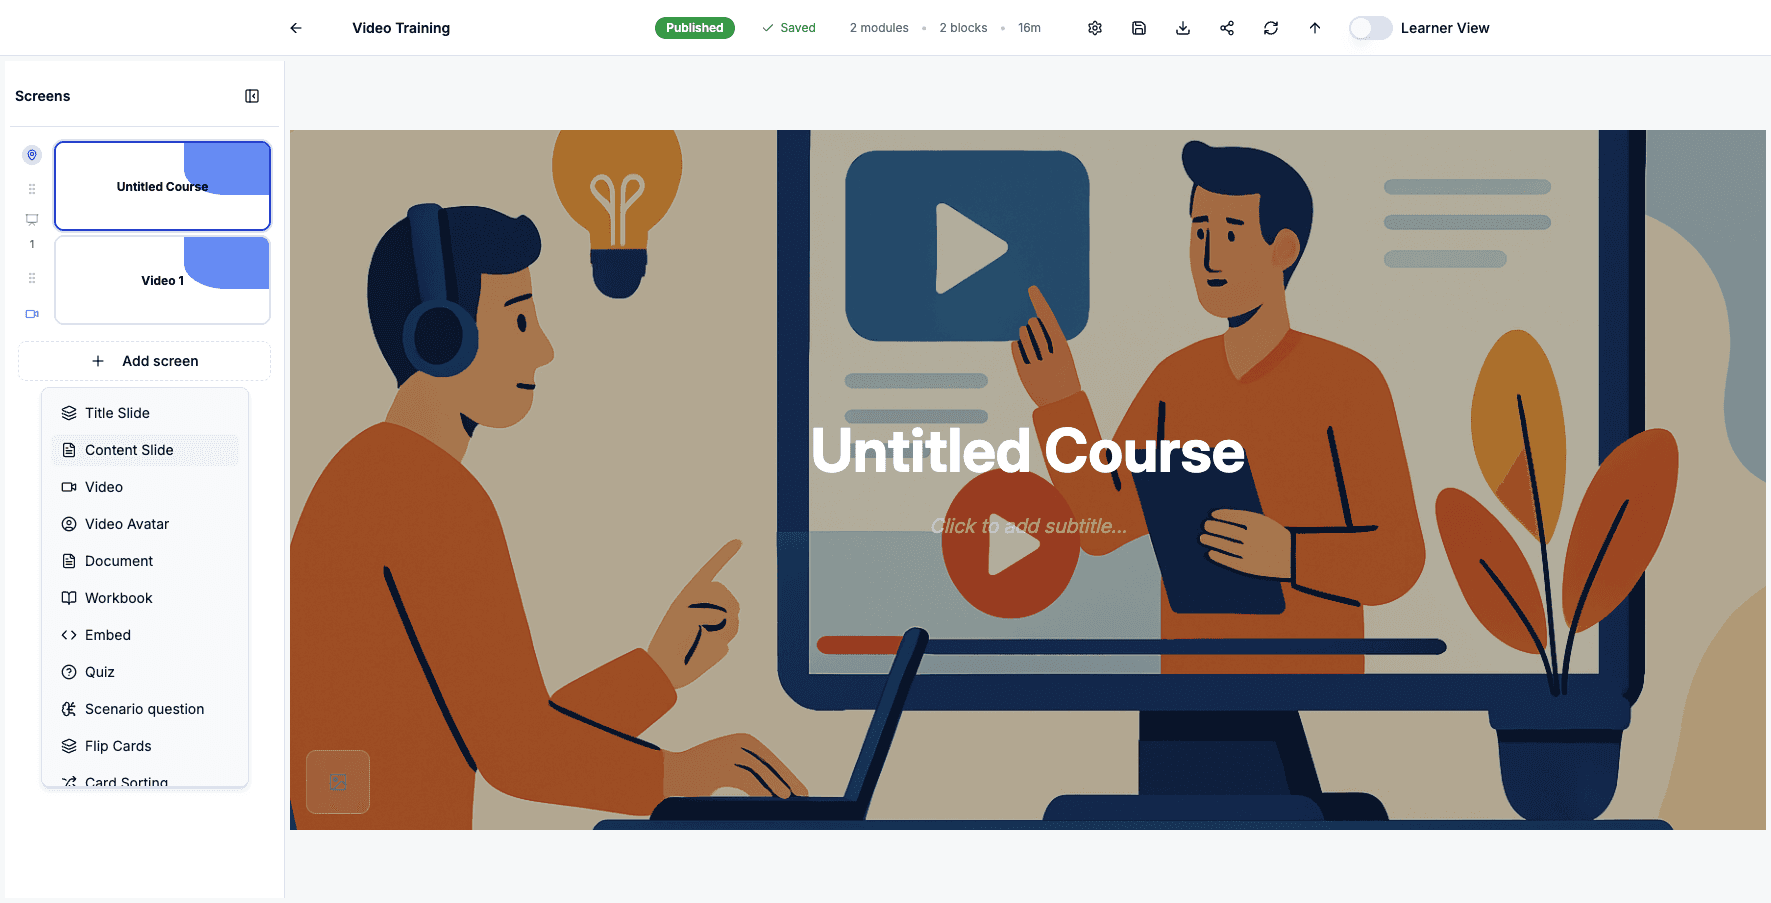
Select Content Slide to add a text and image-based lesson screen to your course.
Step 3 of 82
Click Add screen again to continue adding different content types to your training.
Step 4 of 82
Select Video to add a video lesson that learners can watch within the course.

Step 5 of 82
Click Add screen to explore more interactive content options for your learners.

Step 6 of 82
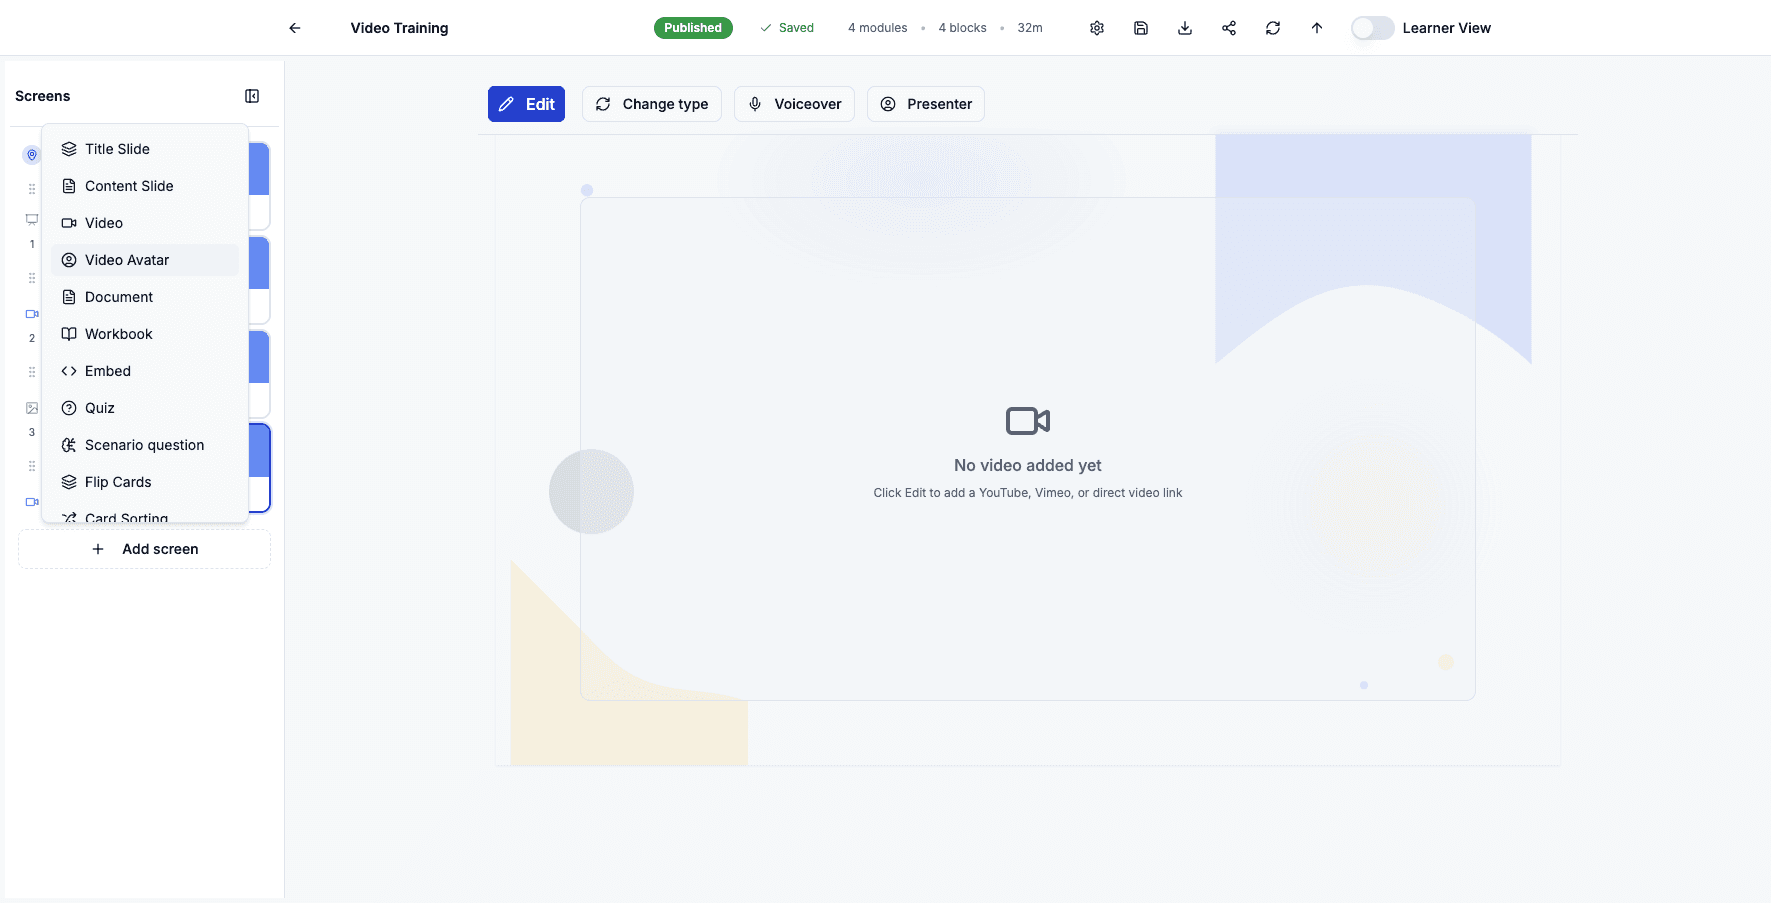
Select Video Avatar to add an AI-powered presenter video with optional captions for accessibility.
Step 7 of 82
Click Add screen to continue building out your course with additional content types.
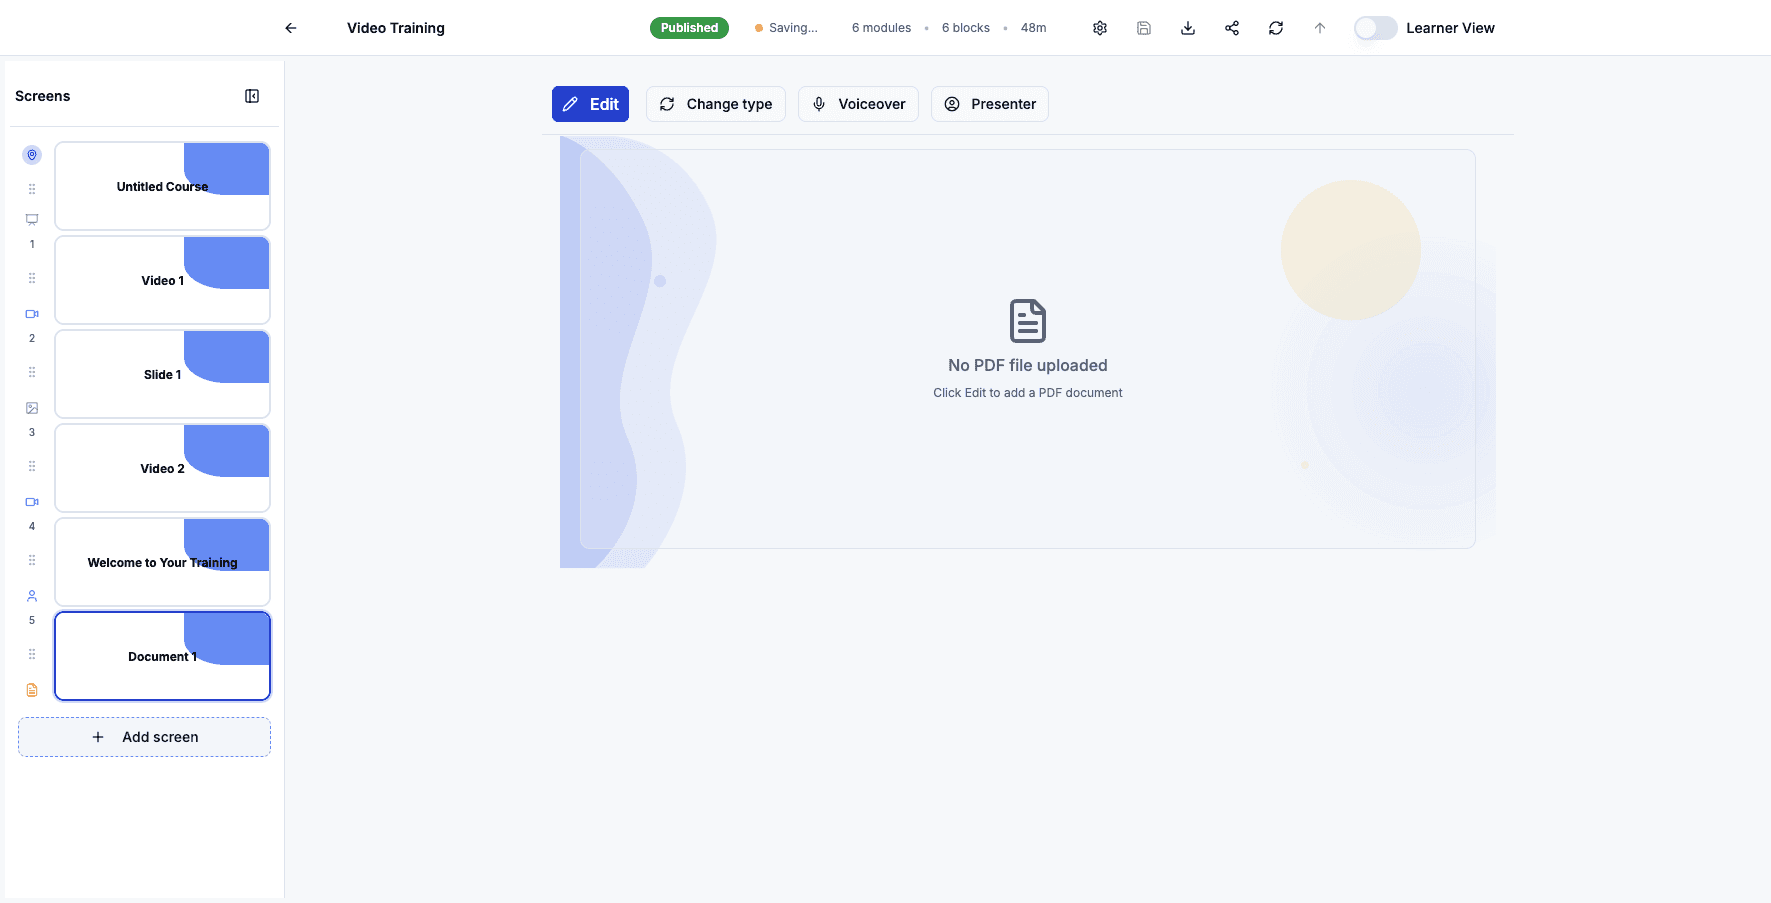
Step 8 of 82
Select Document to add a PDF file that learners can view or download as reference material.
Step 9 of 82
Click Add screen to add more interactive learning activities to your course.
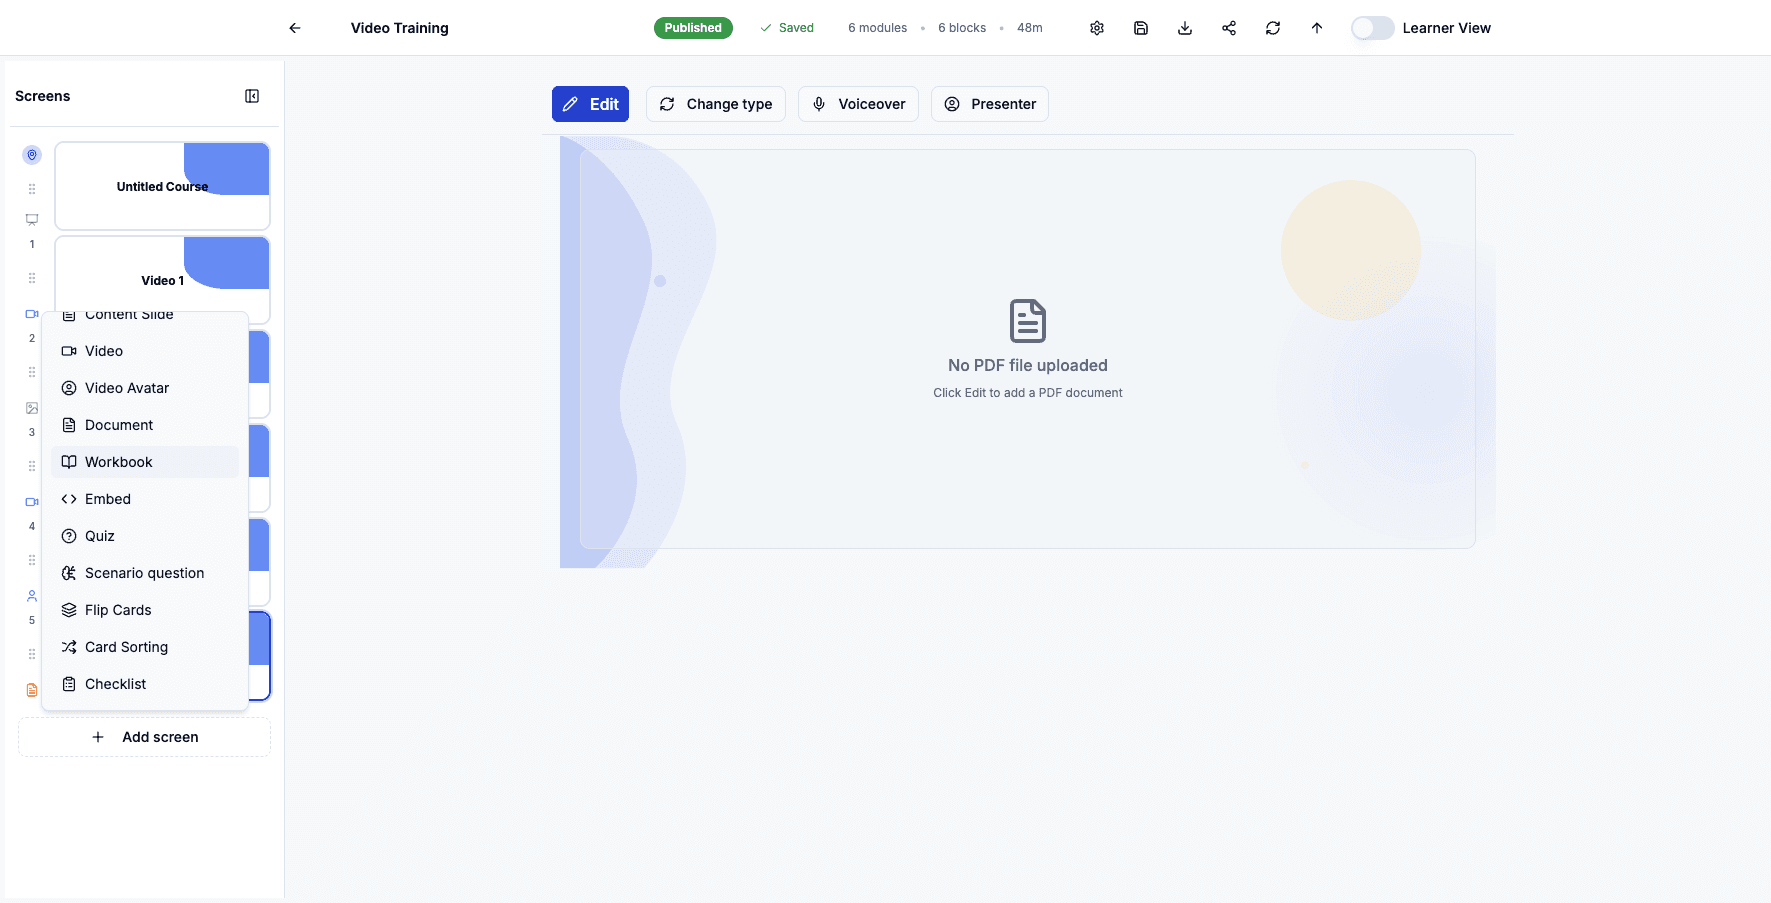
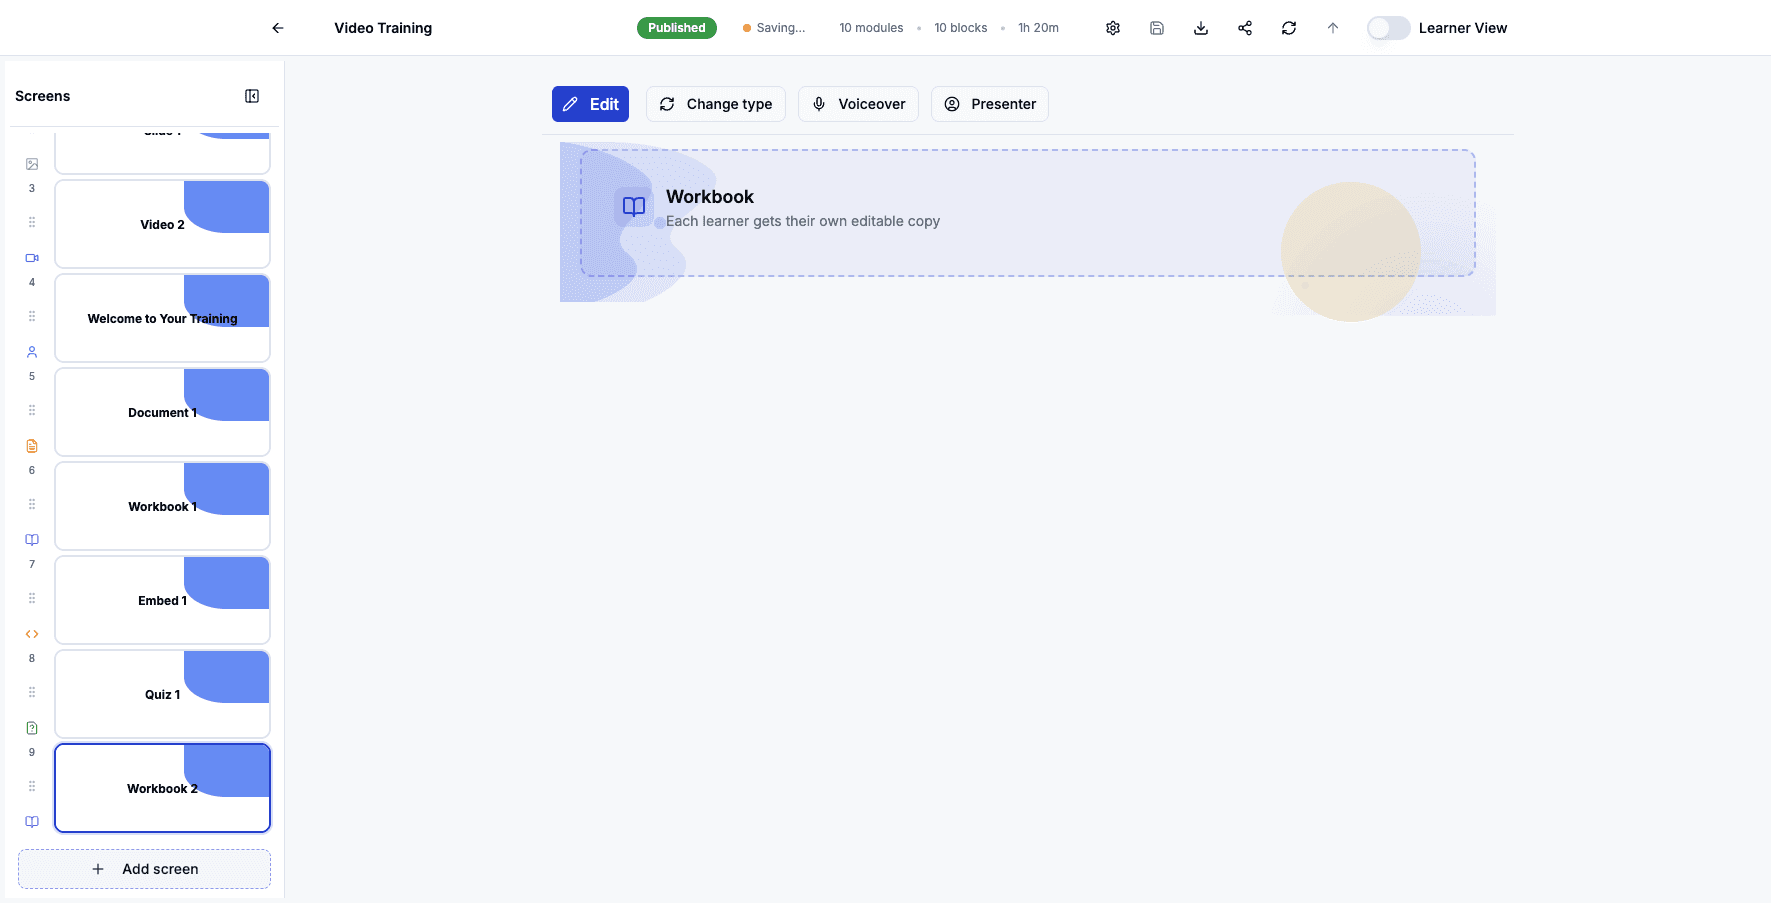
Step 10 of 82
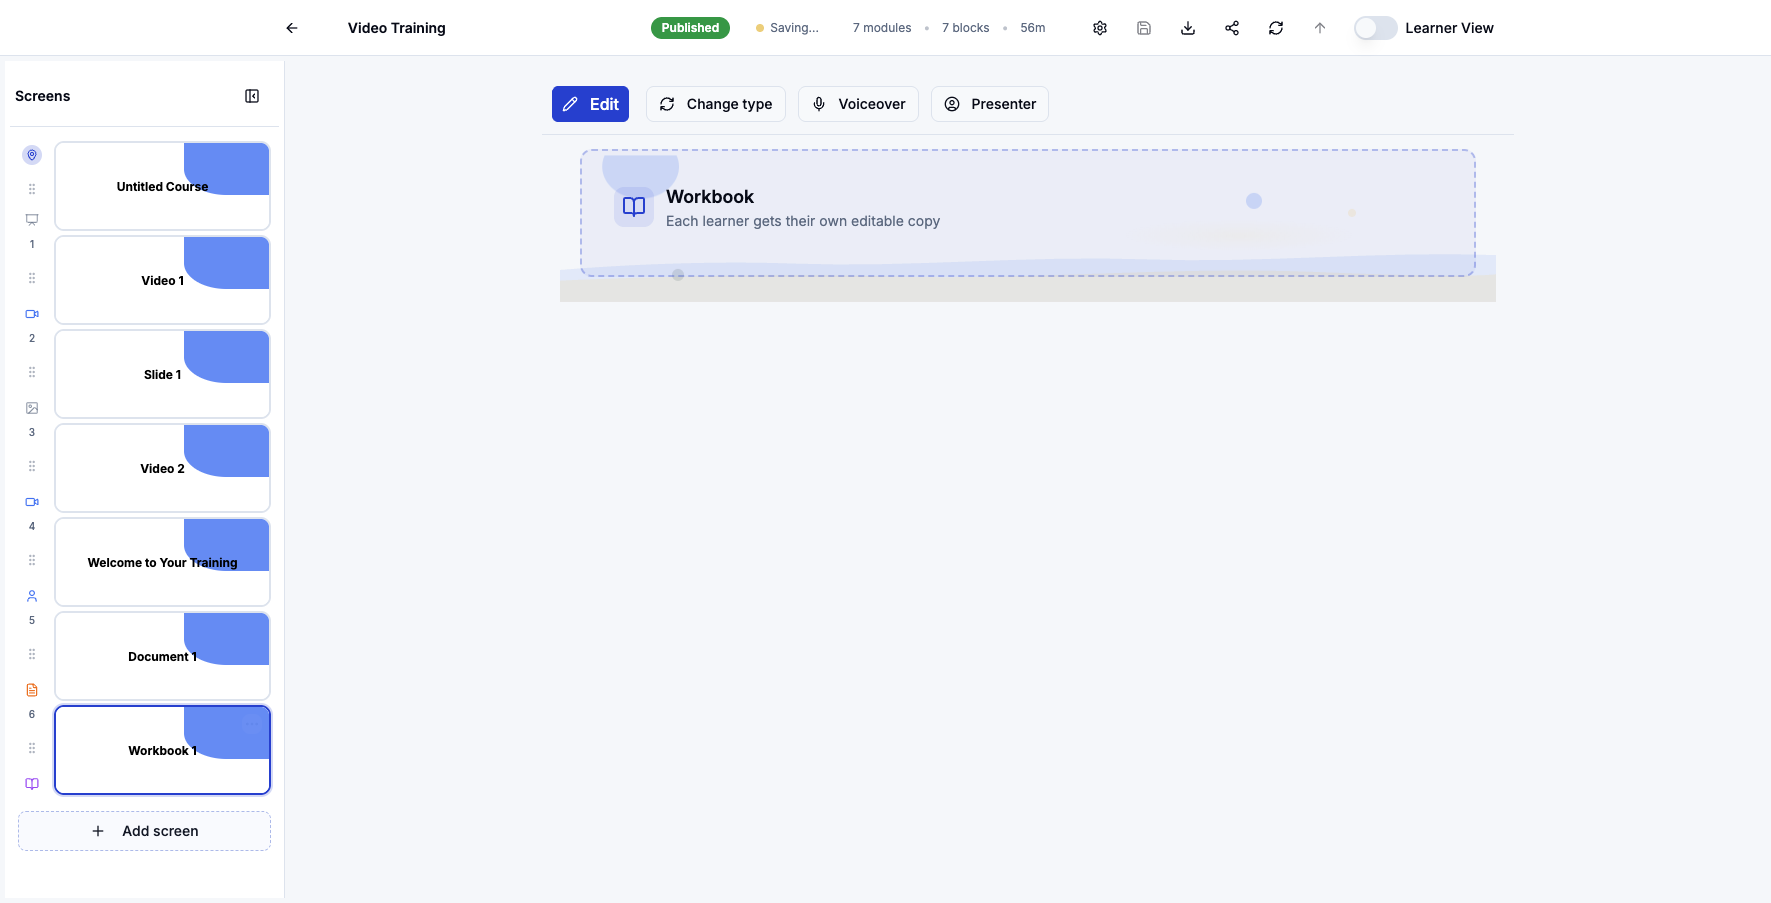
Select Workbook to add an editable document that each learner receives their own copy of.
Step 11 of 82
Click Add screen to continue expanding your course with more content options.
Step 12 of 82
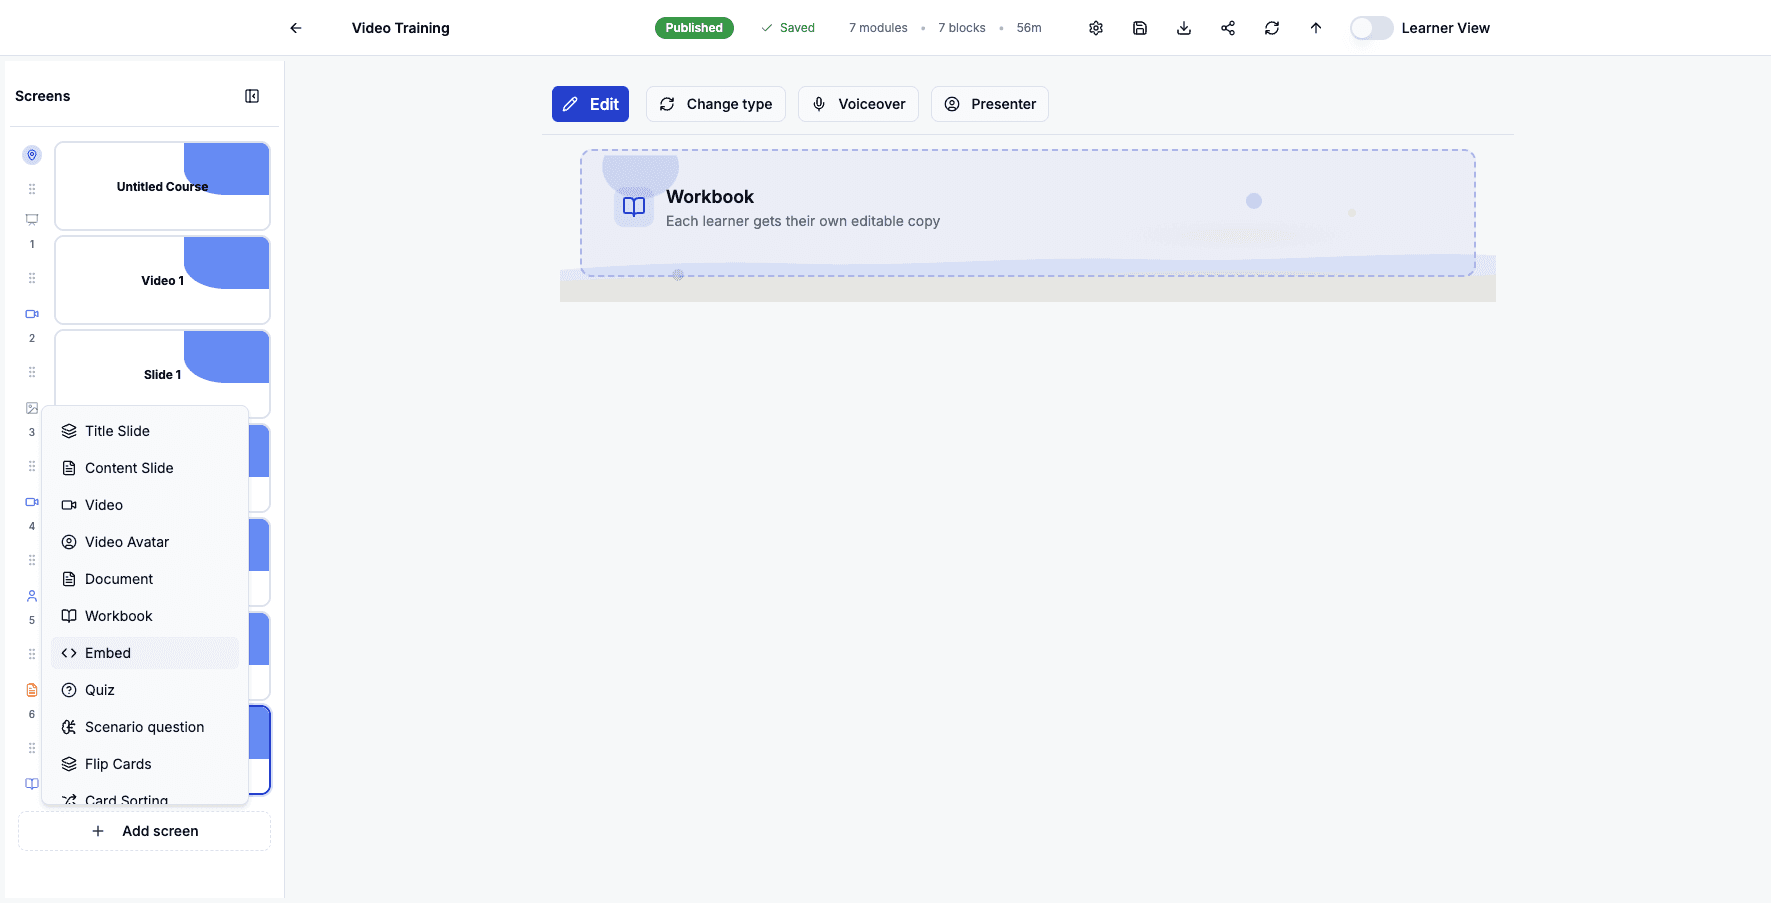
Select Embed to add external content like websites, forms, or embedded applications.
Step 13 of 82
Click Add screen to add assessment components to test learner knowledge.
Step 14 of 82
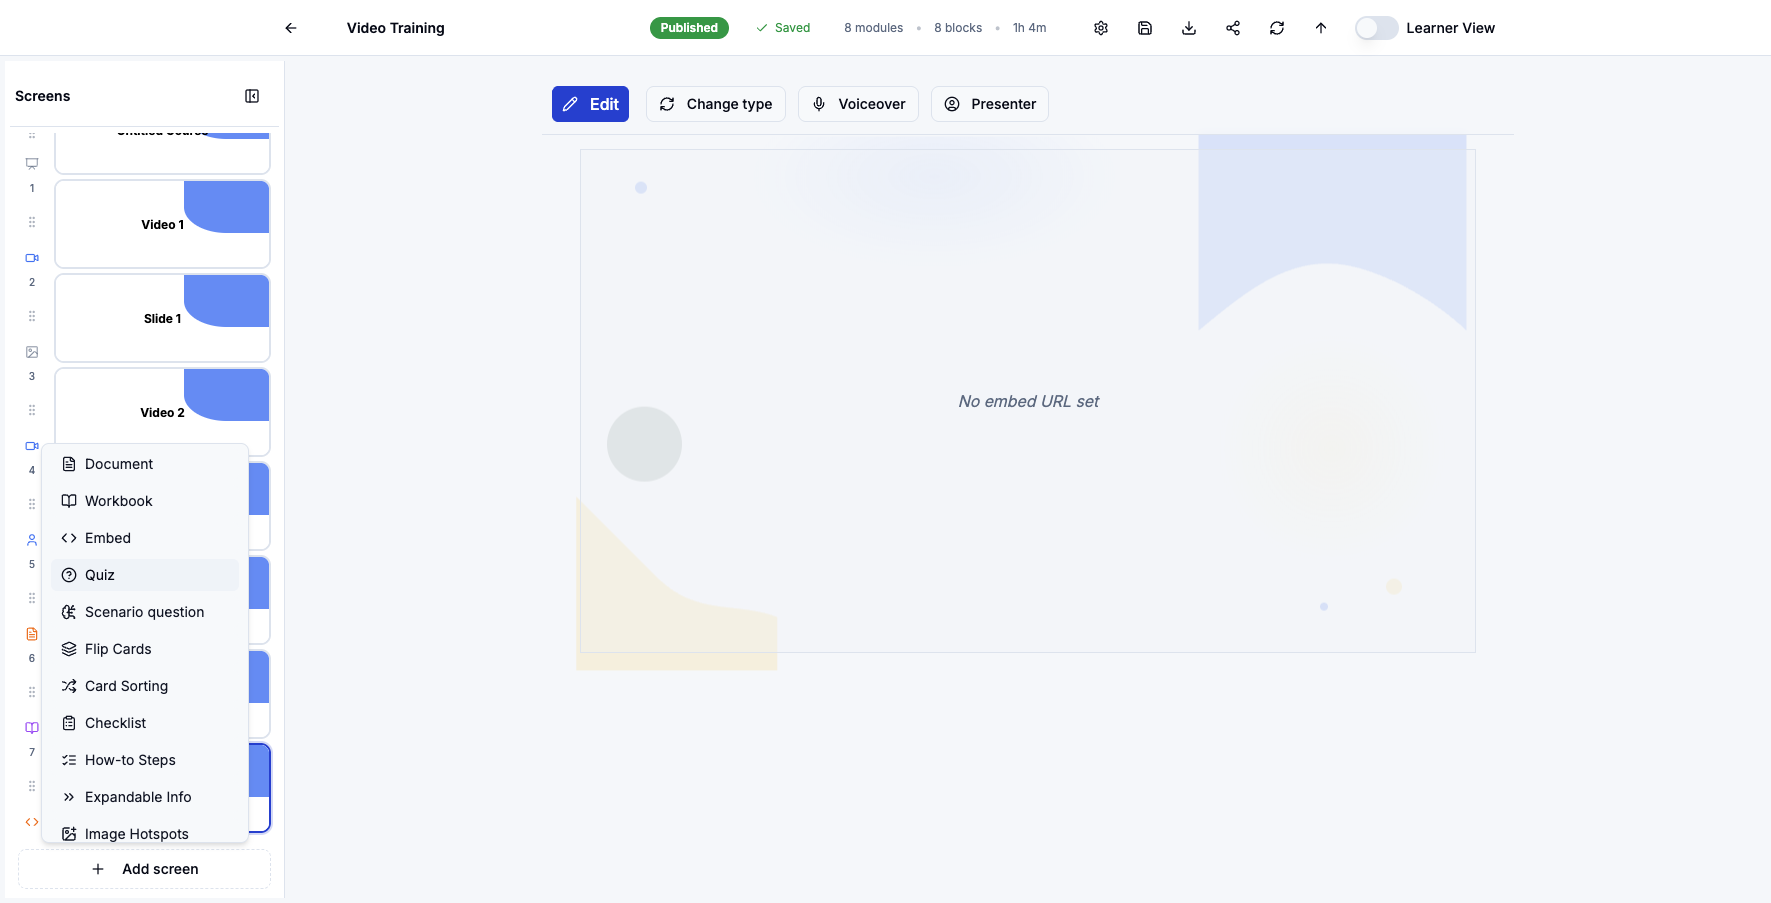
Select Quiz to add multiple choice questions that test learner comprehension.
Step 15 of 82
Click Add screen to add another interactive workbook or activity.
Step 16 of 82
Select Workbook again to add another editable document for learner practice.
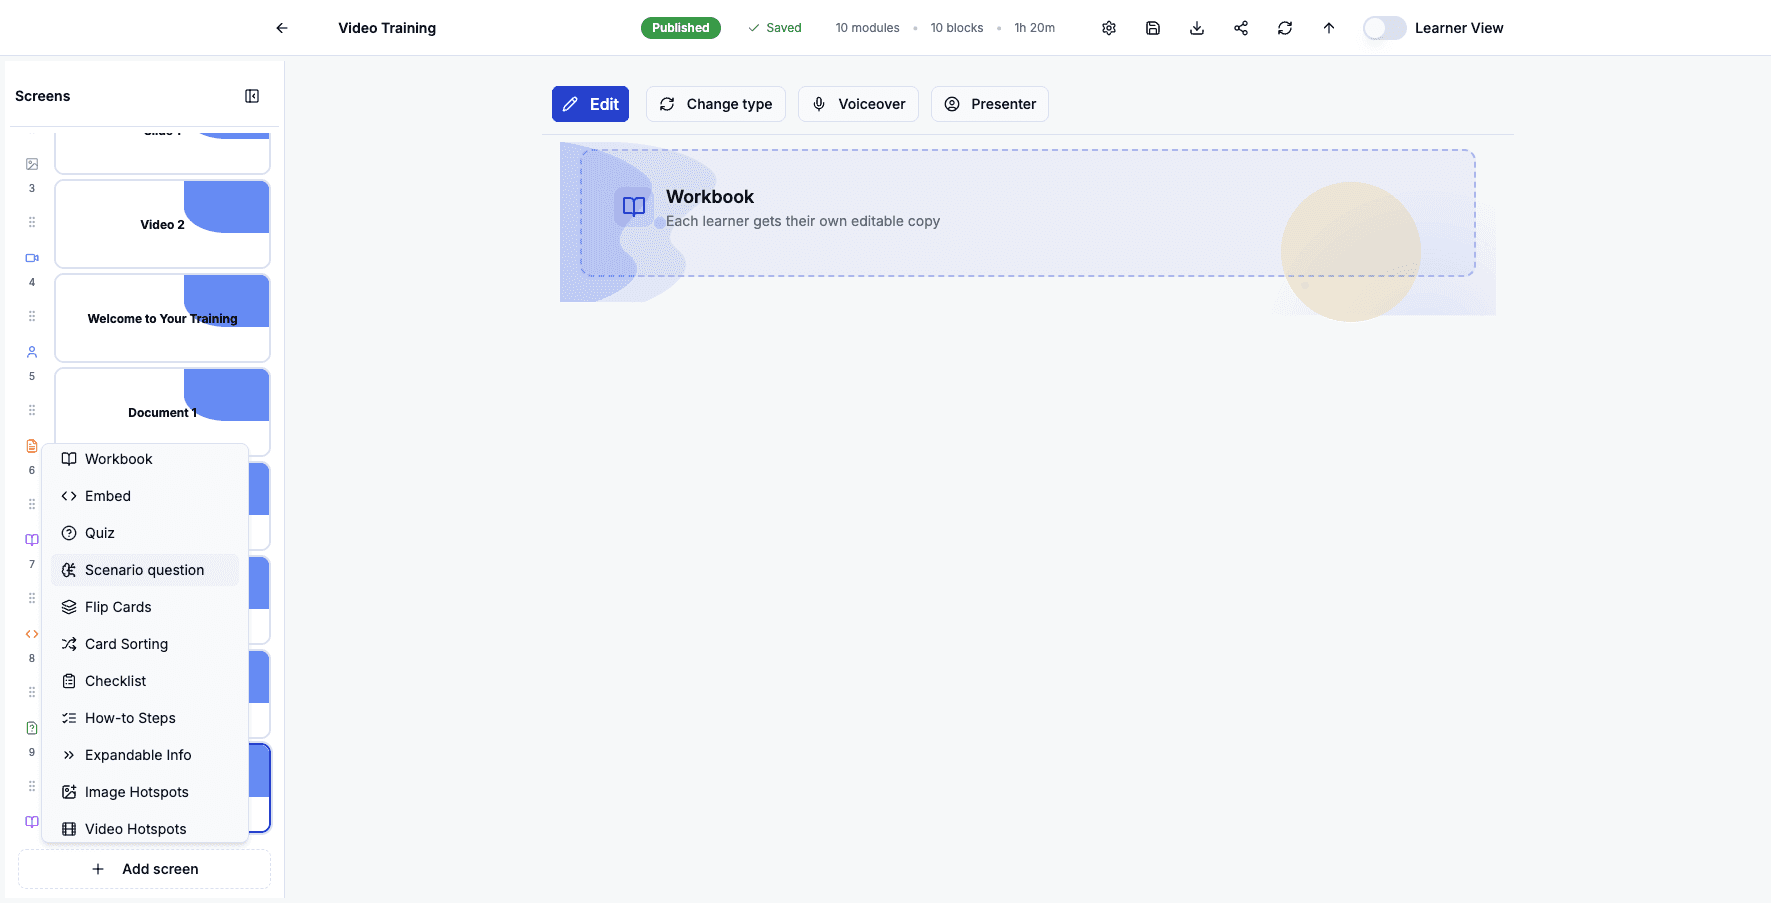
Step 17 of 82
Click Add screen to explore scenario-based learning options.
Step 18 of 82
Select Scenario question to add branching decision-making exercises that simulate real situations.
Step 19 of 82
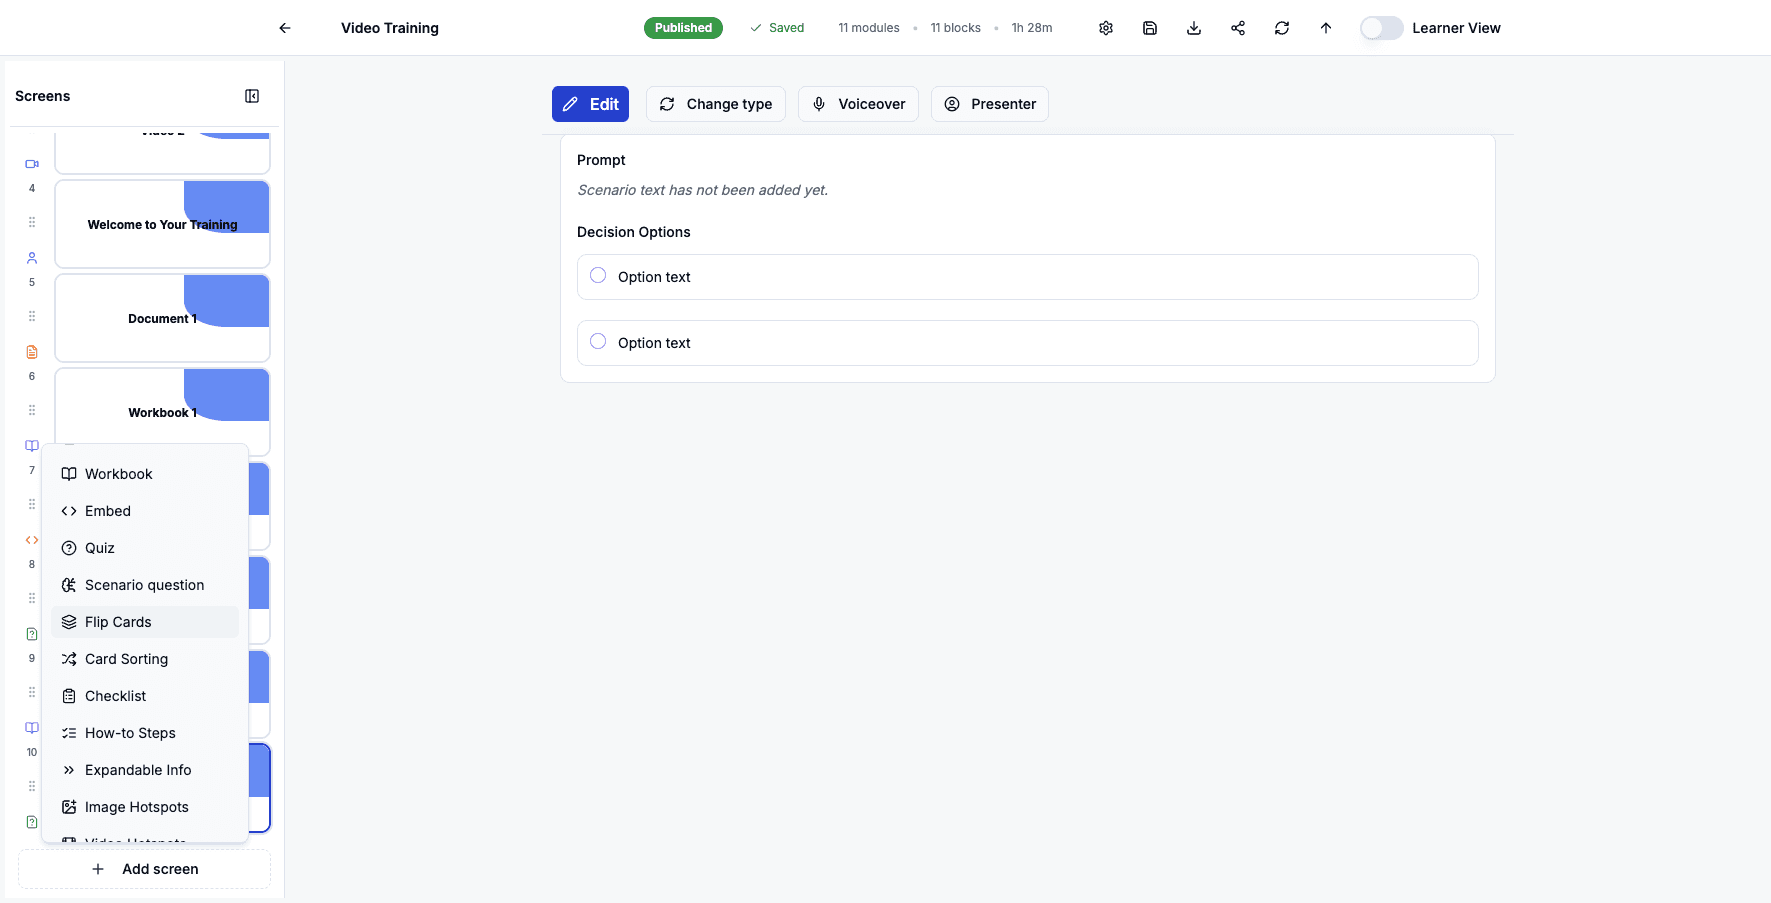
Click Add screen to add memory and recall activities to your course.
Step 20 of 82
Select Flip Cards to add interactive cards learners can click to reveal information.
Step 21 of 82
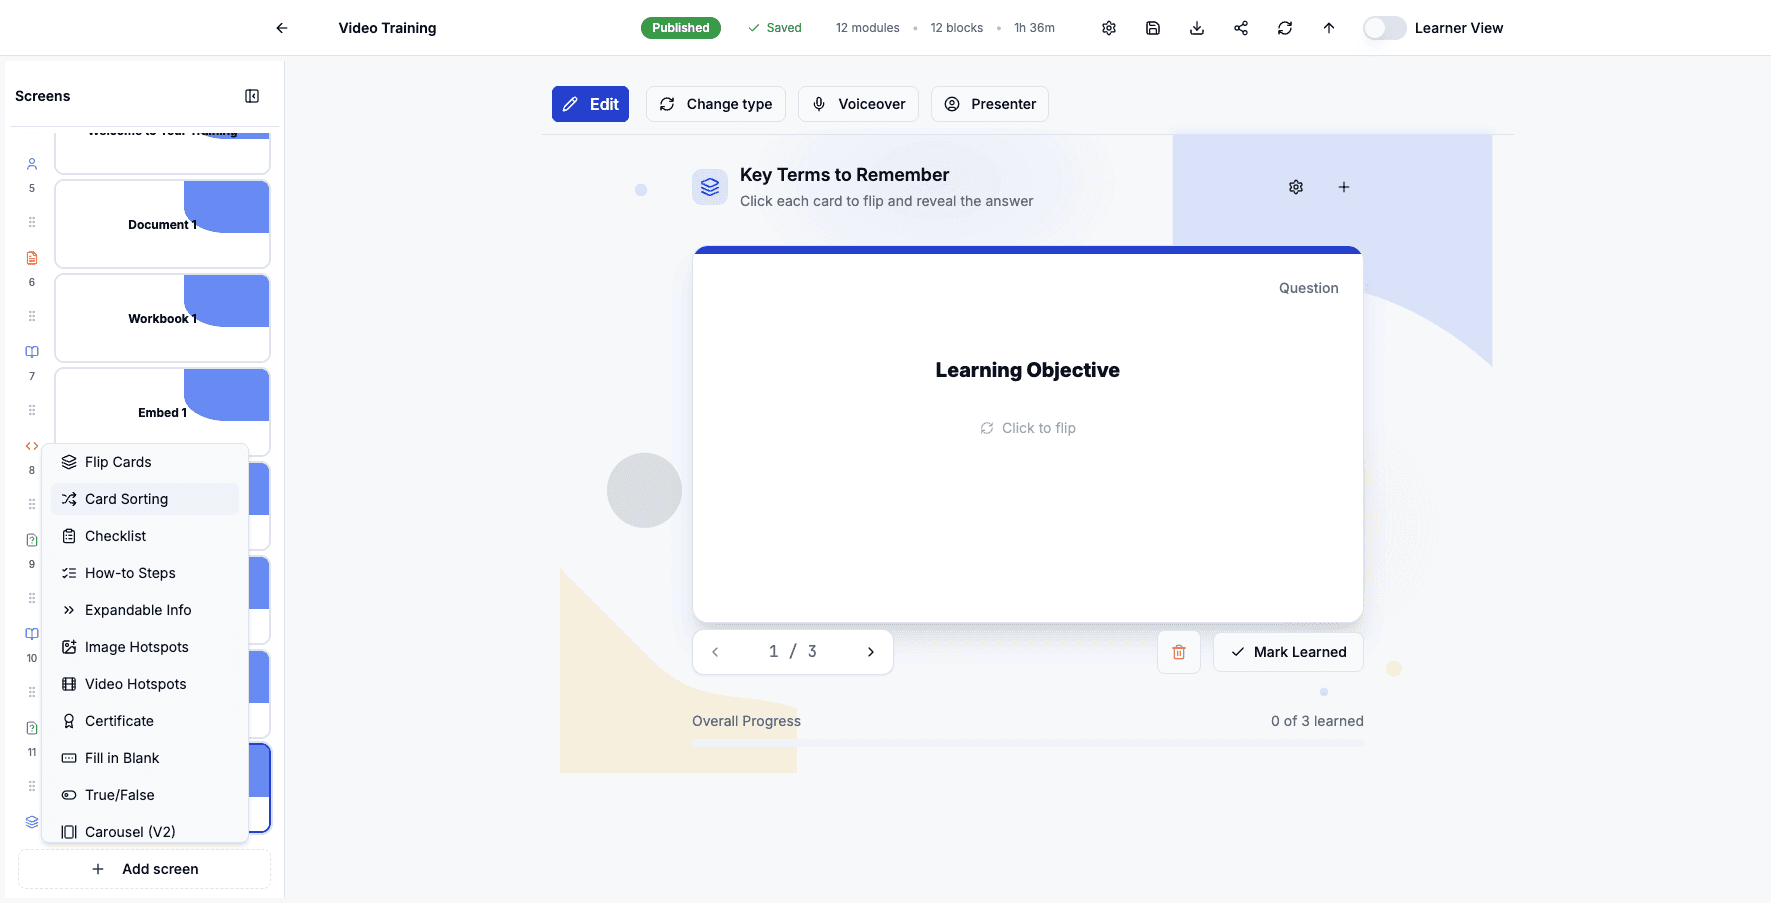
Click Add screen to add more interactive sorting activities.
Step 22 of 82
Select Card Sorting to create drag-and-drop exercises where learners categorize items.
Step 23 of 82
Click Add screen to add task management activities for procedural learning.
Step 24 of 82
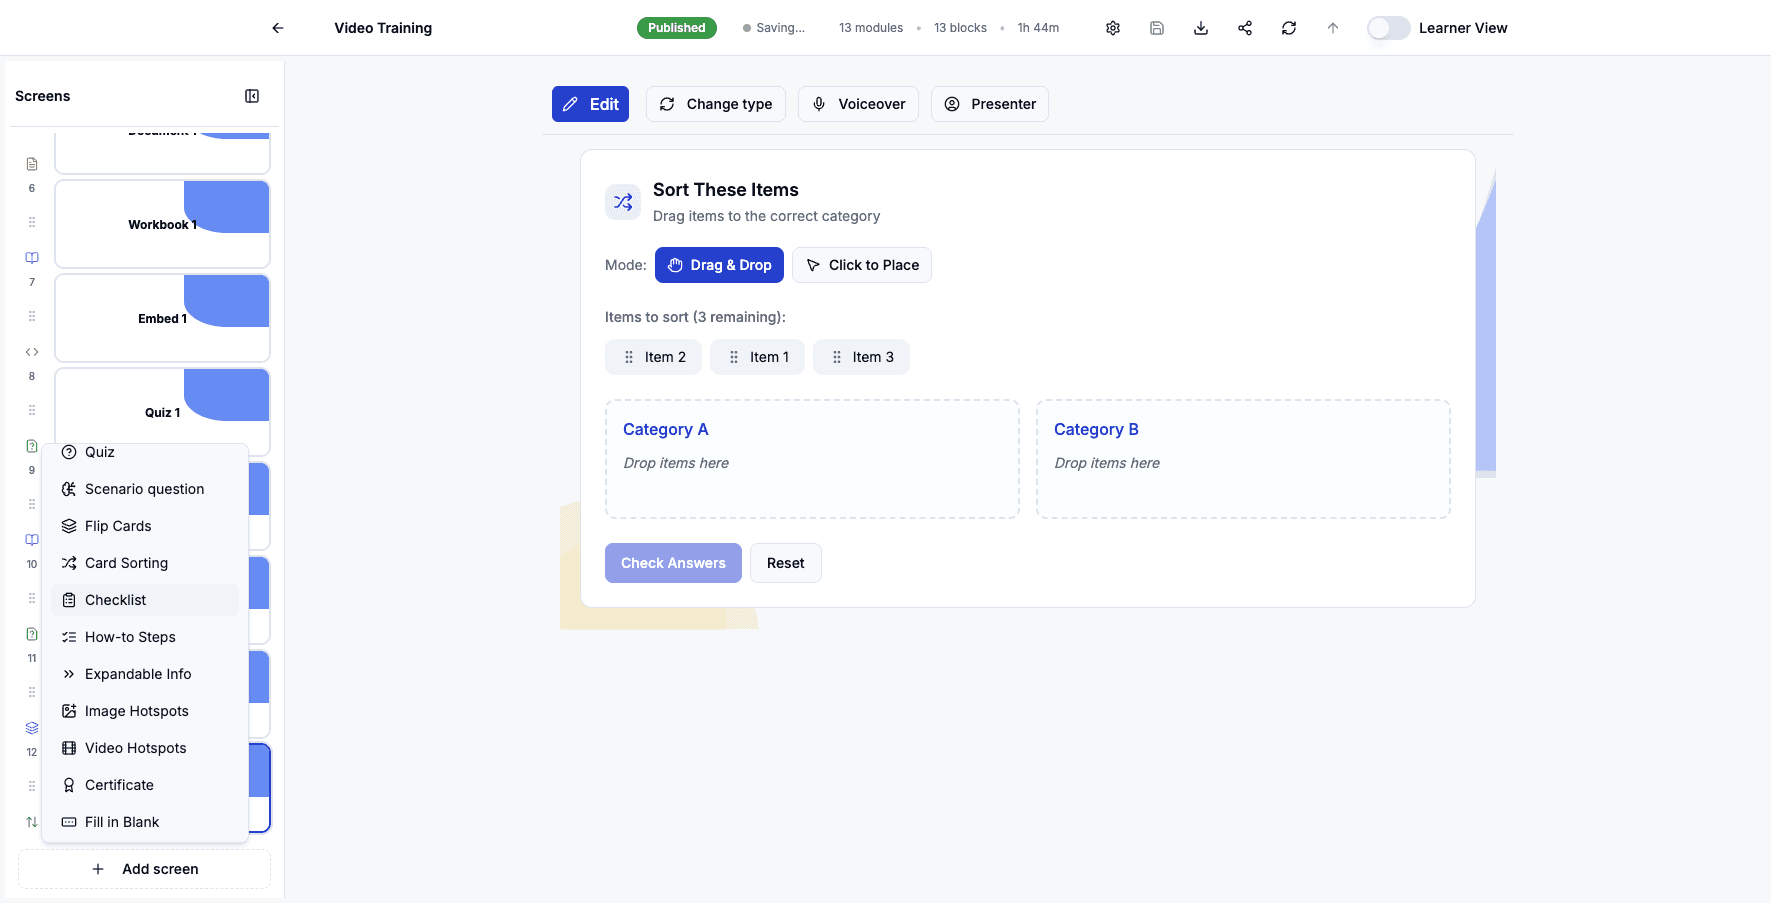
Select Checklist to add a list of tasks learners can check off as they complete them.
Step 25 of 82
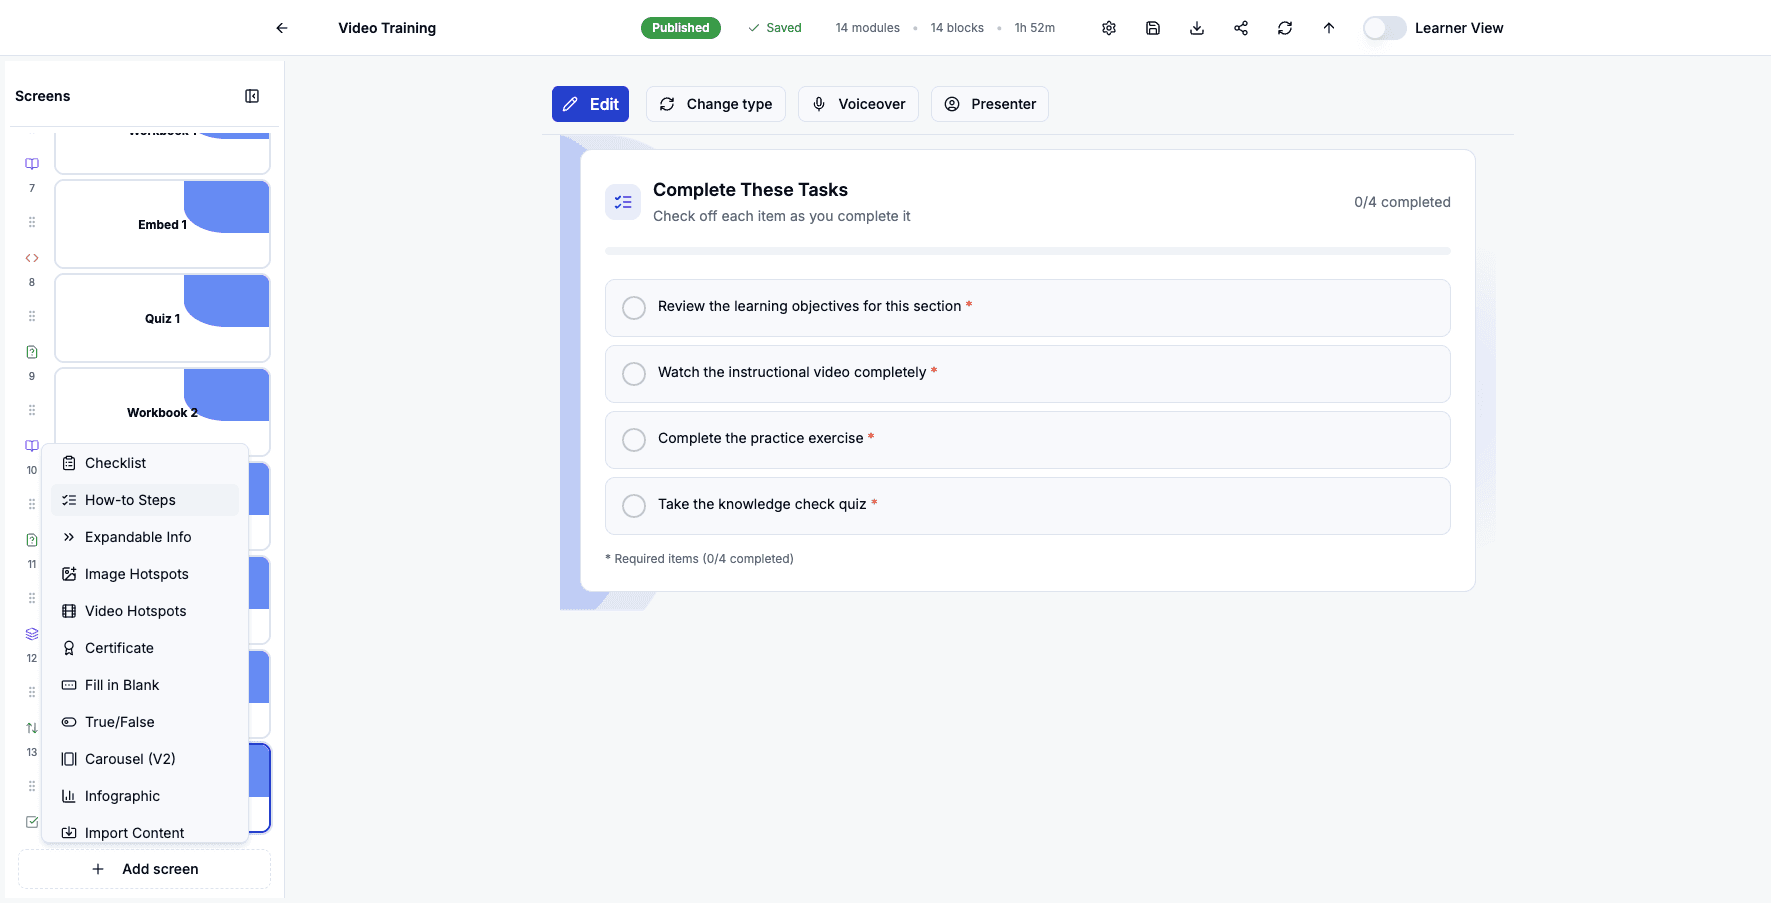
Click Add screen to add step-by-step instructional content.
Step 26 of 82
Select How-to Steps to create expandable step-by-step instructions with detailed guidance.
Step 27 of 82
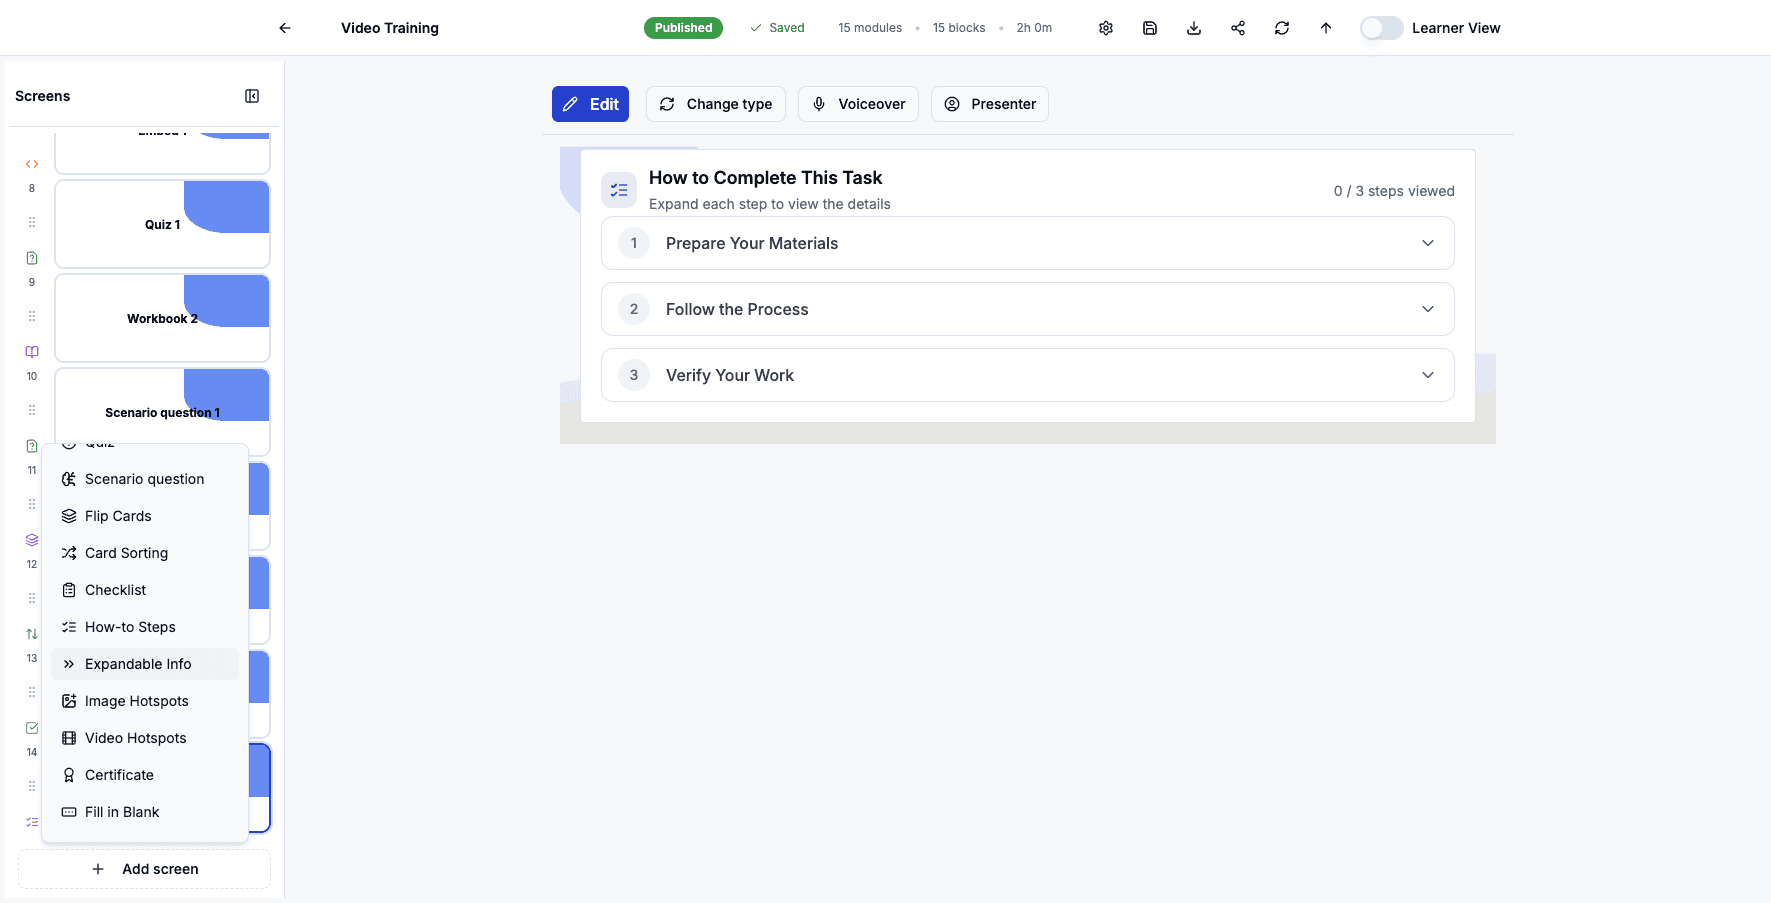
Click Add screen to add collapsible information sections.
Step 28 of 82
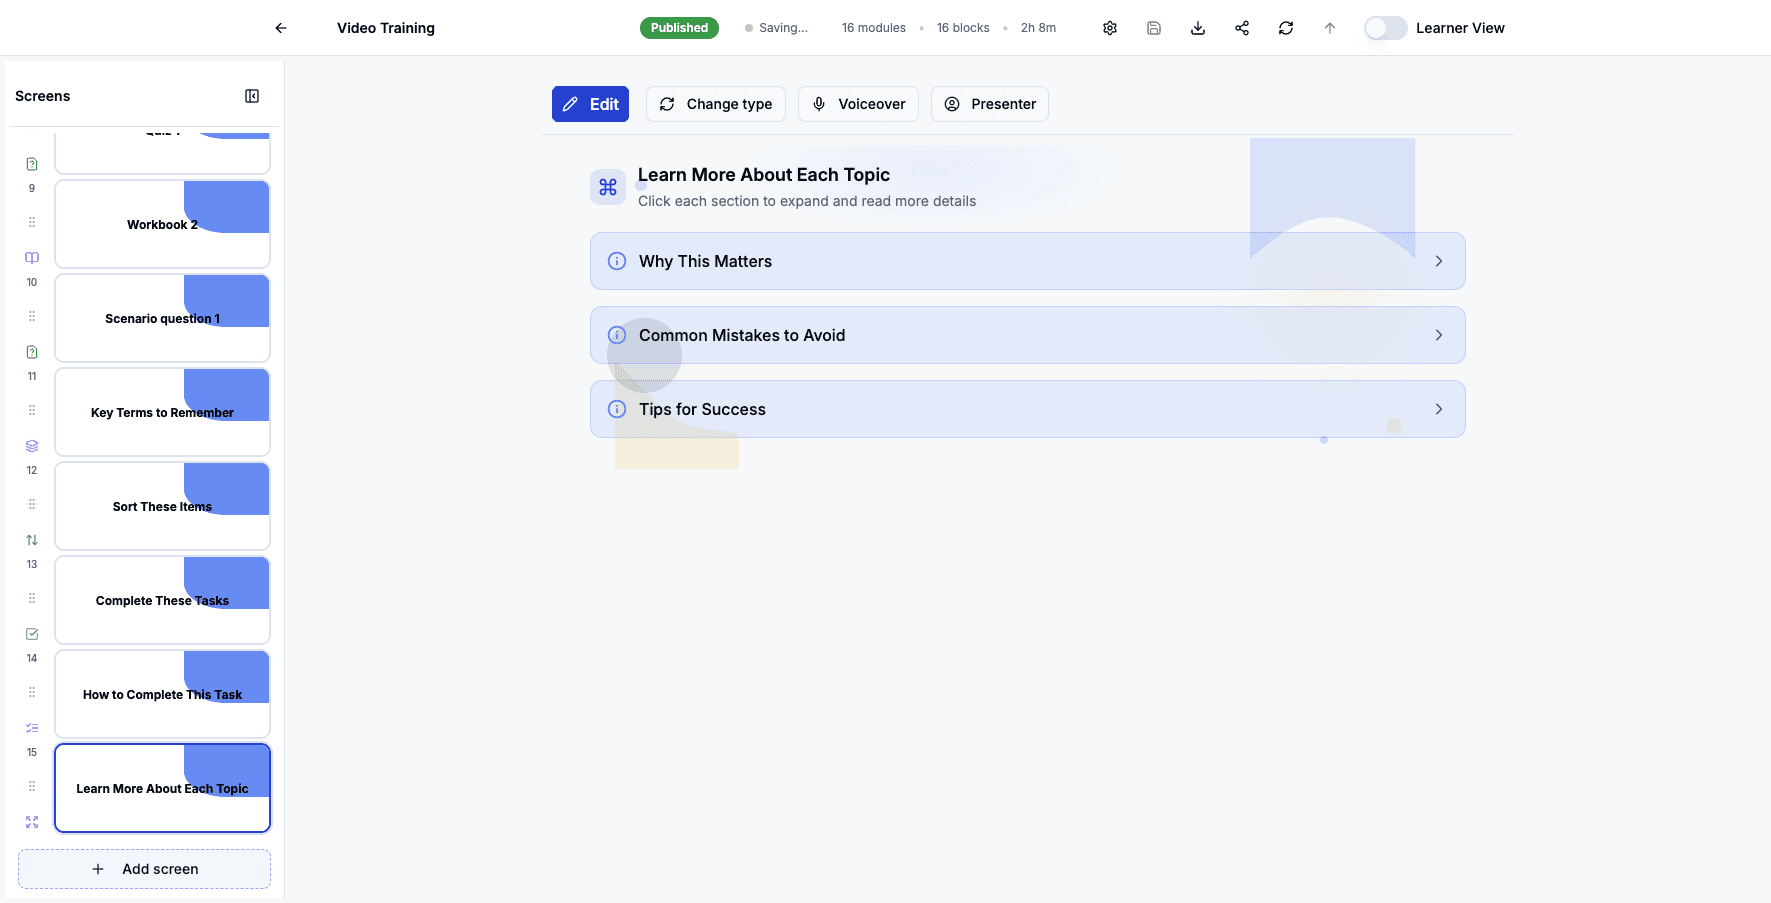
Select Expandable Info to add accordion-style content learners can expand to read more details.
Step 29 of 82
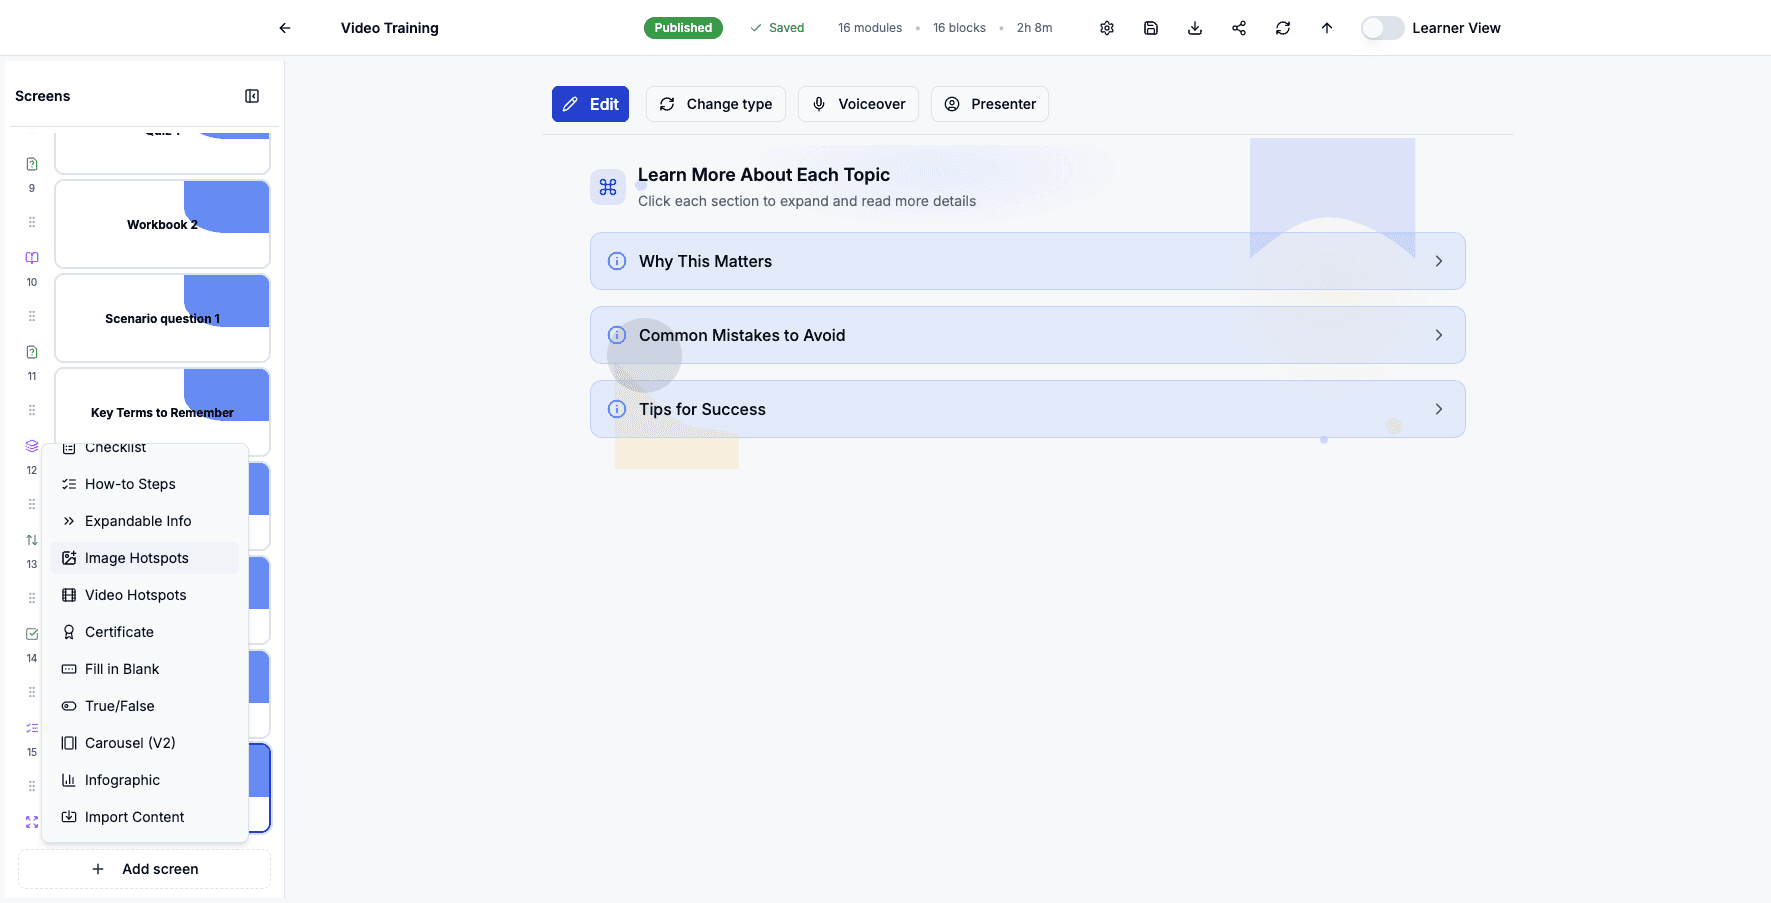
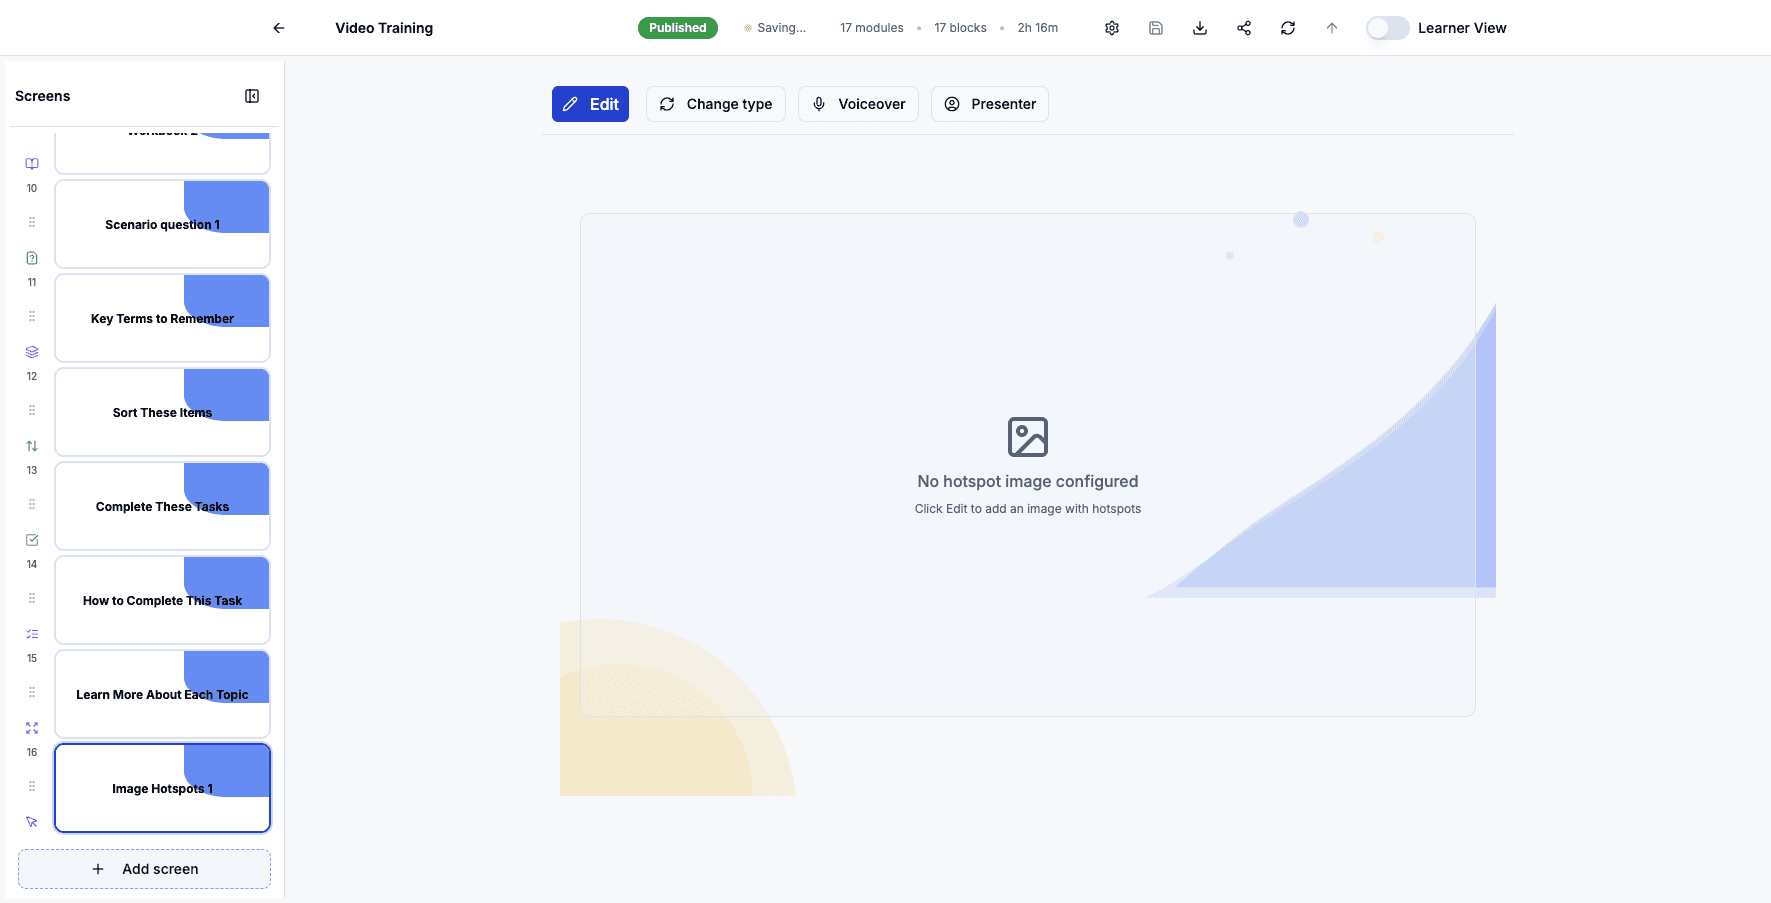
Click Add screen to add visual learning activities with clickable regions.
Step 30 of 82
Select Image Hotspots to add interactive images with clickable areas that reveal information.
Step 31 of 82
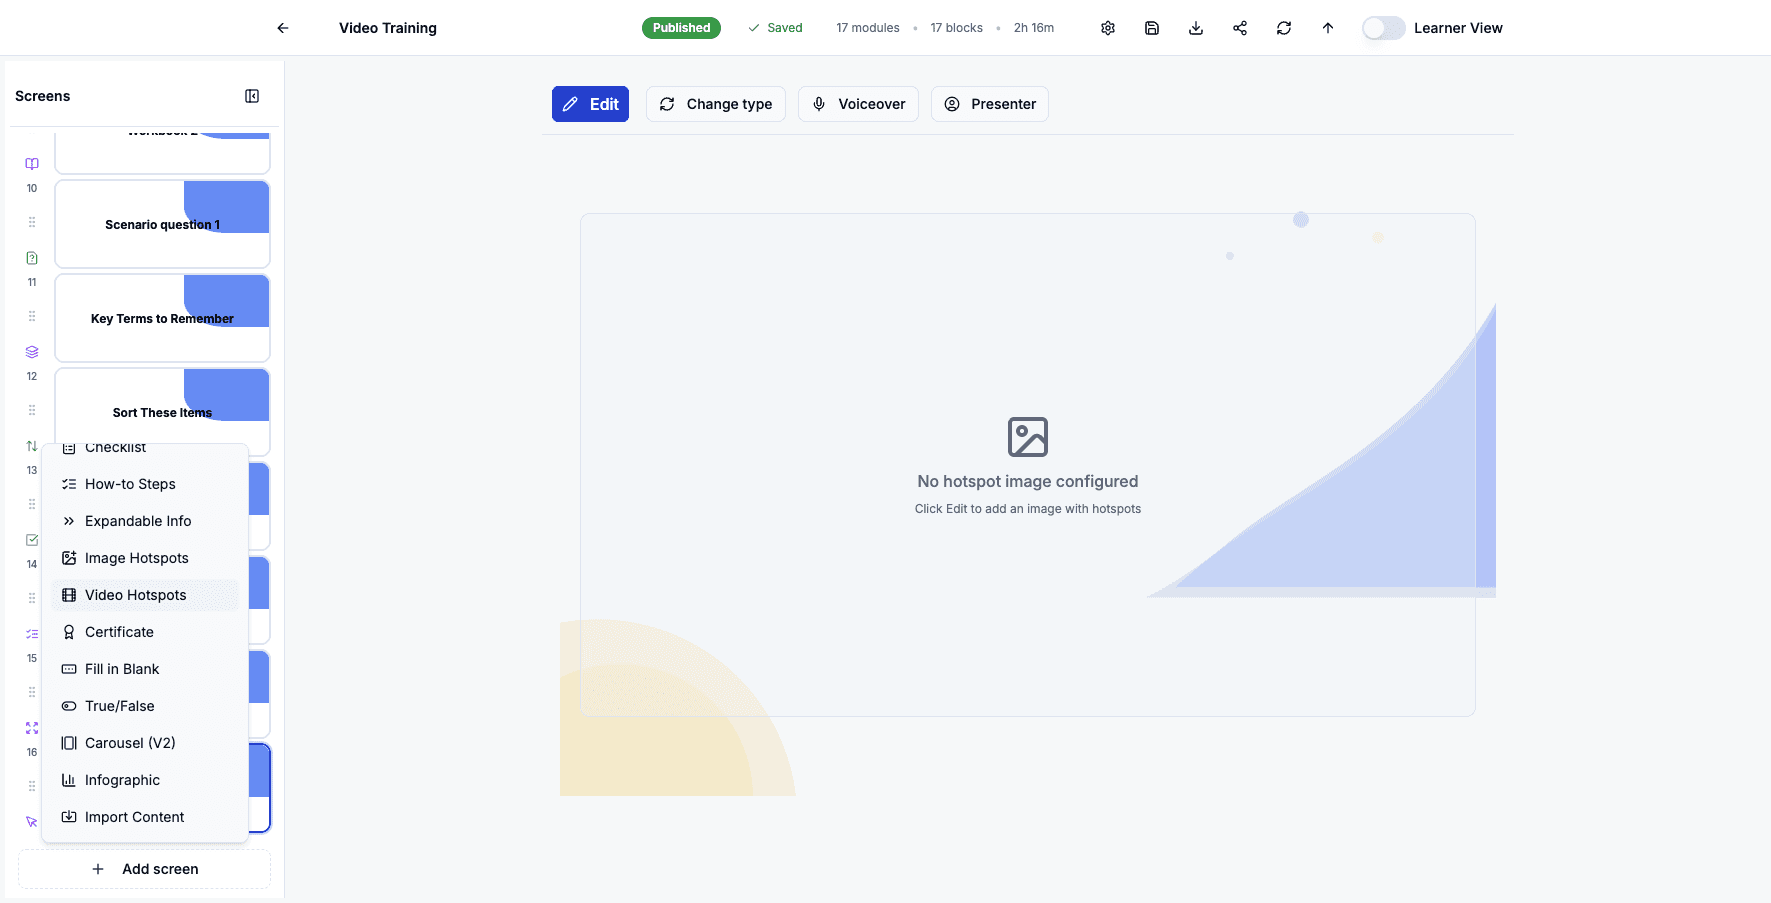
Click Add screen to add interactive video elements.
Step 32 of 82
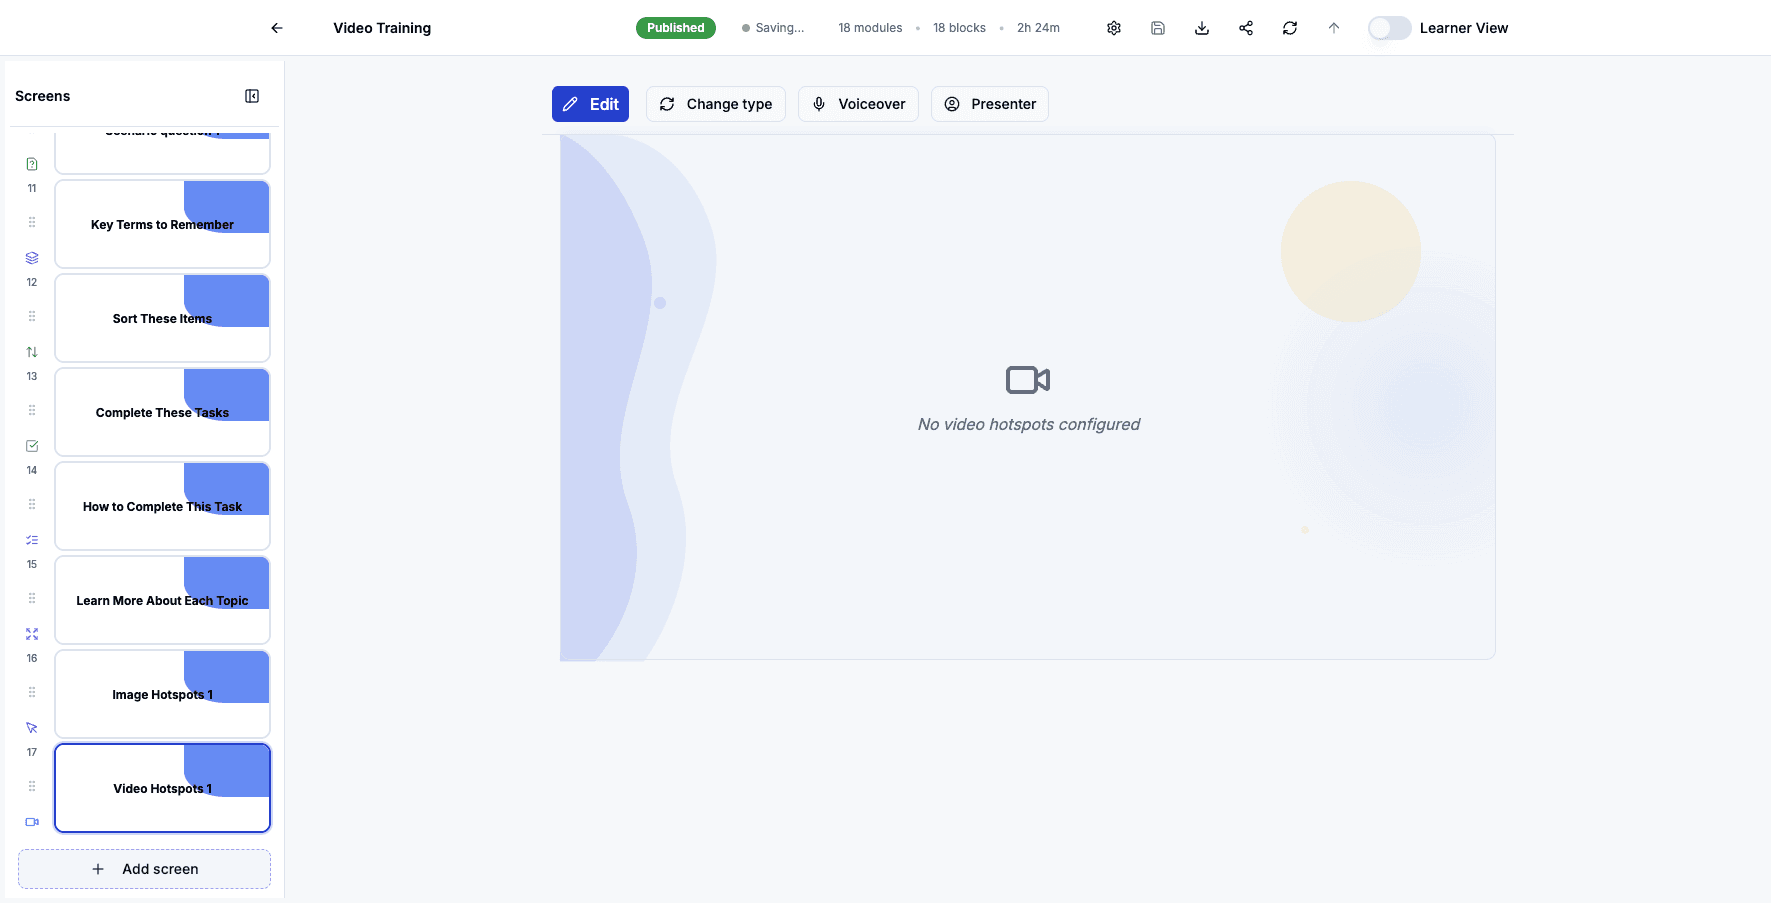
Select Video Hotspots to add clickable regions within videos that pause and display additional content.
Step 33 of 82
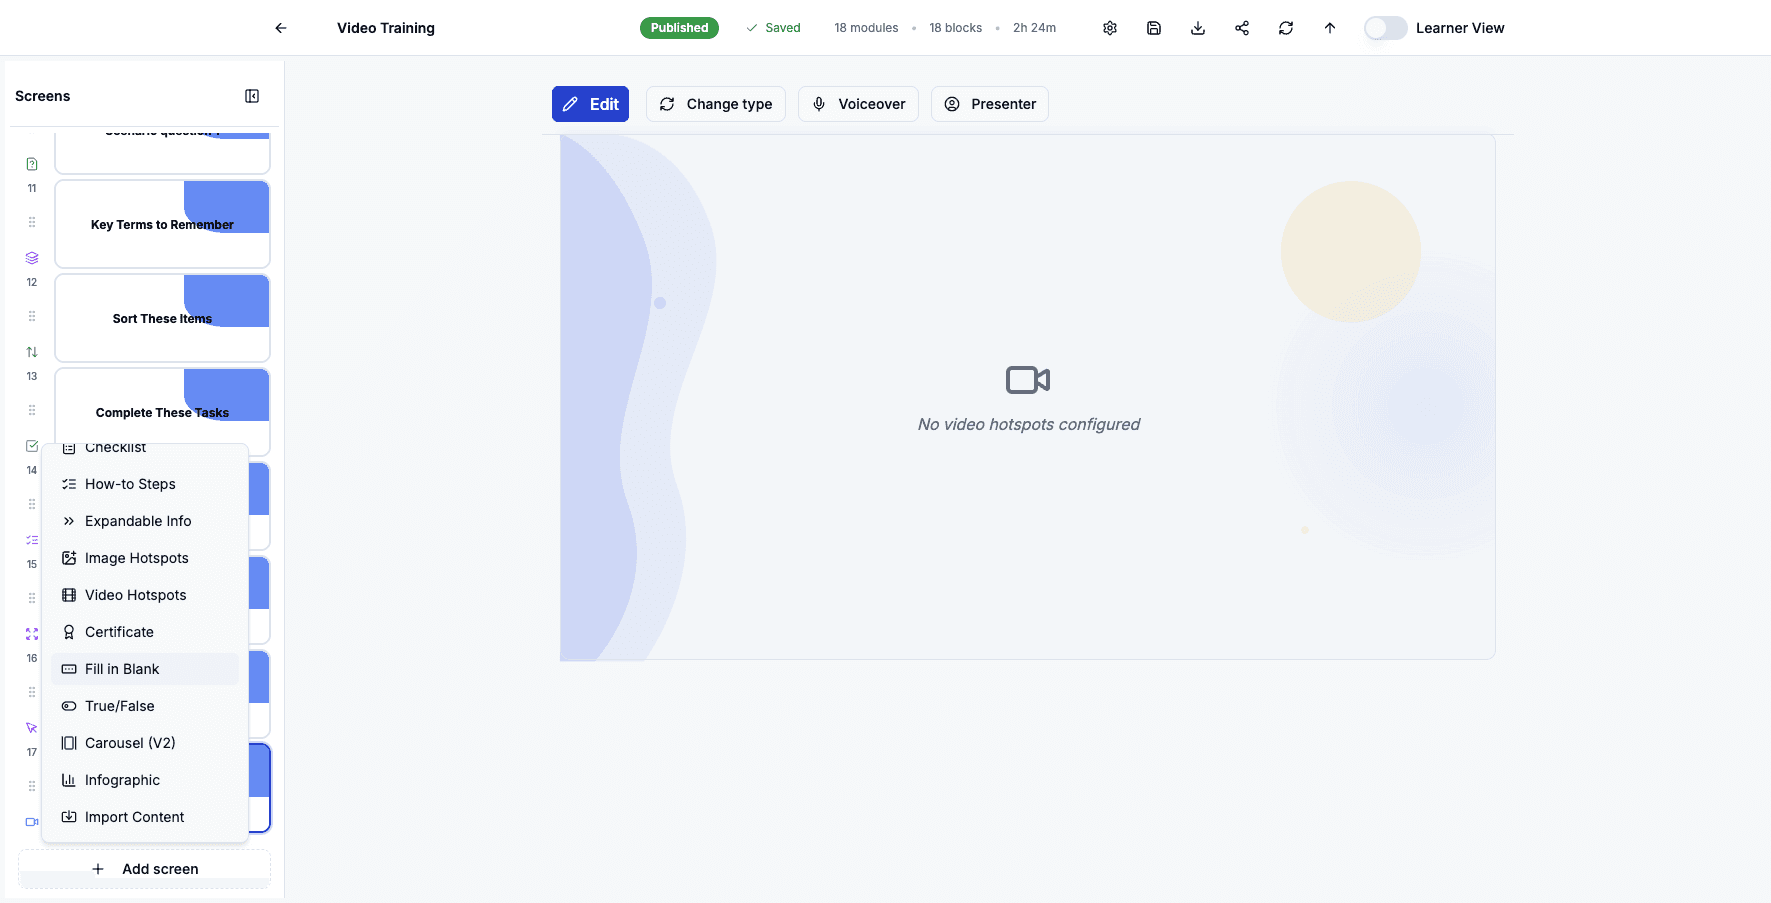
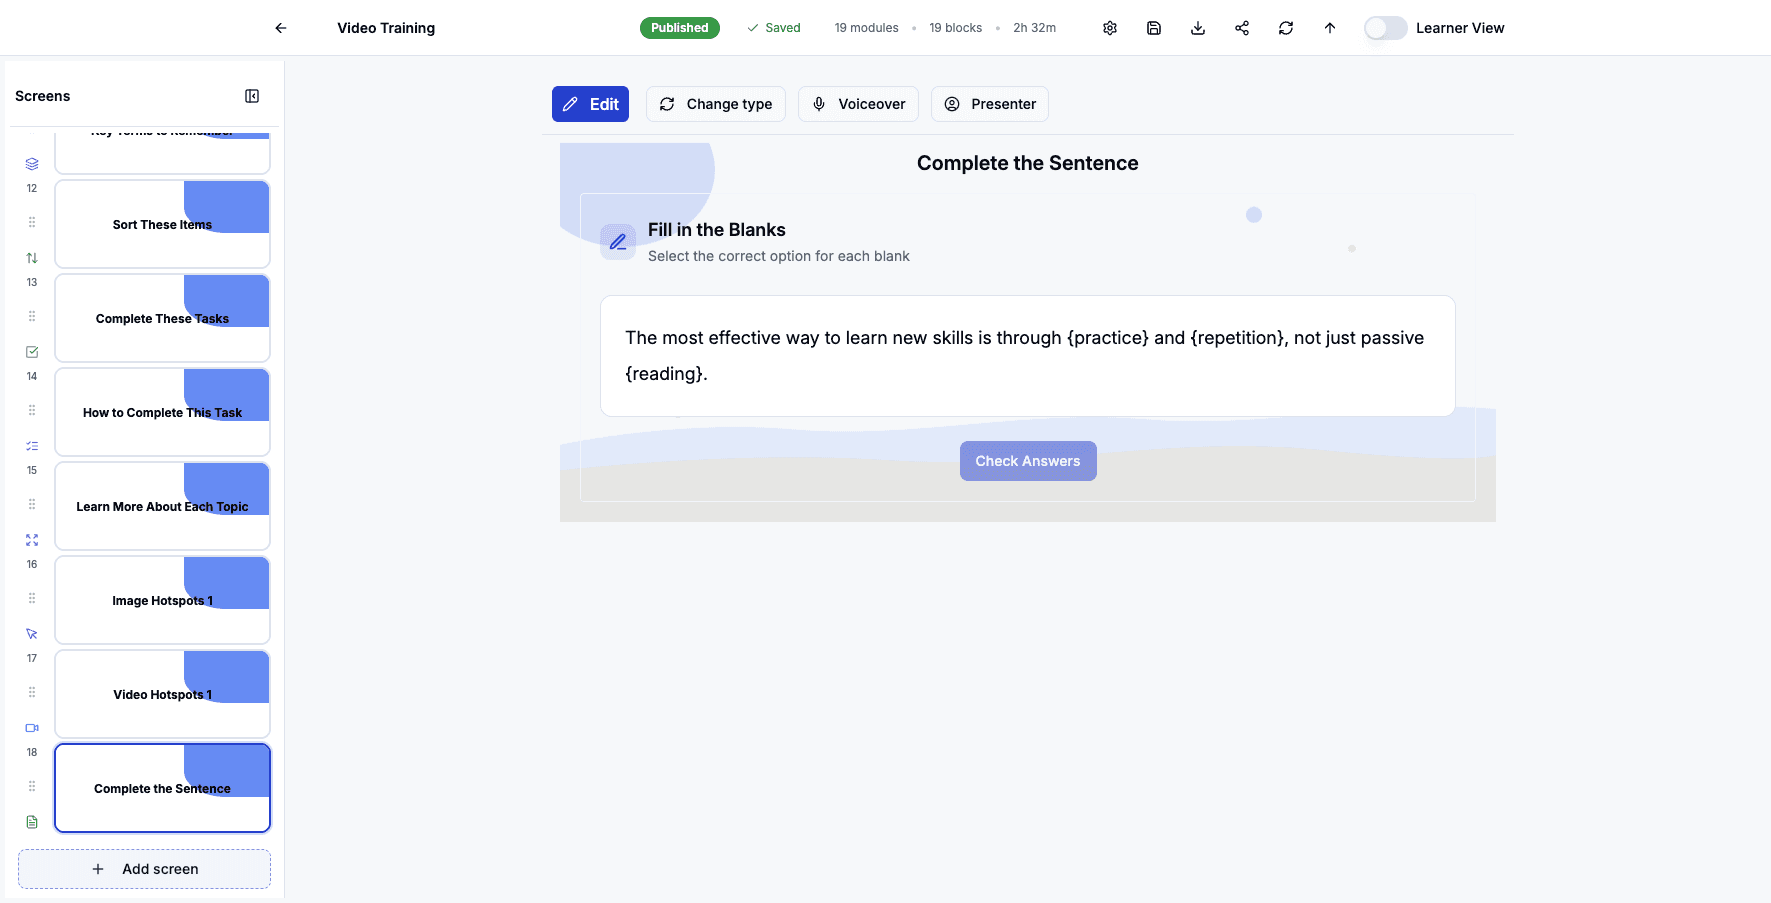
Click Add screen to add fill-in-the-blank exercises.
Step 34 of 82
Select Fill in Blank to create exercises where learners type missing words into text.
Step 35 of 82
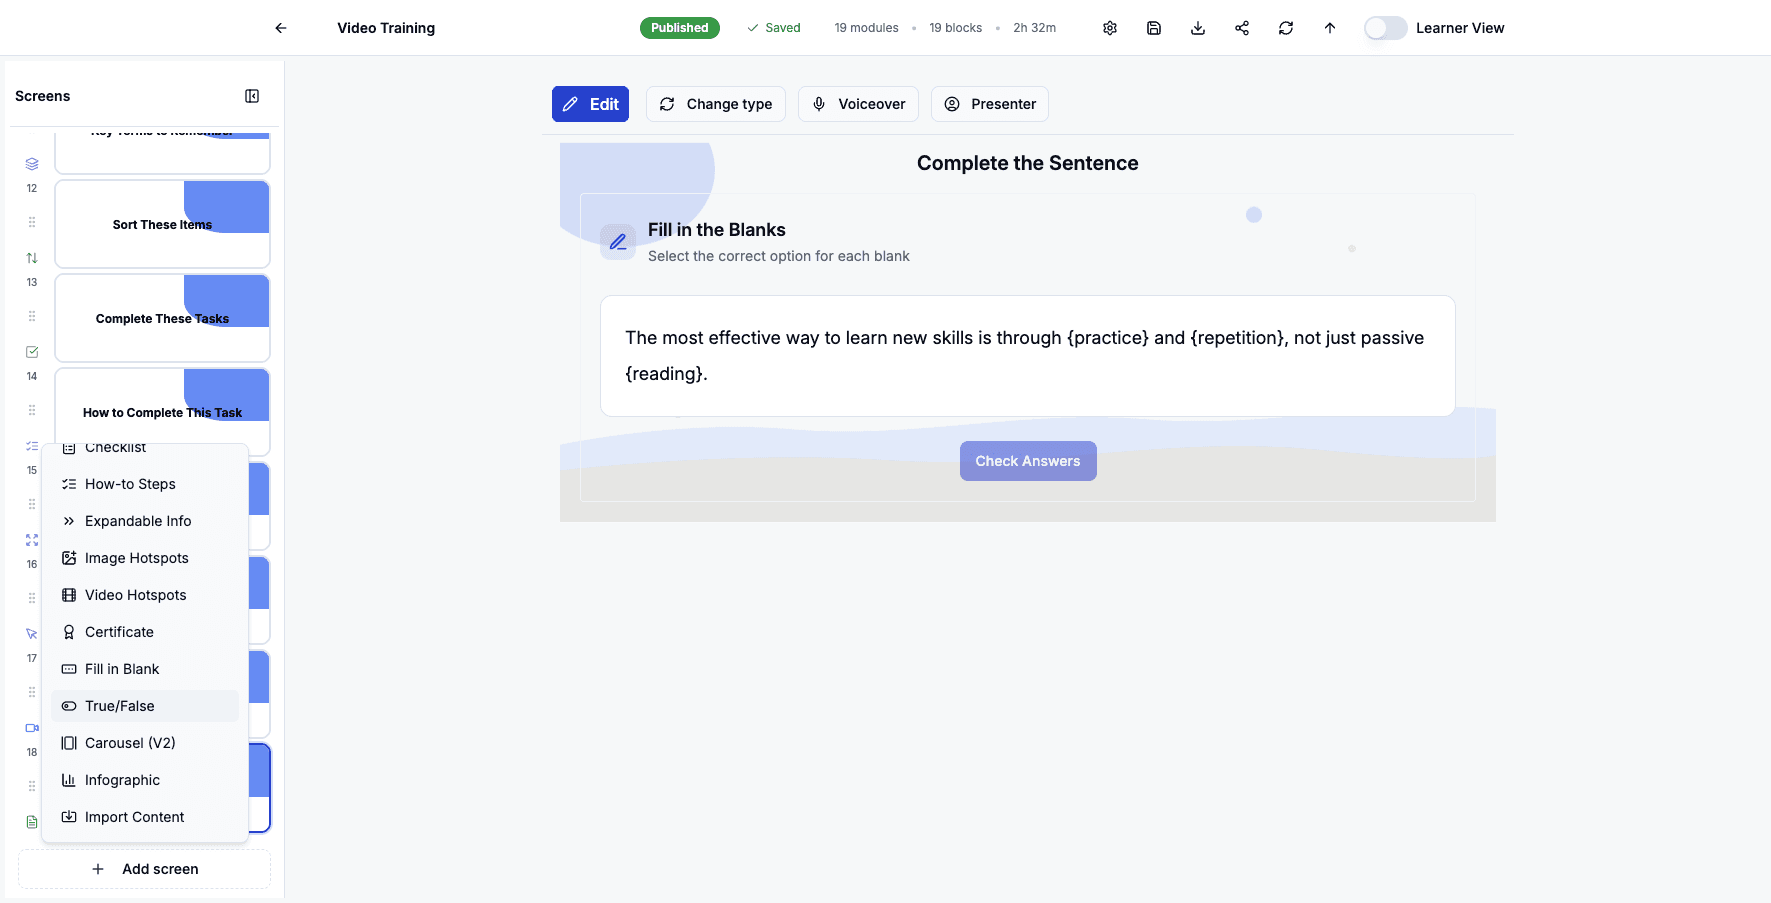
Click Add screen to add simple true or false questions.
Step 36 of 82
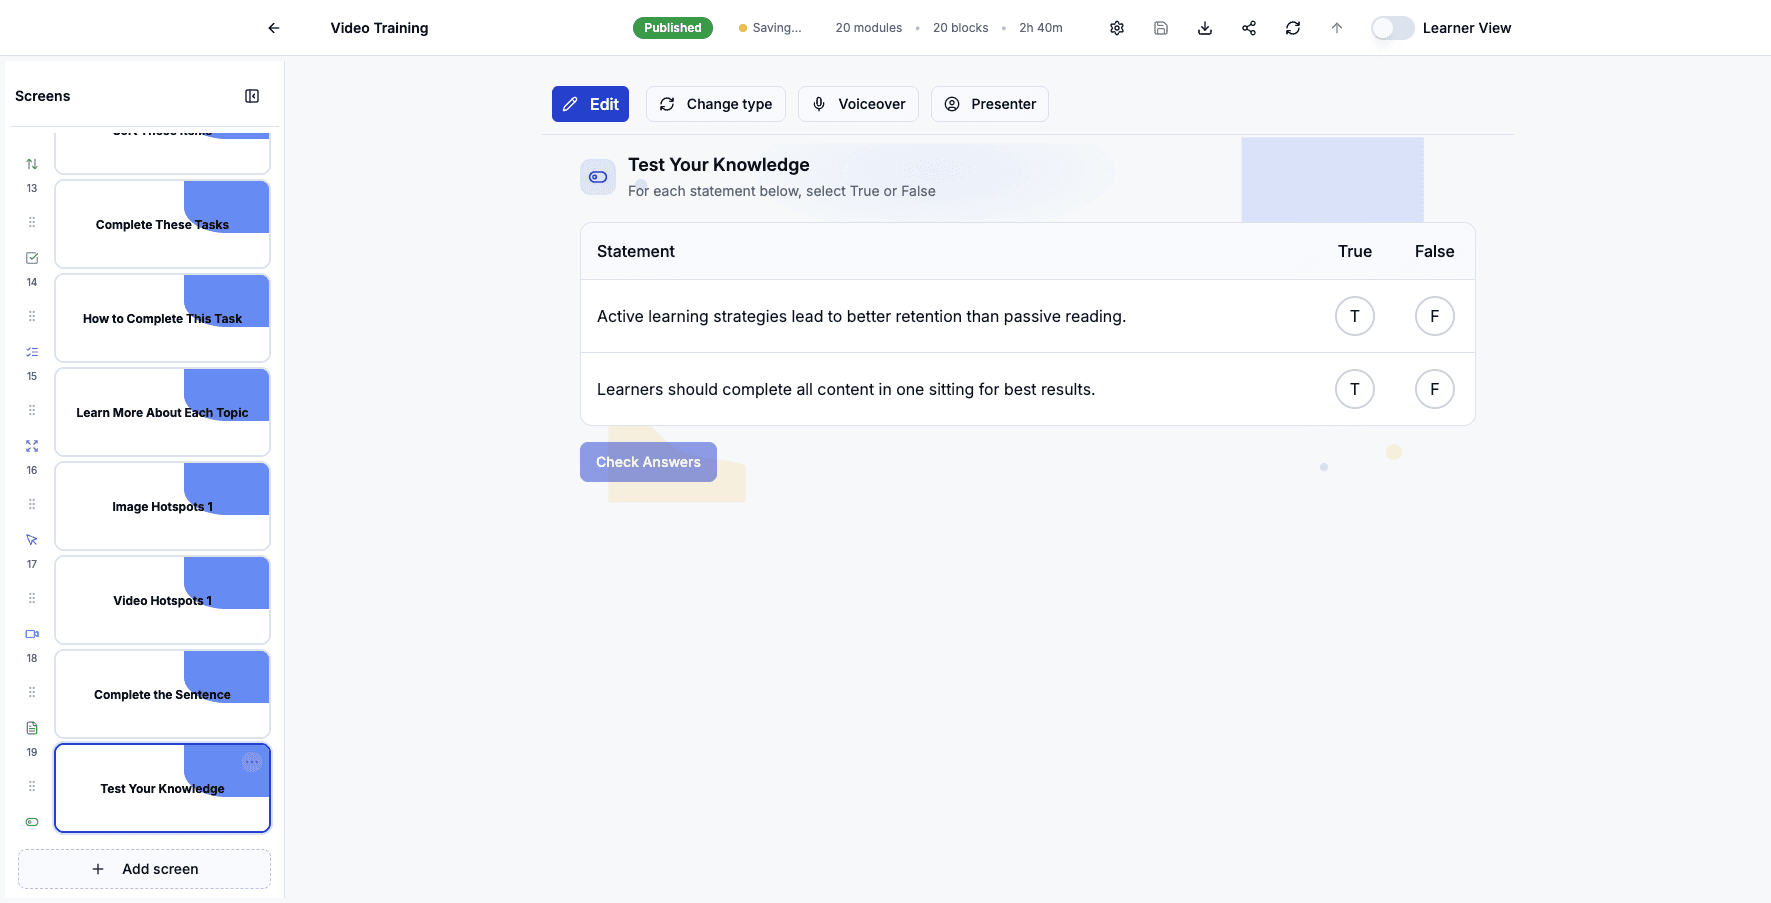
Select True/False to add statement-based questions with binary answer choices.
Step 37 of 82
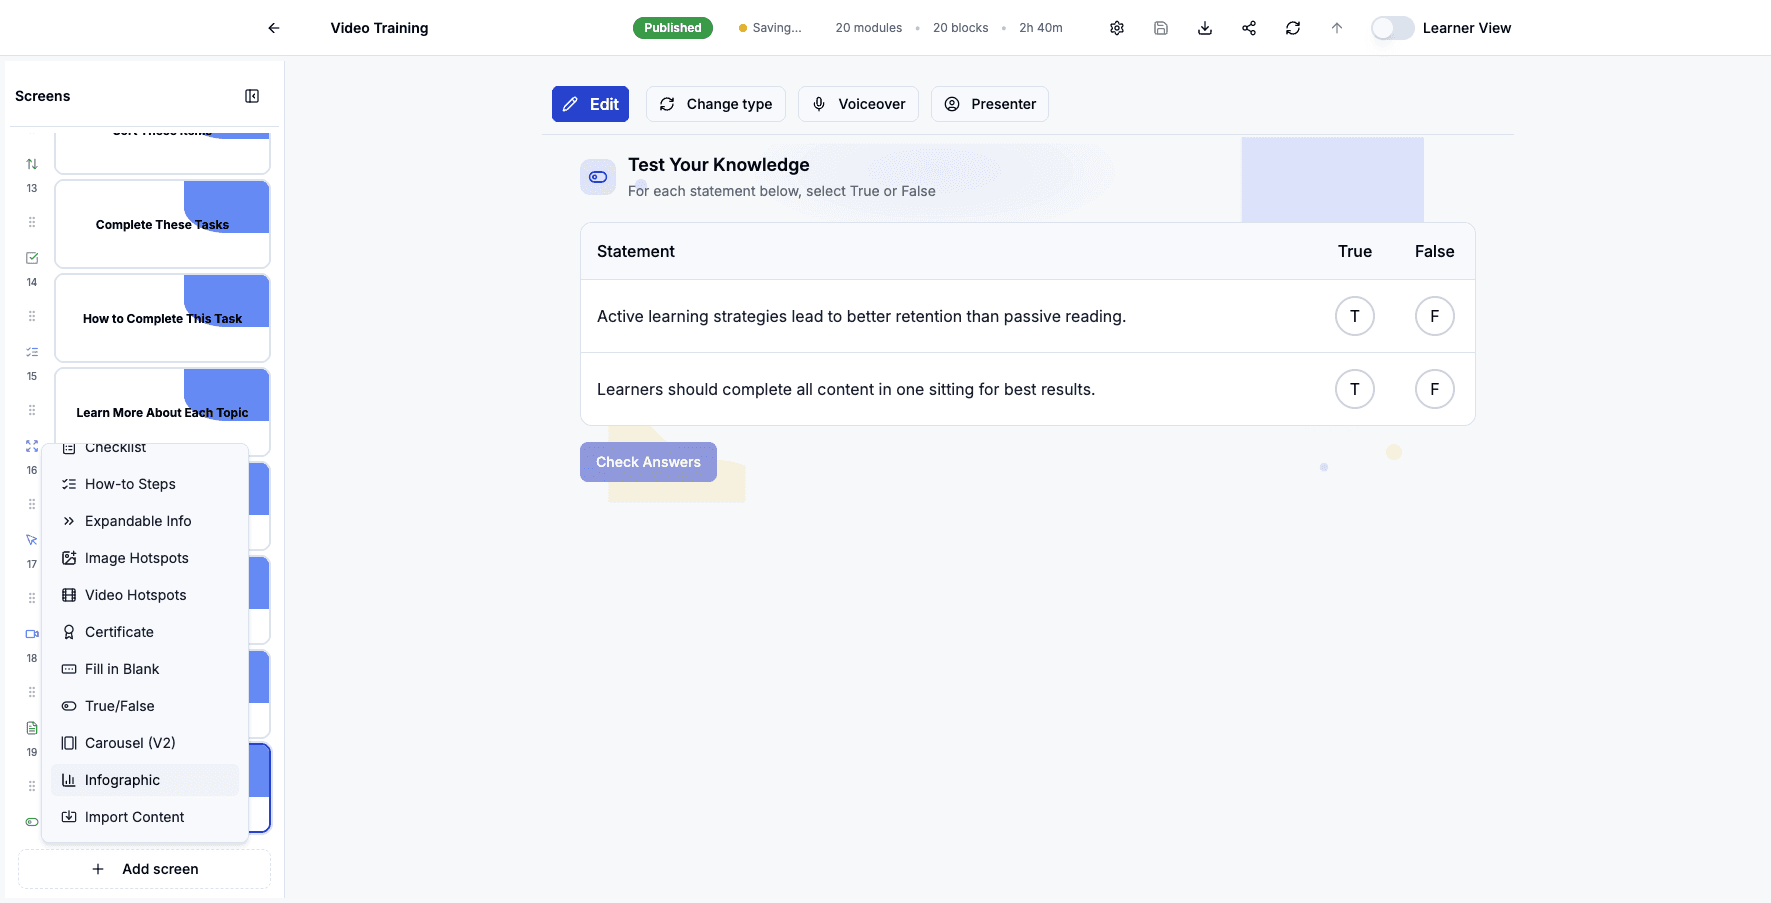
Click Add screen to add visual data presentation options.
Step 38 of 82
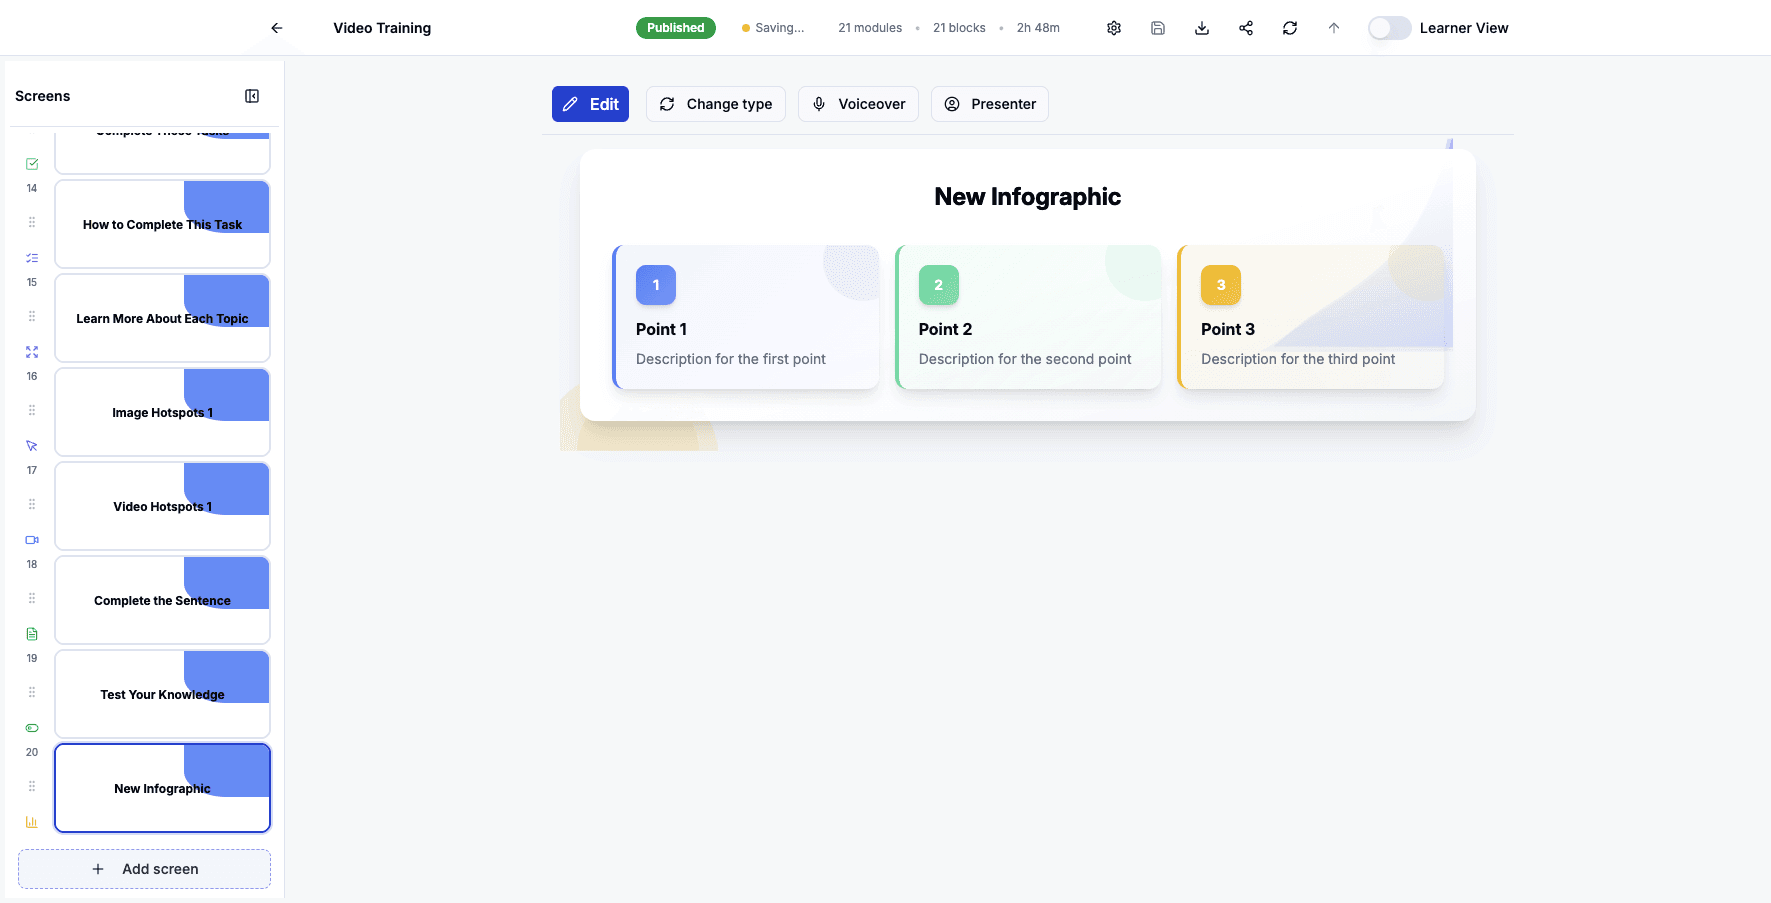
Select Infographic to add visually designed information displays that present data attractively.
Step 39 of 82
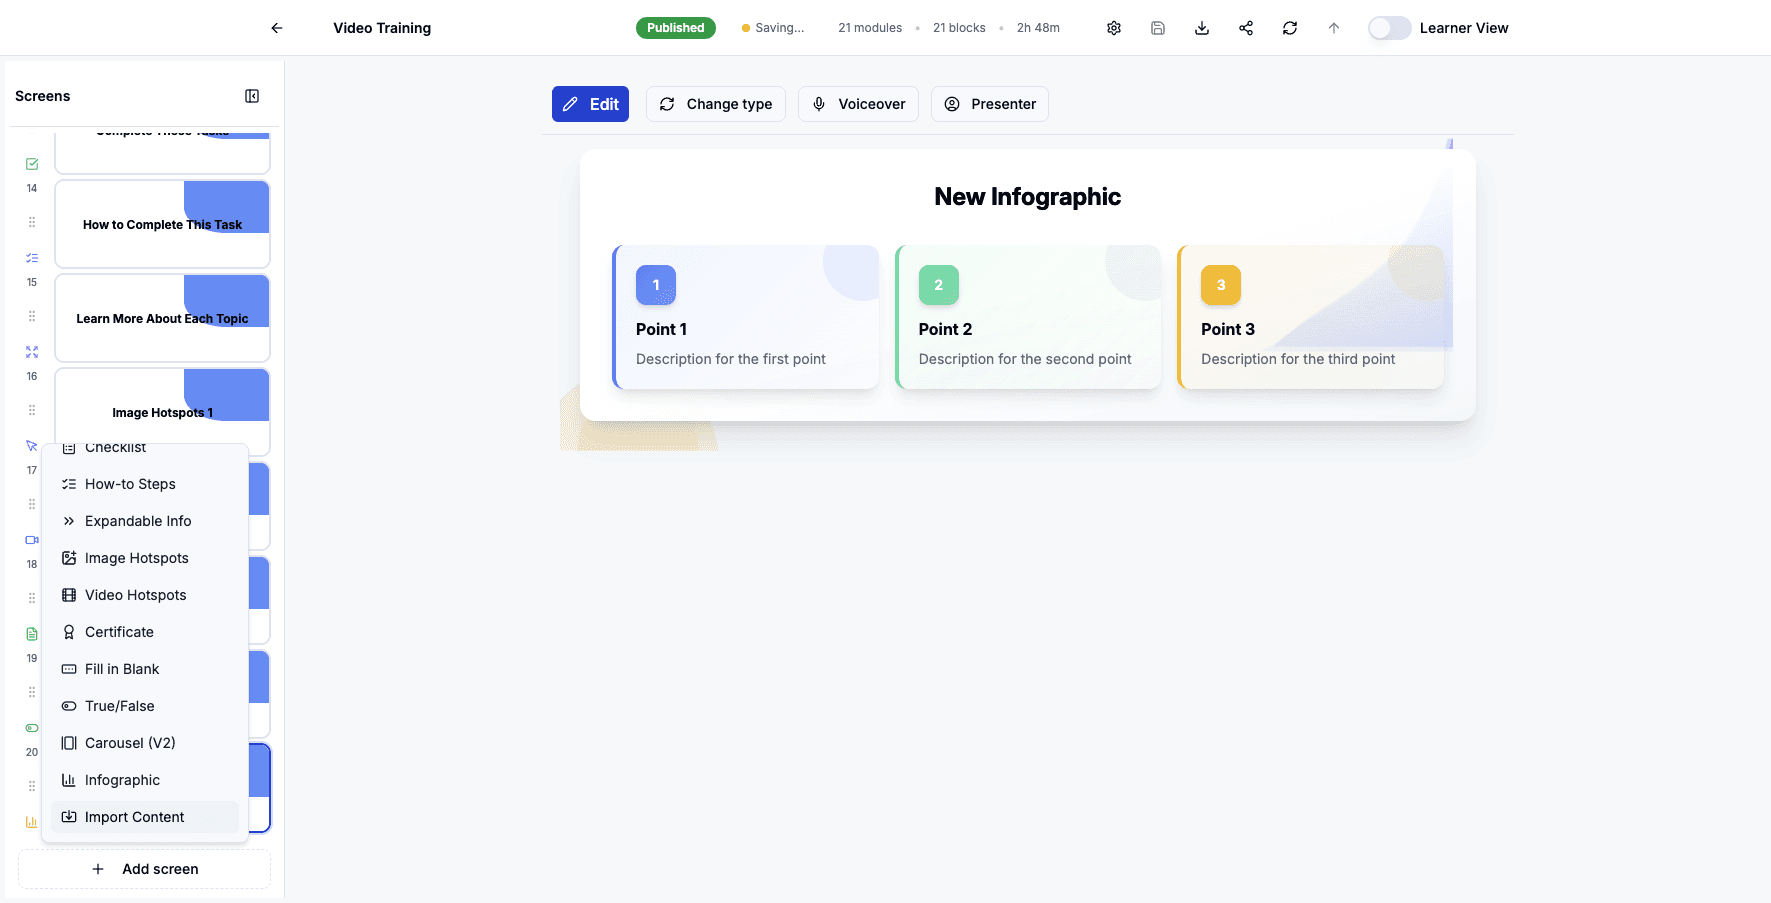
Click Add screen to import existing content from documents or URLs.
Step 40 of 82
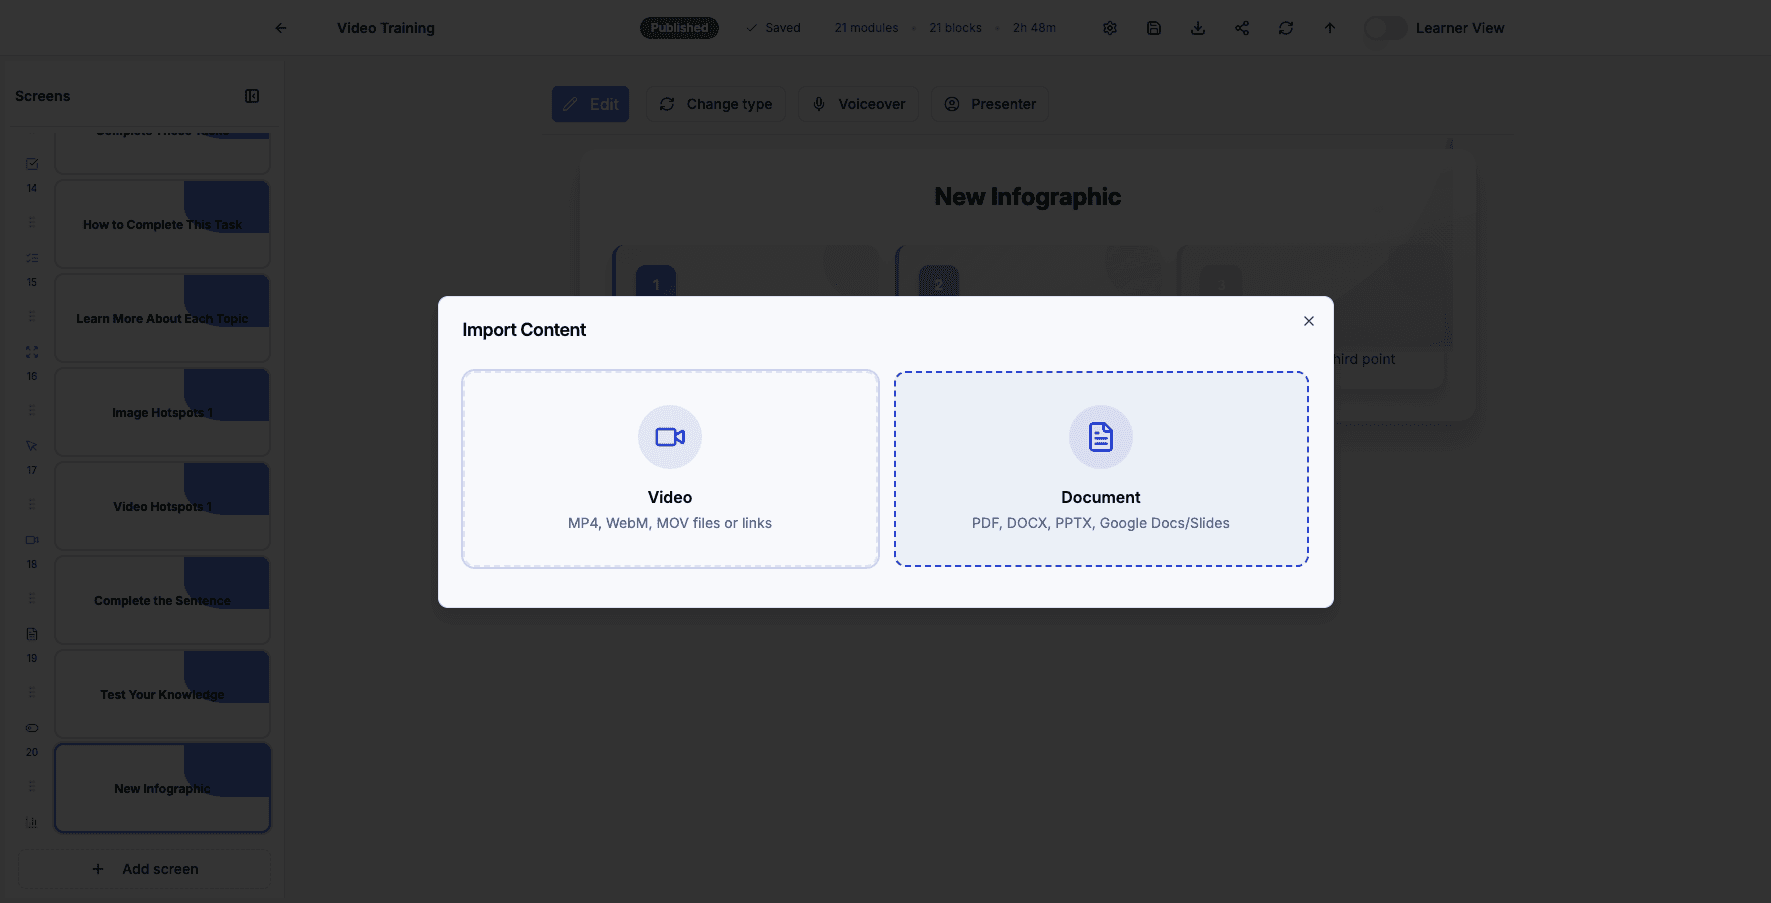
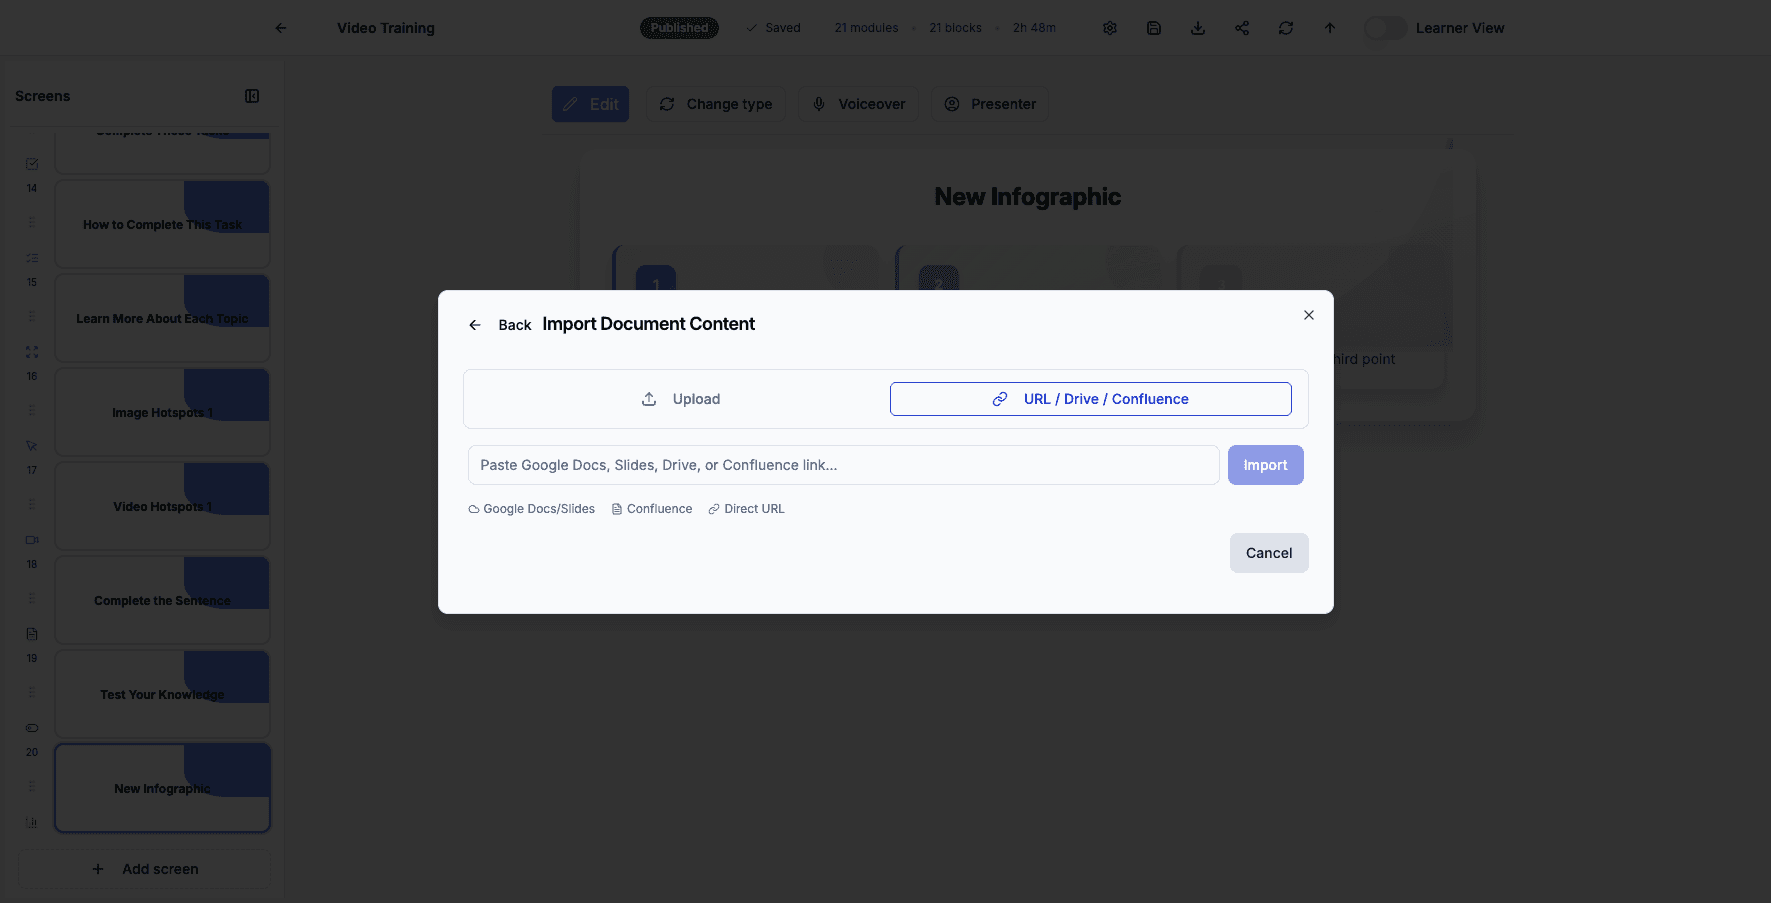
Select Import Content to bring in training material from external sources like PDFs or web pages.
Step 41 of 82
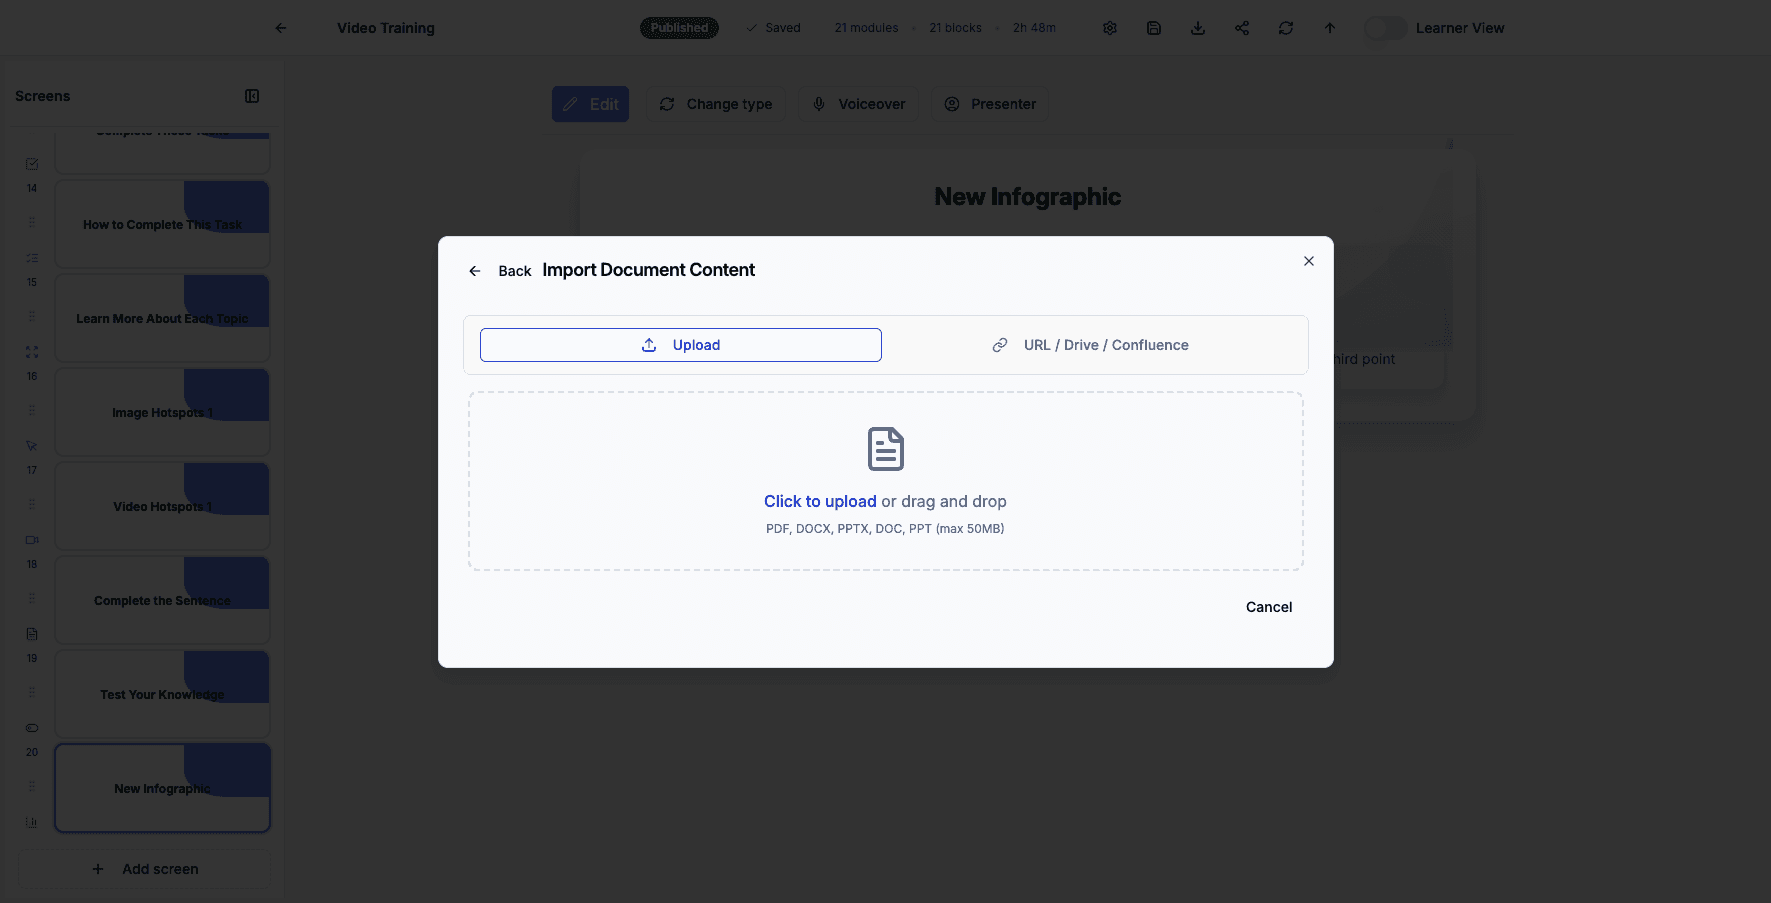
Click Document to upload files from your computer or cloud storage.
Step 42 of 82
Click URL / Drive / Confluence to import content from web links or connected platforms.
Step 43 of 82
Click Cancel to return to the course editor without importing.
Step 44 of 82
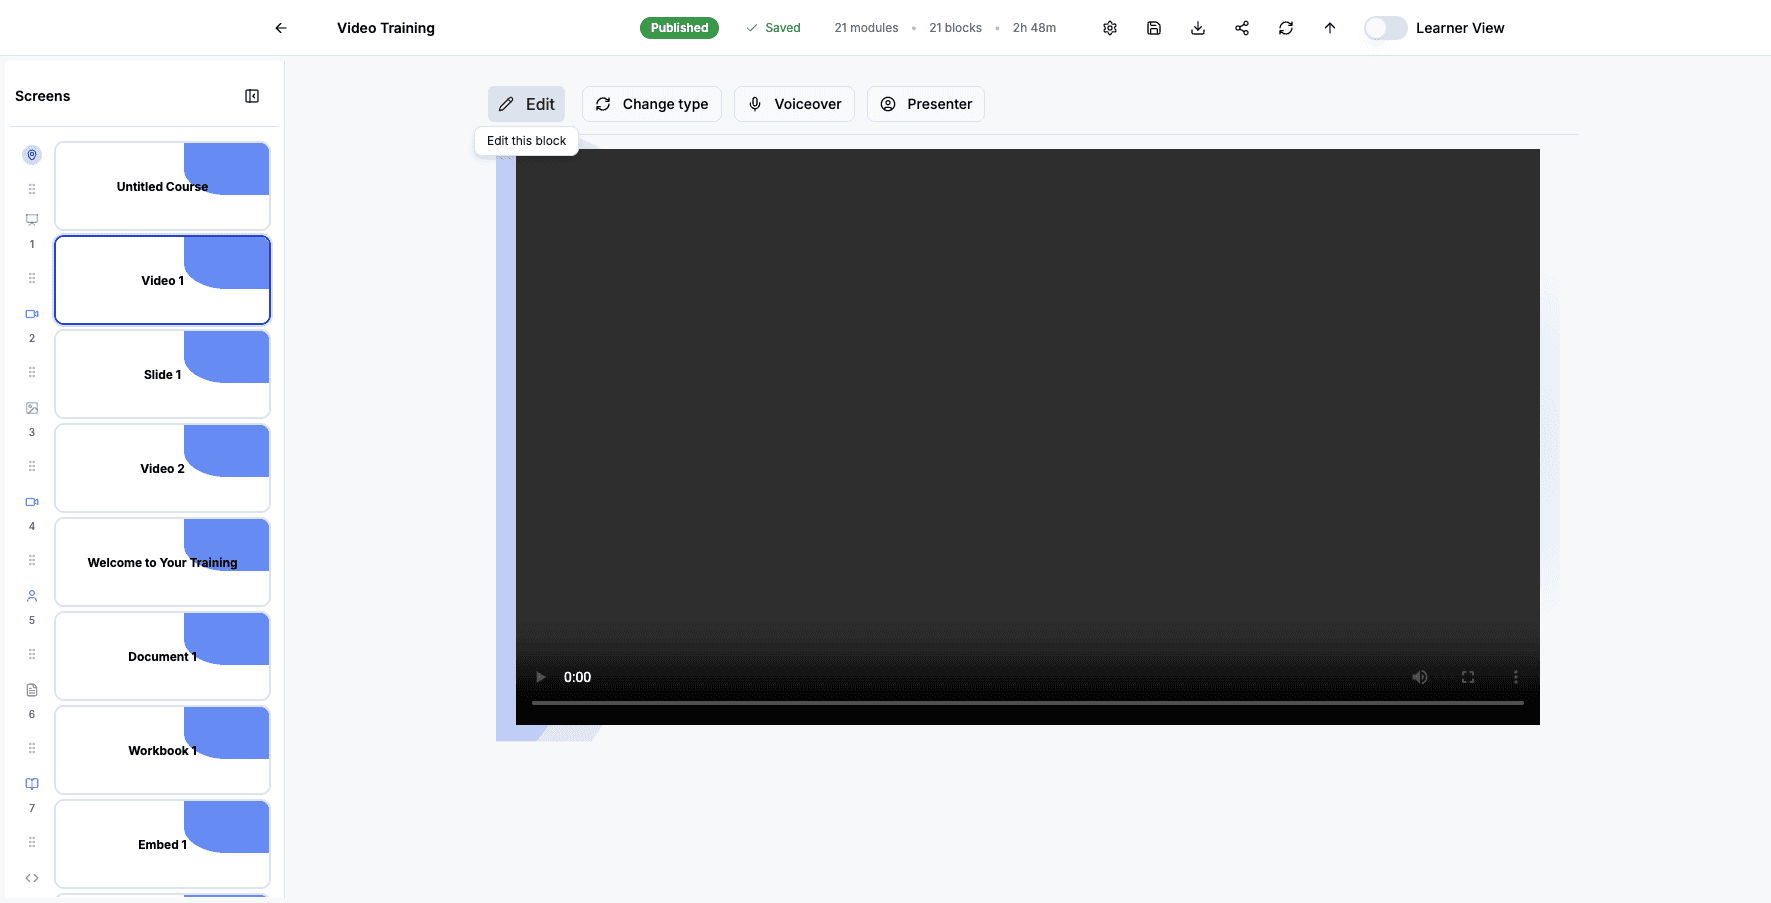
Click the Video 1 screen to edit this video content block.

Step 45 of 82
Click Edit to modify the video settings and content for this screen.
Step 46 of 82
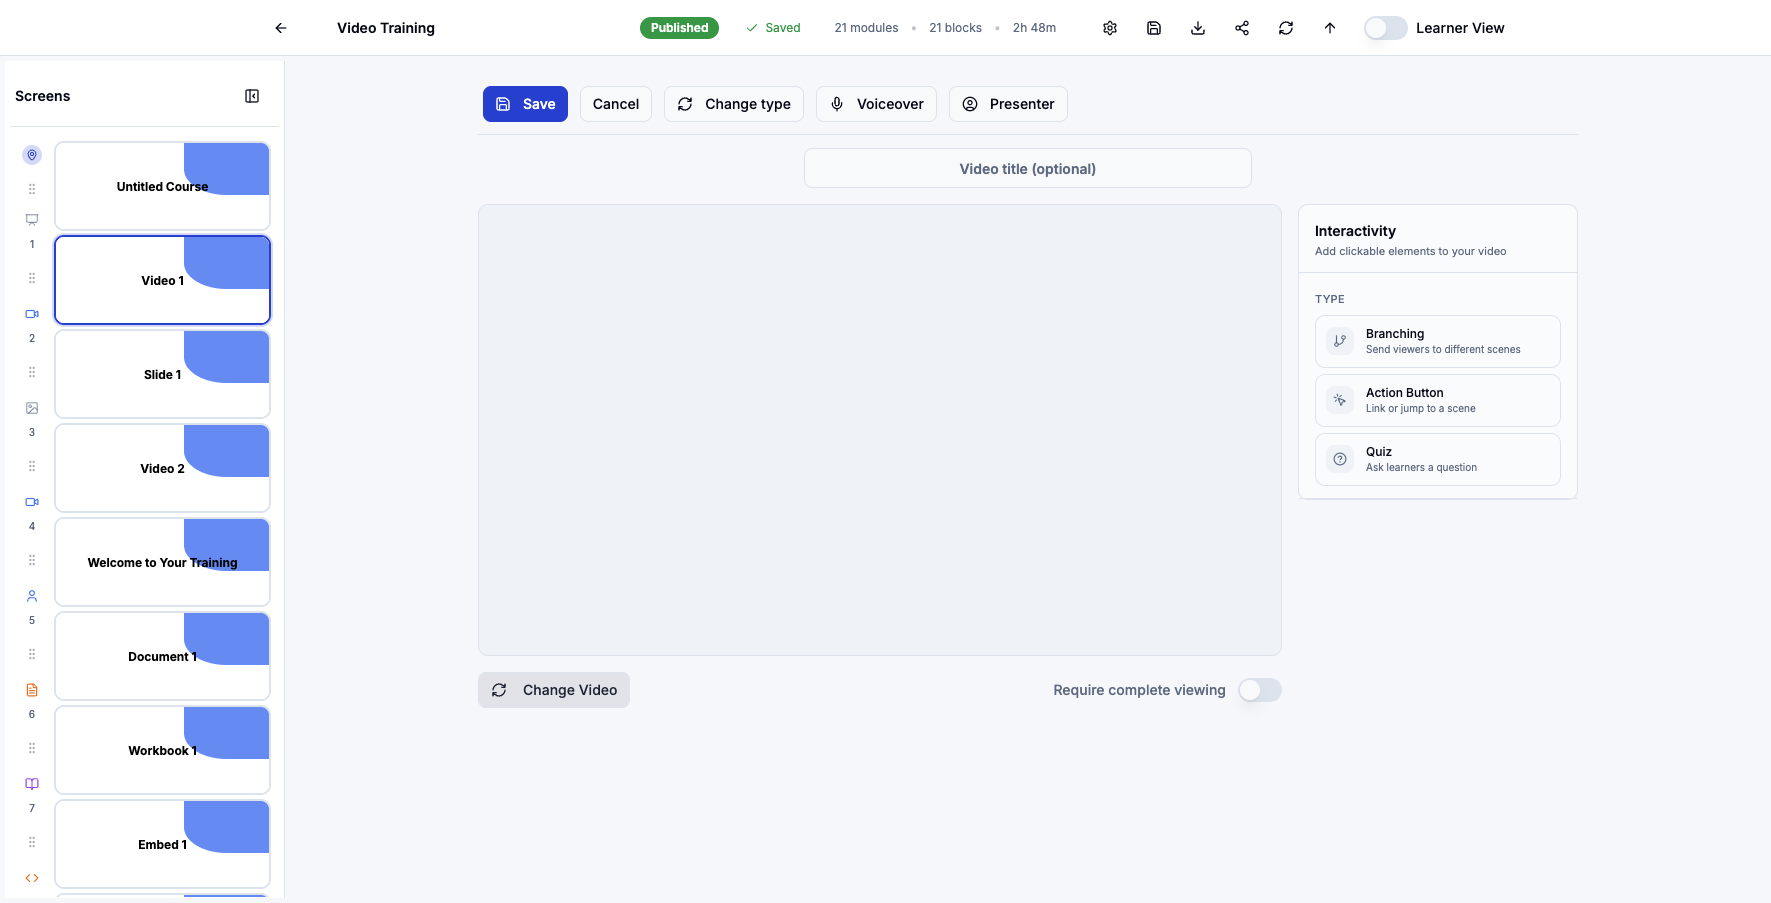
Click Change Video to select a different video file for this lesson.
Step 47 of 82
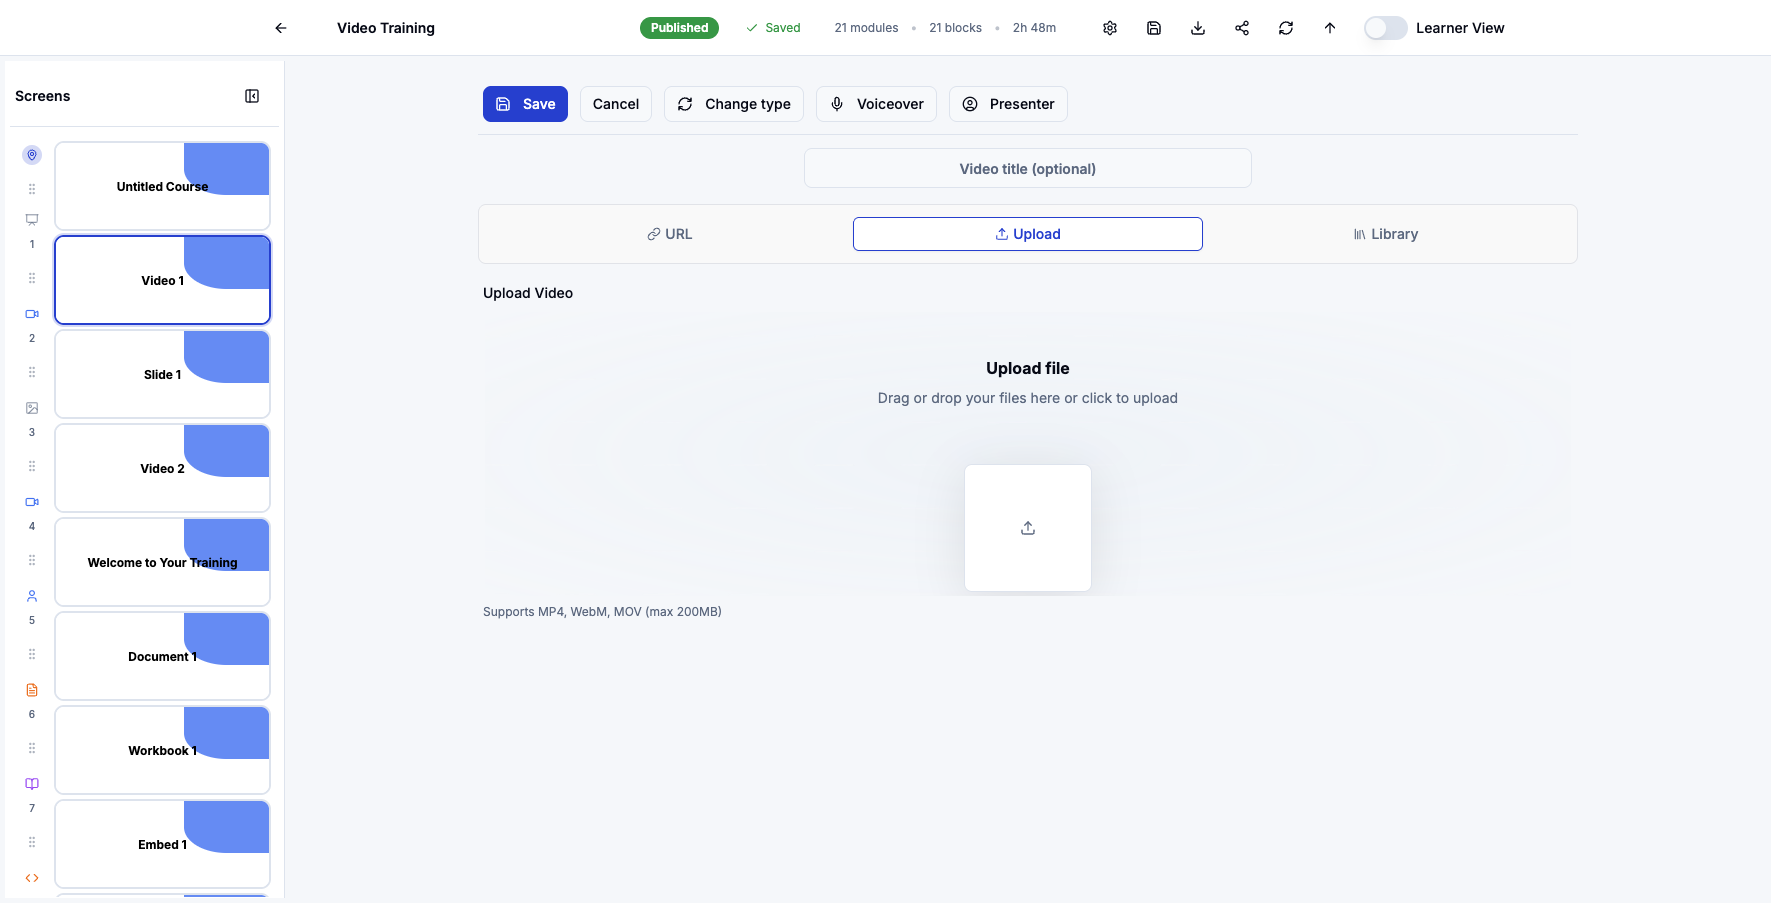
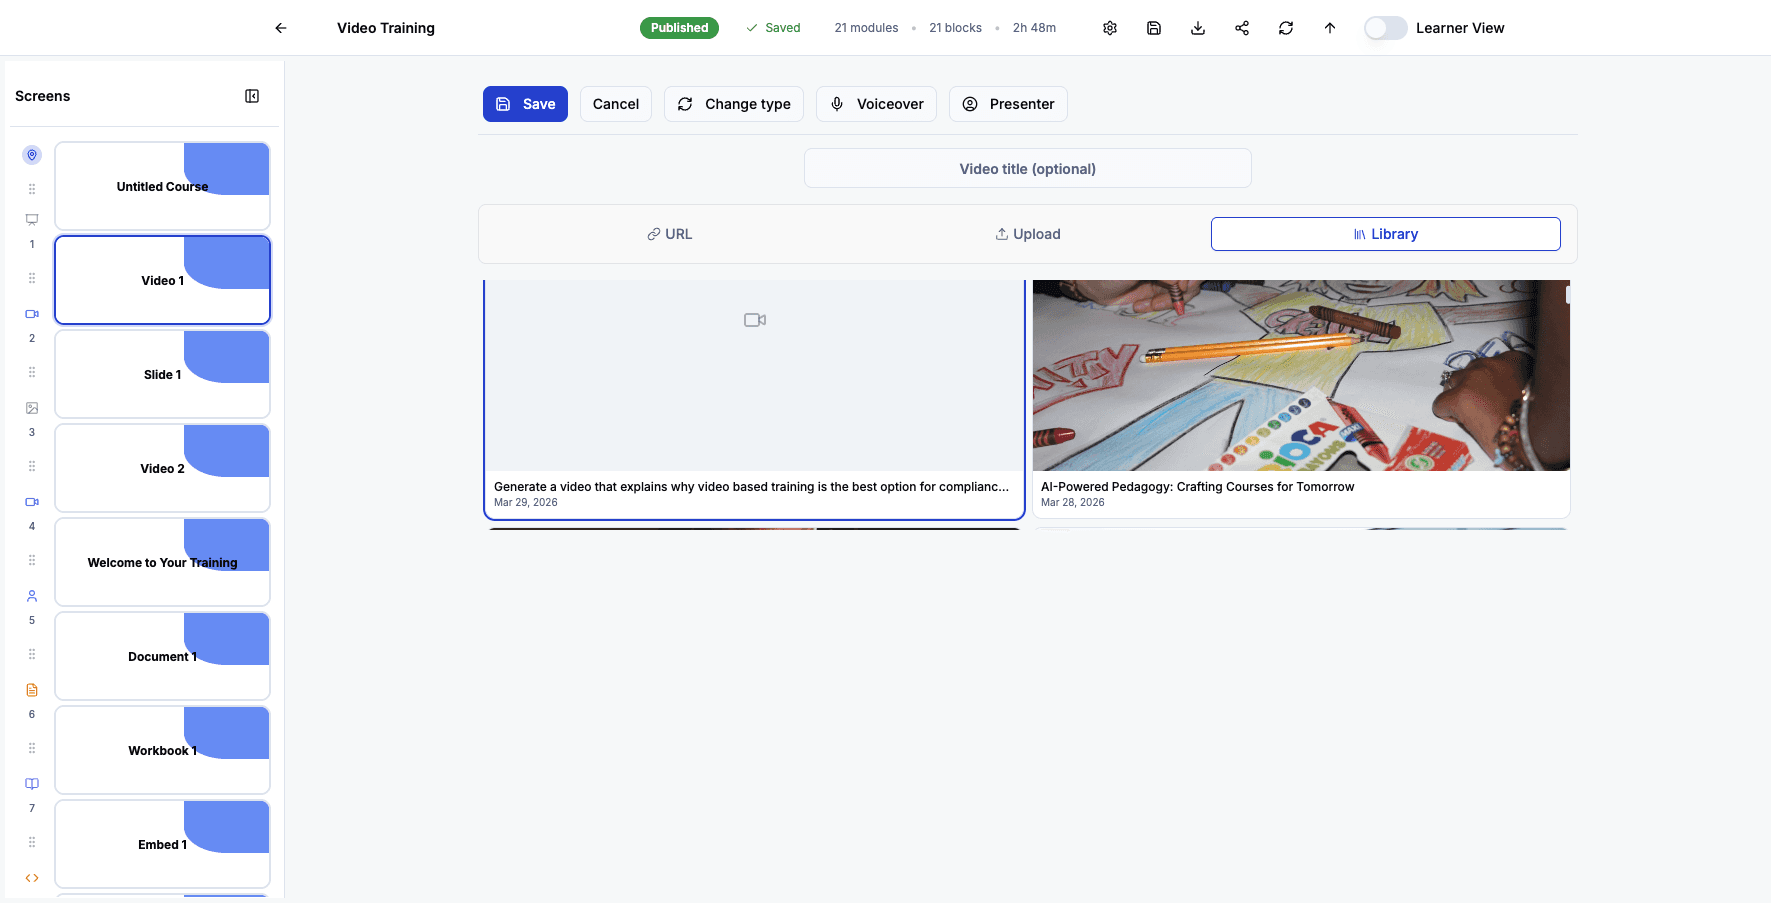
The video source options appear where you can choose from URL, Upload, or Library.
Step 48 of 82
Click Library to select a pre-existing video from your content library.
Step 49 of 82
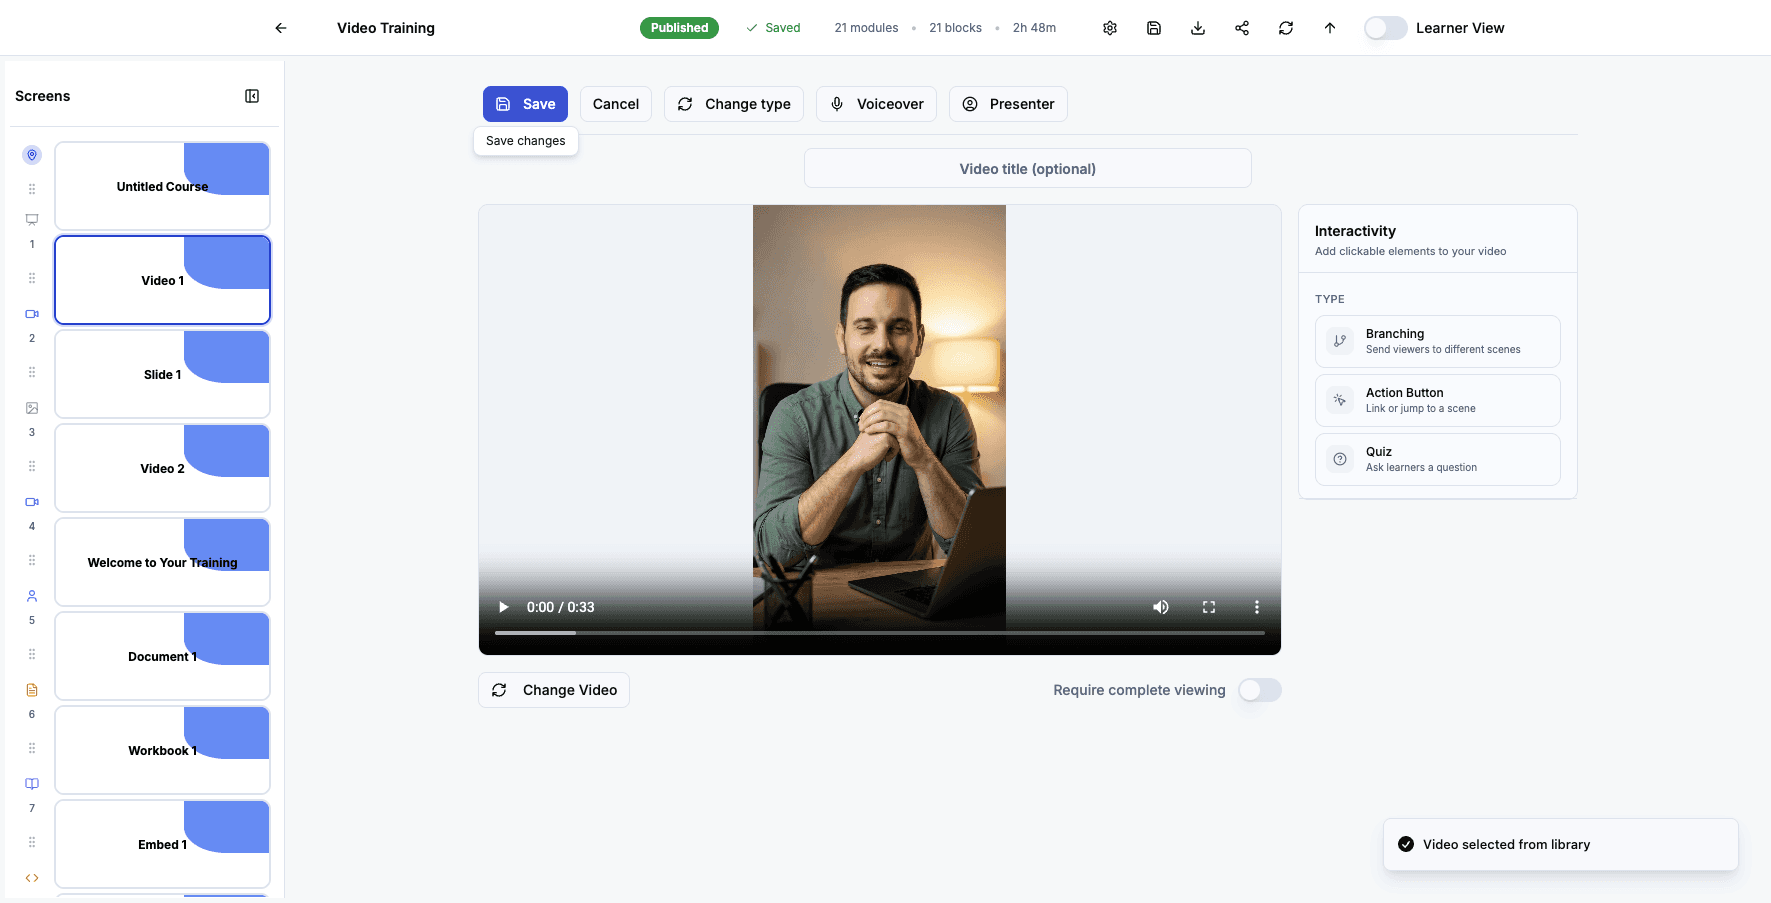
Select this AI-generated video from your library to add it to the course.
Step 50 of 82
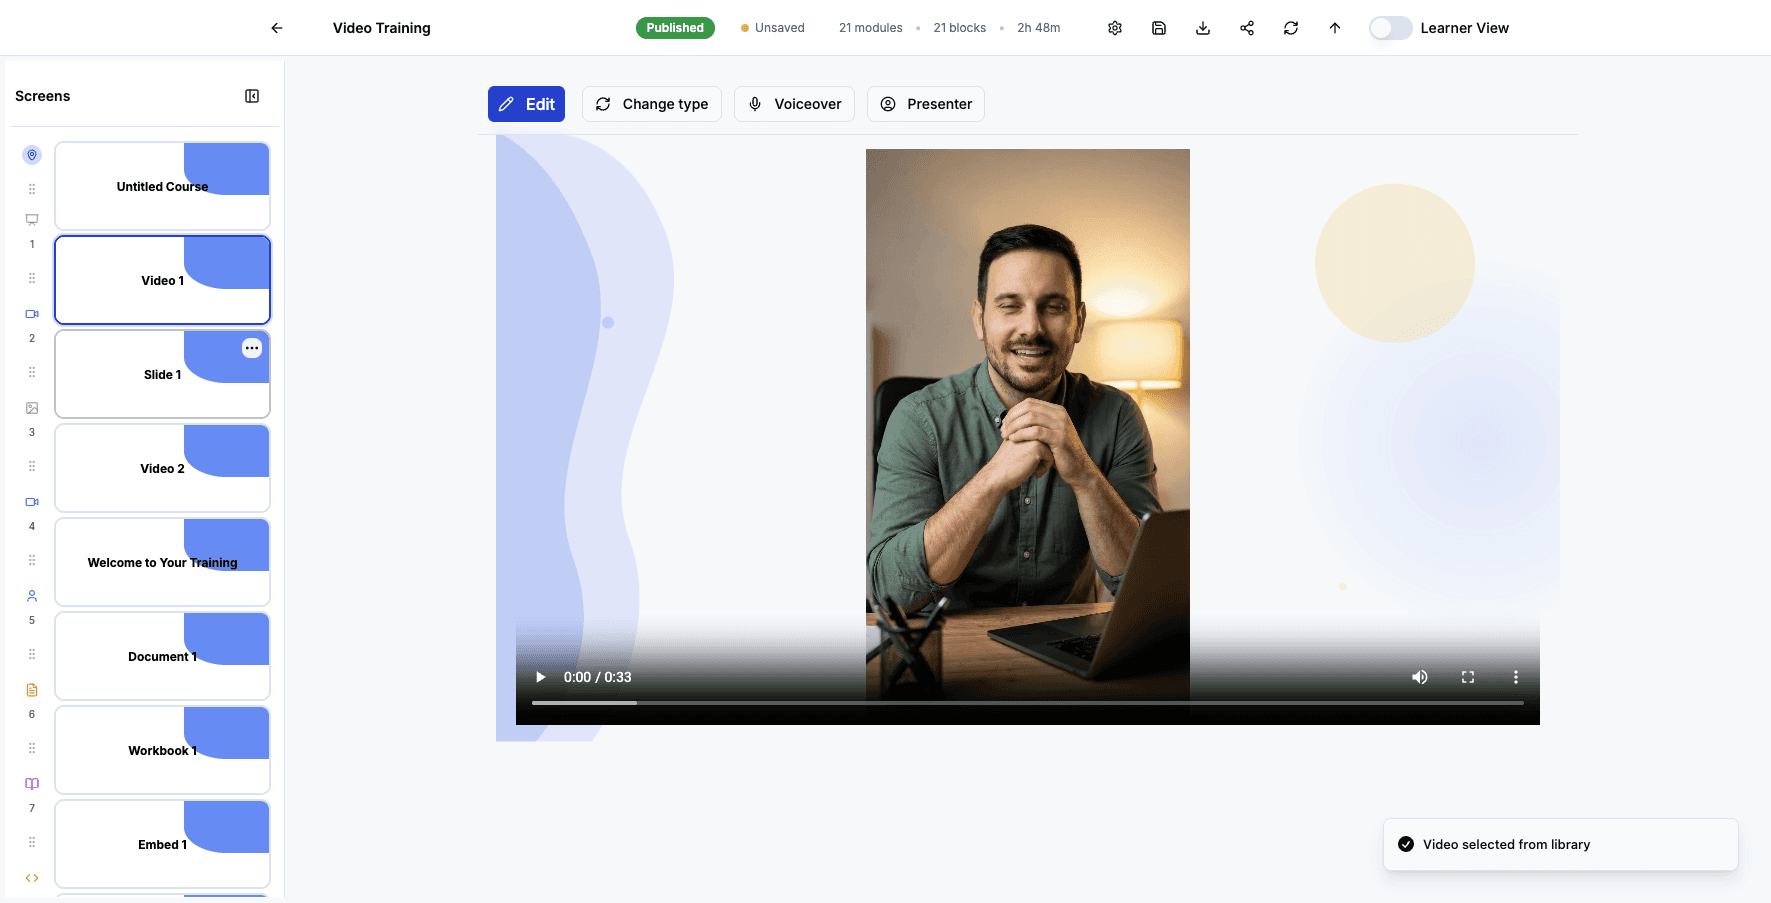
Click Save to apply the video selection and return to the course editor.
Step 51 of 82
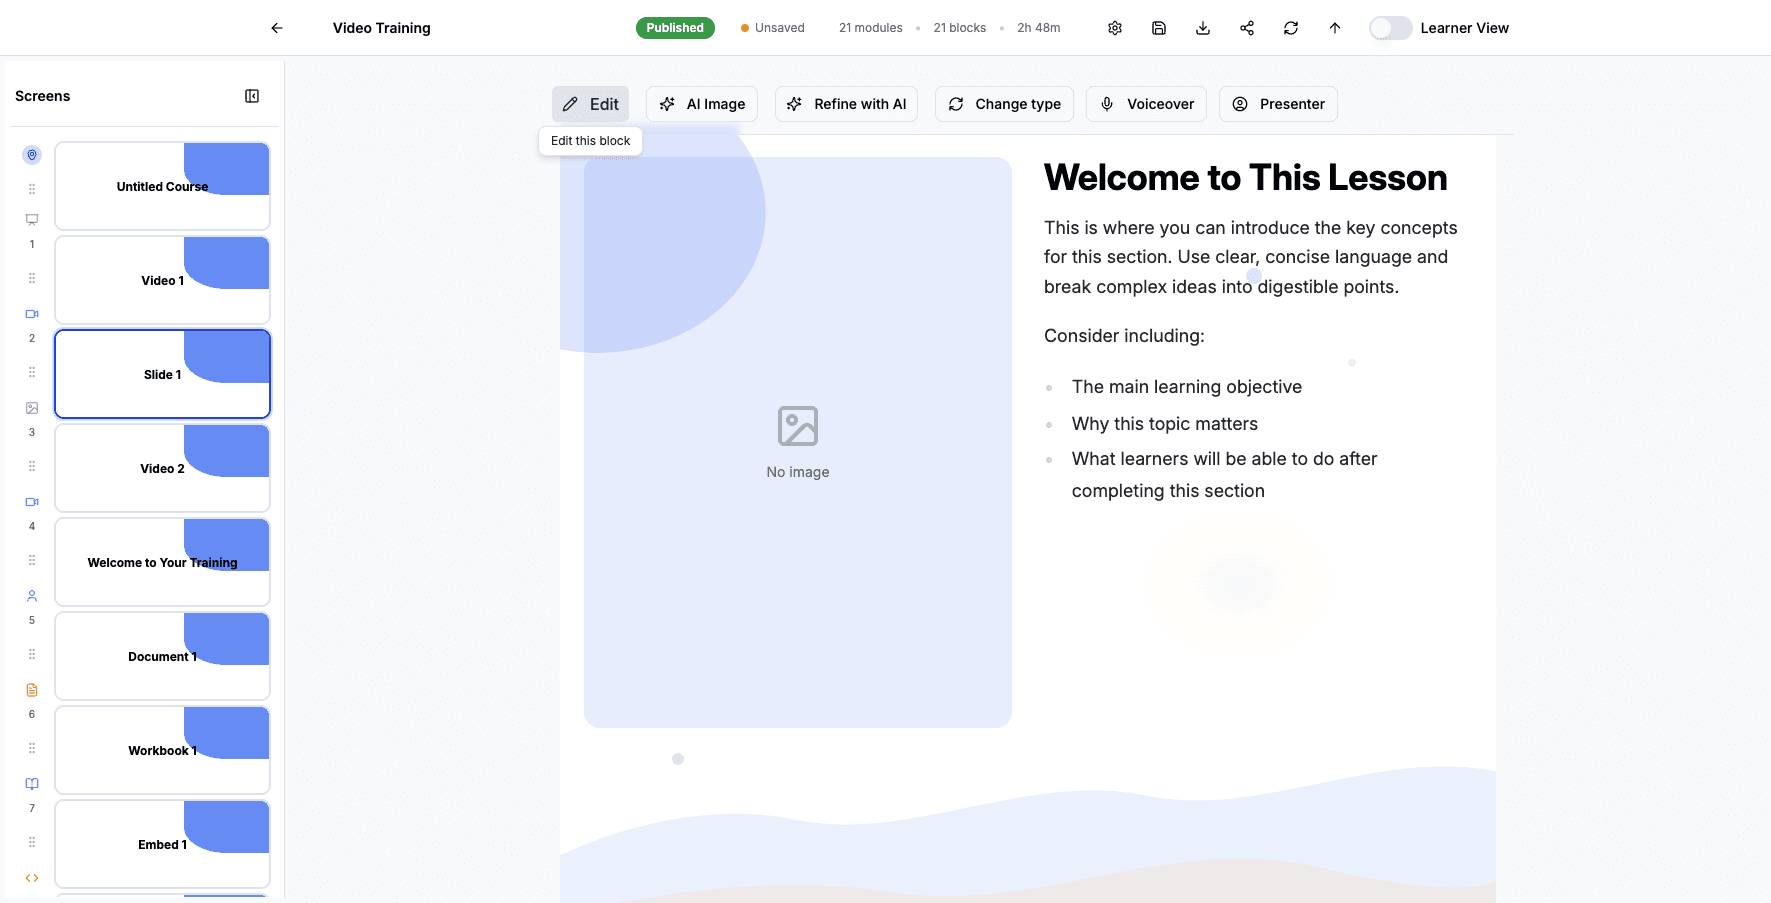
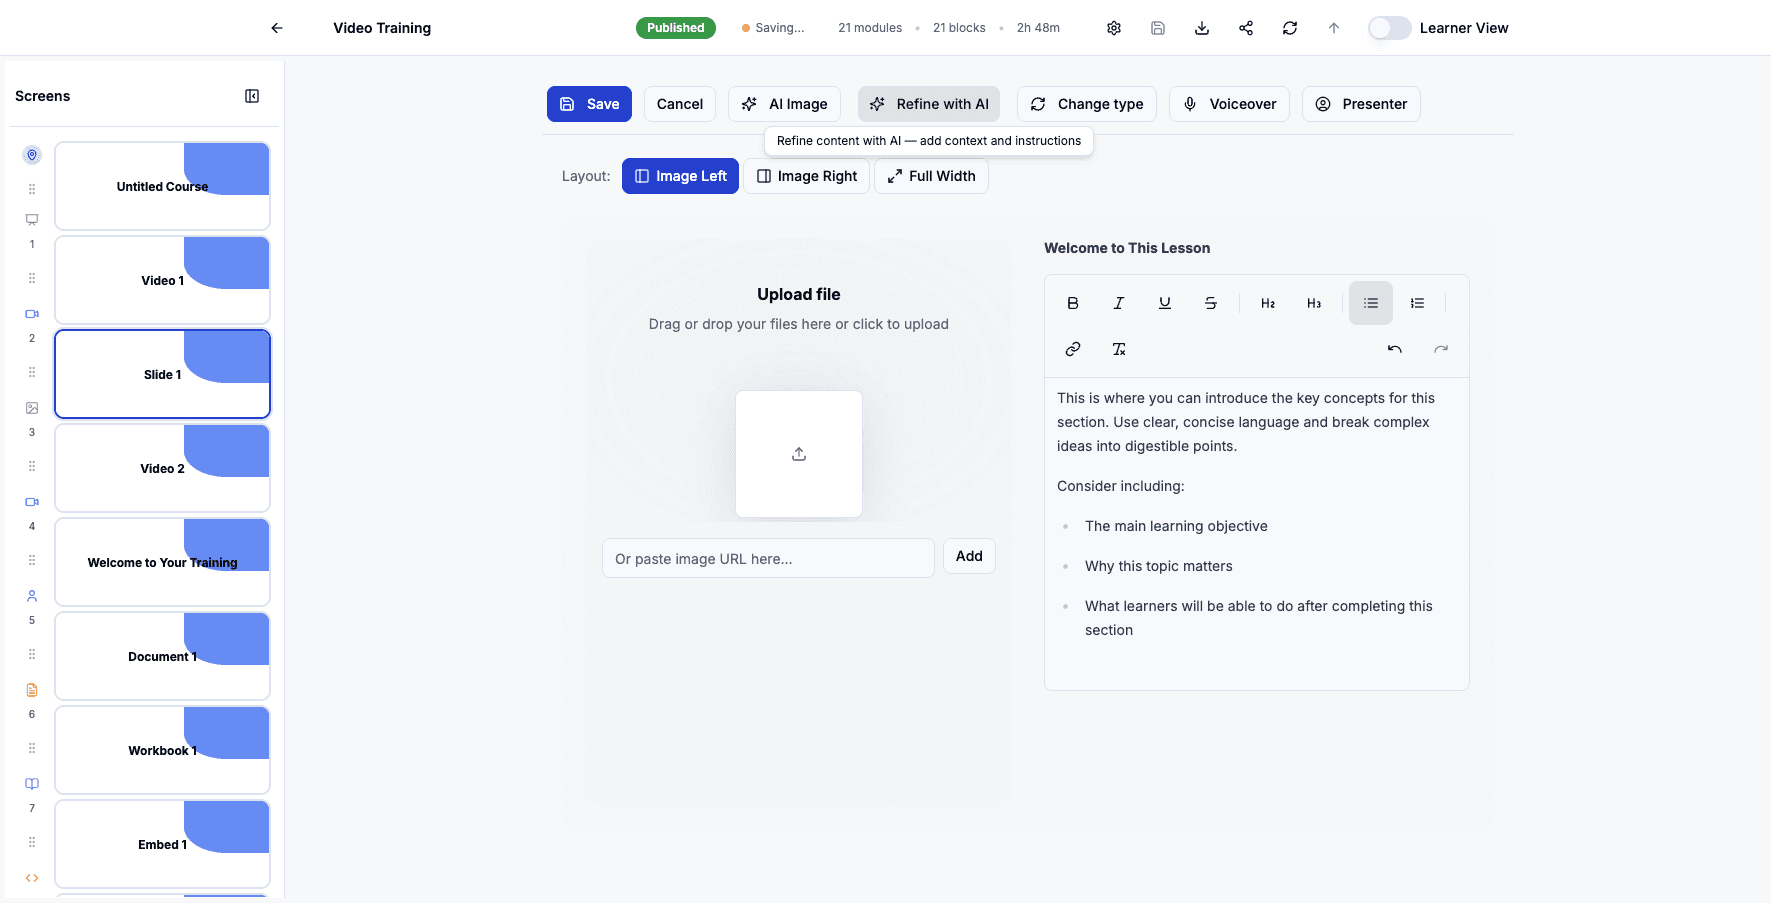
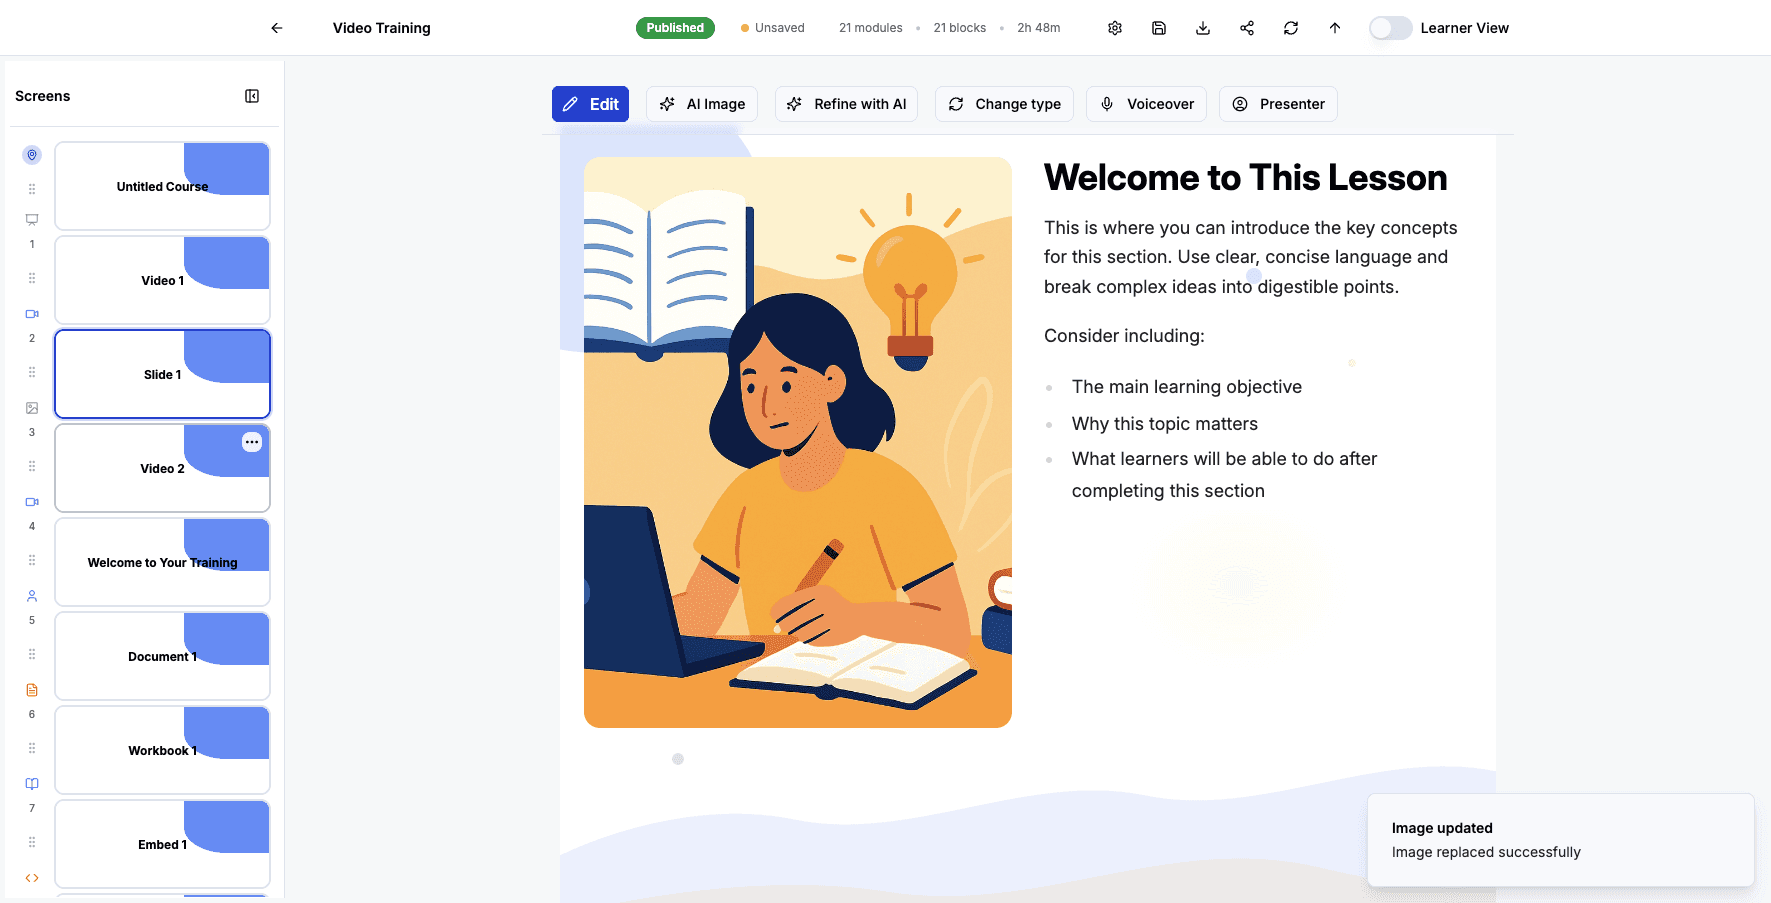
Click the Slide 1 screen to edit this content slide.
Step 52 of 82
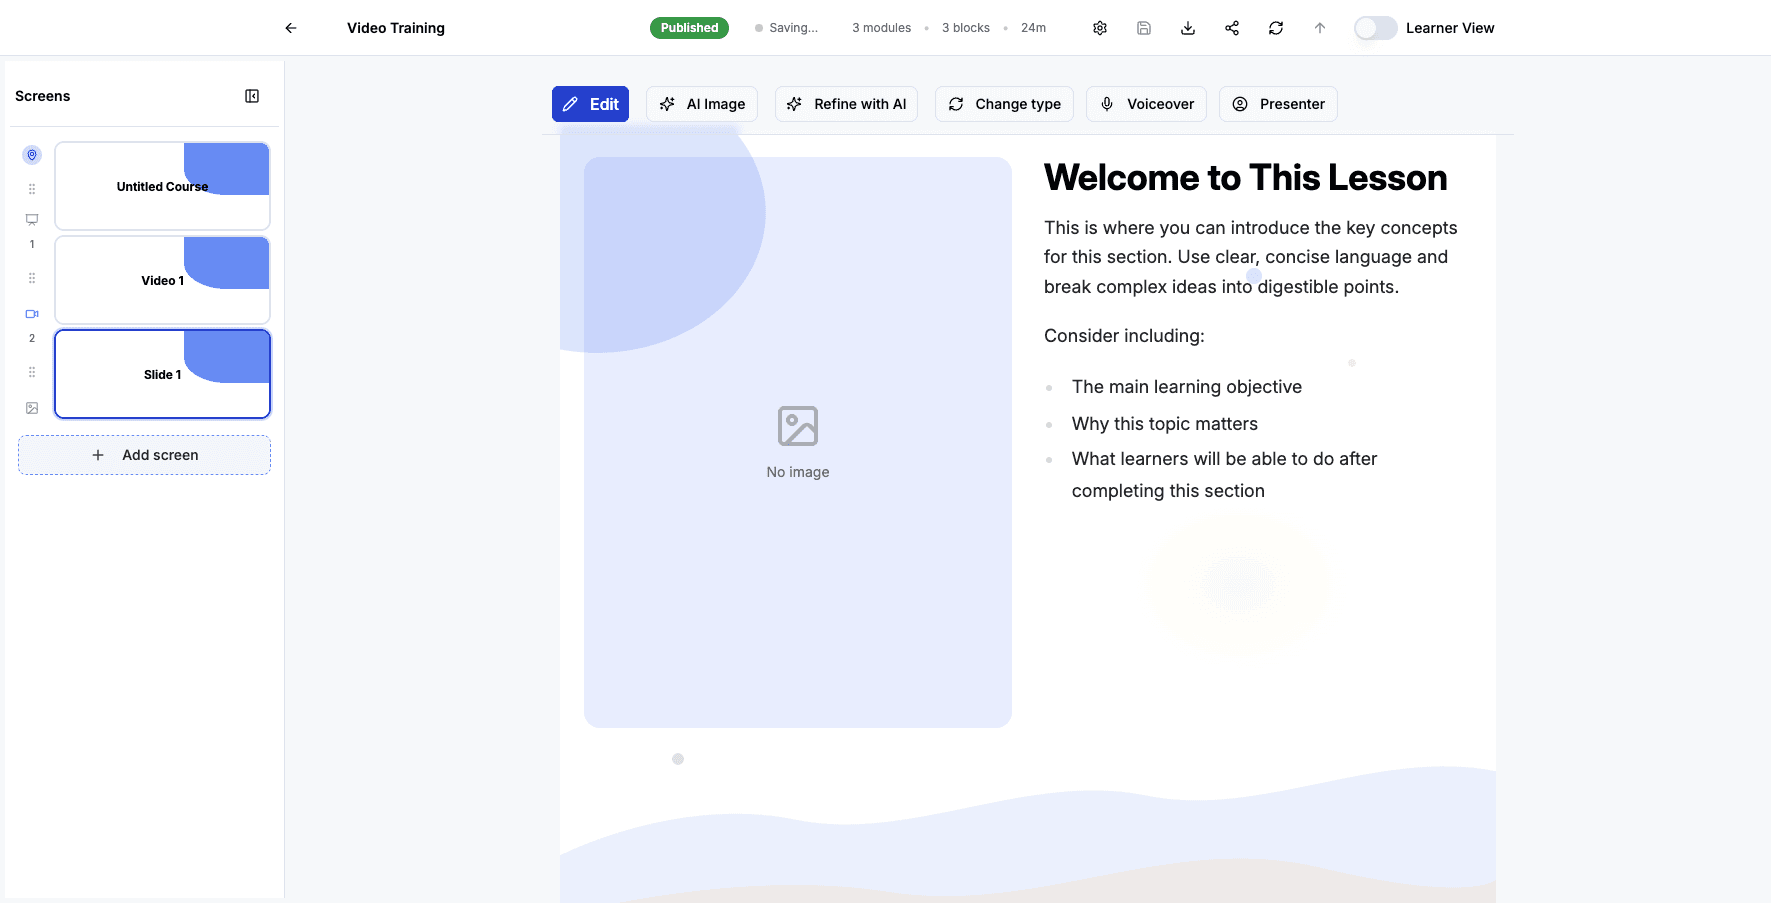
Click Edit to modify the text, images, and layout of this content slide.
Step 53 of 82
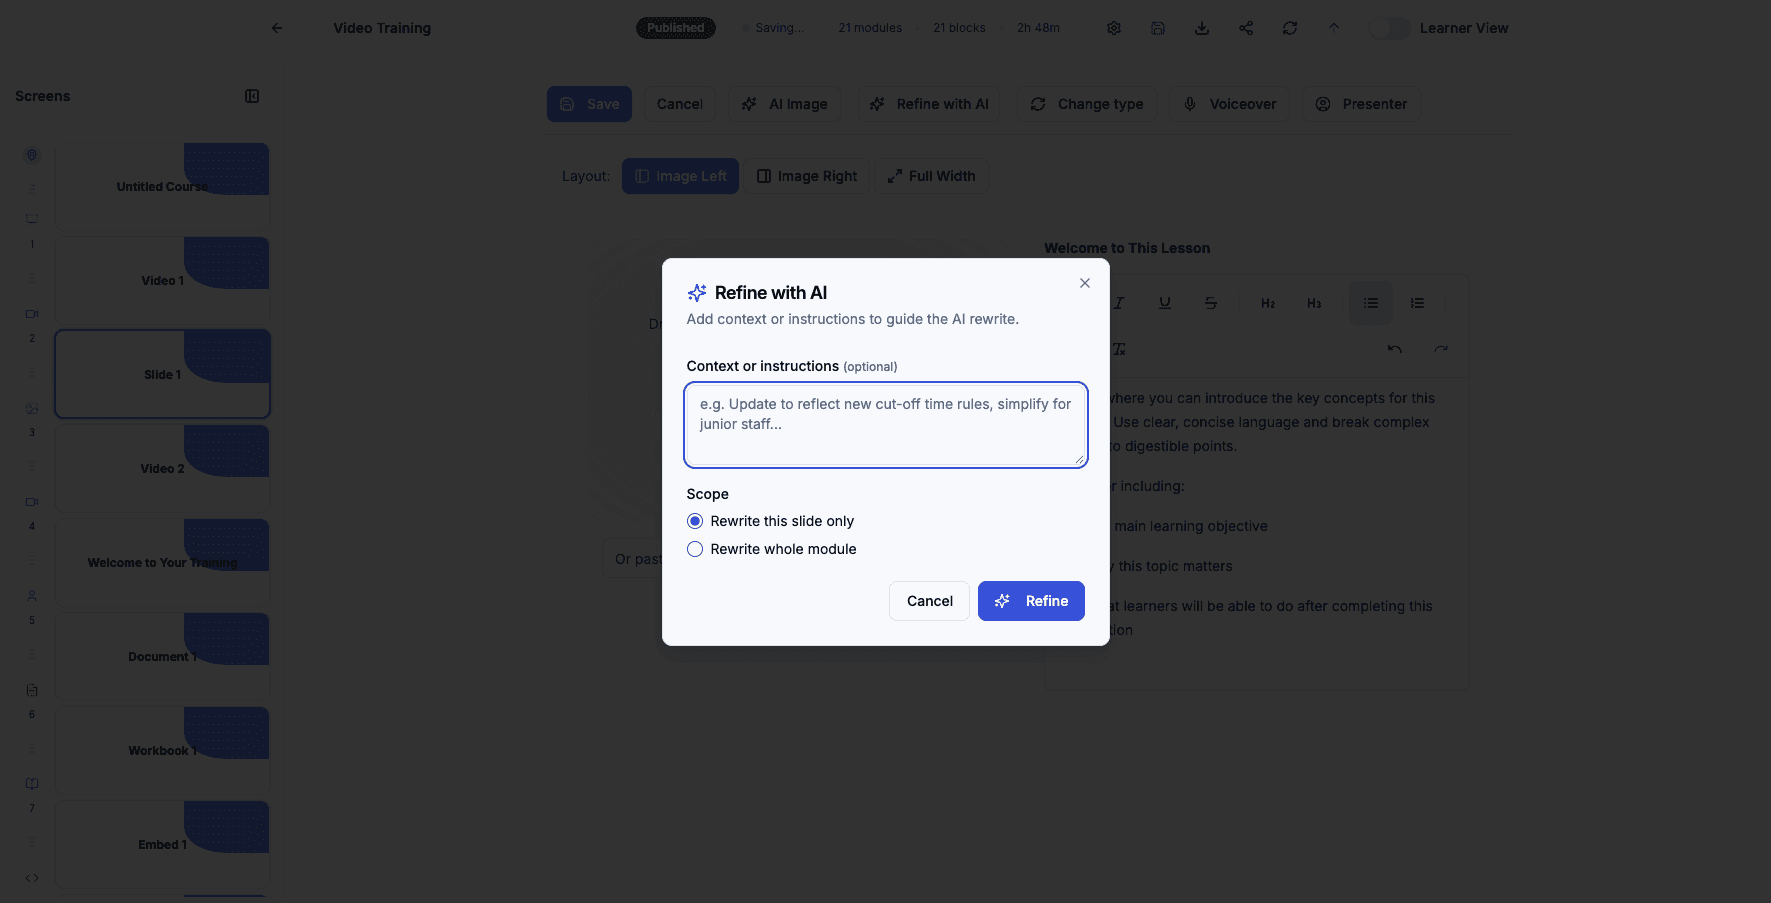
Click Refine with AI to use artificial intelligence to improve and polish your slide content.
Step 54 of 82
Click Refine to apply AI suggestions and enhance the slide's text and structure.
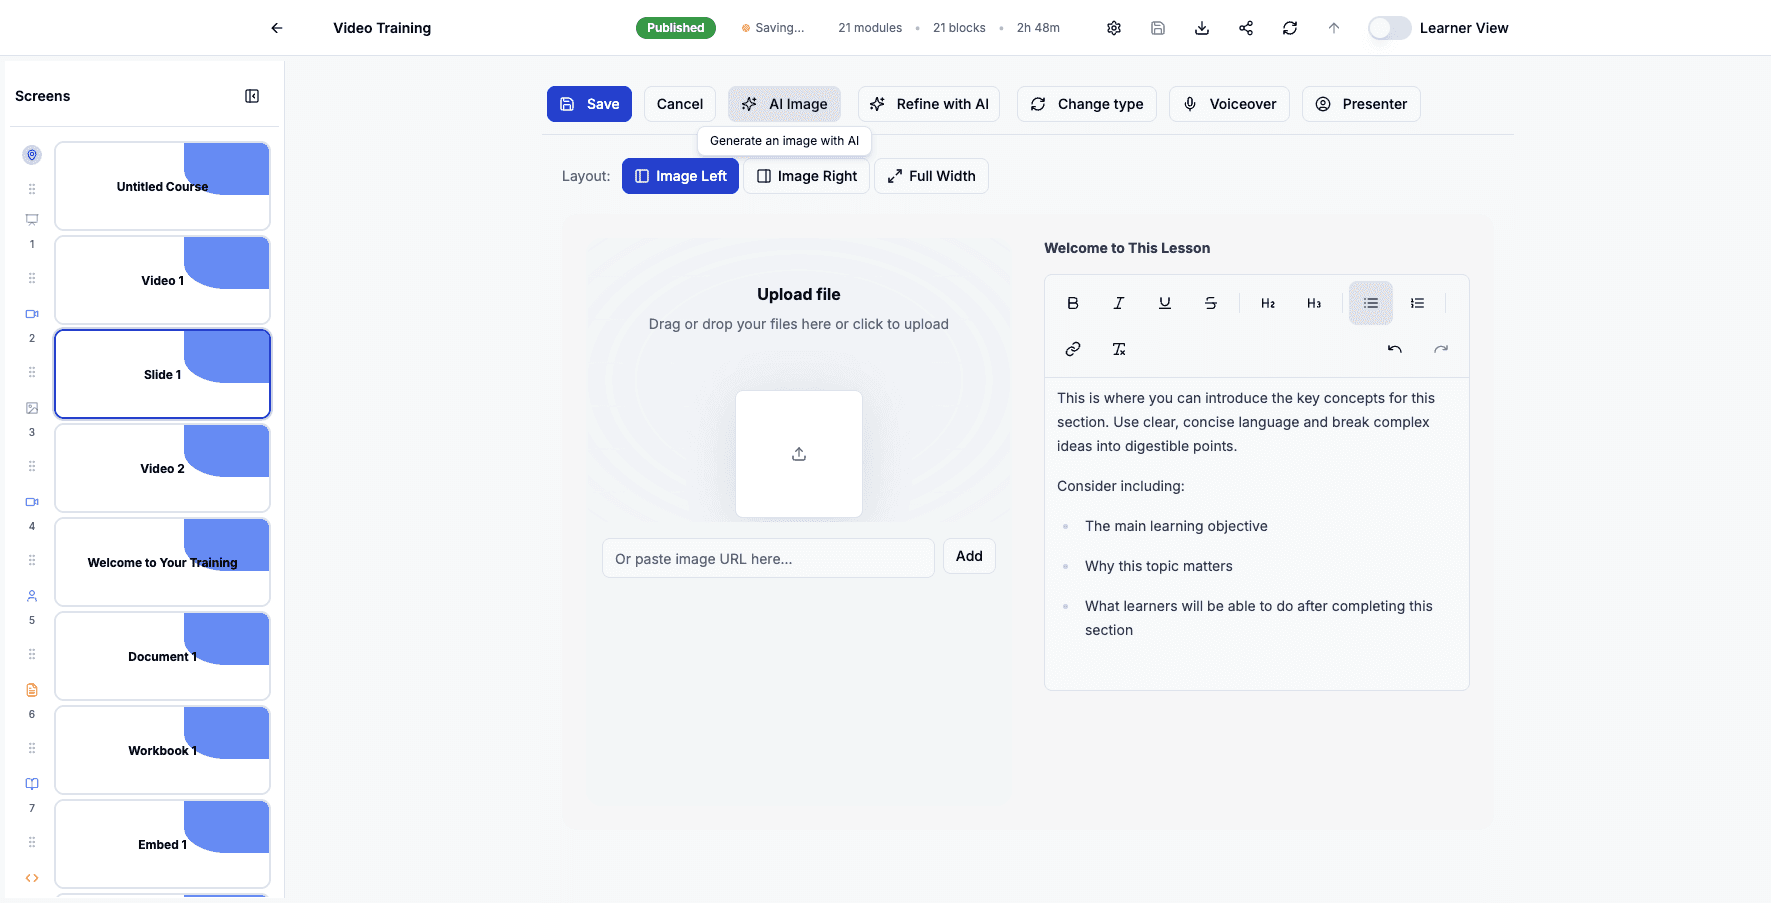
Step 55 of 82
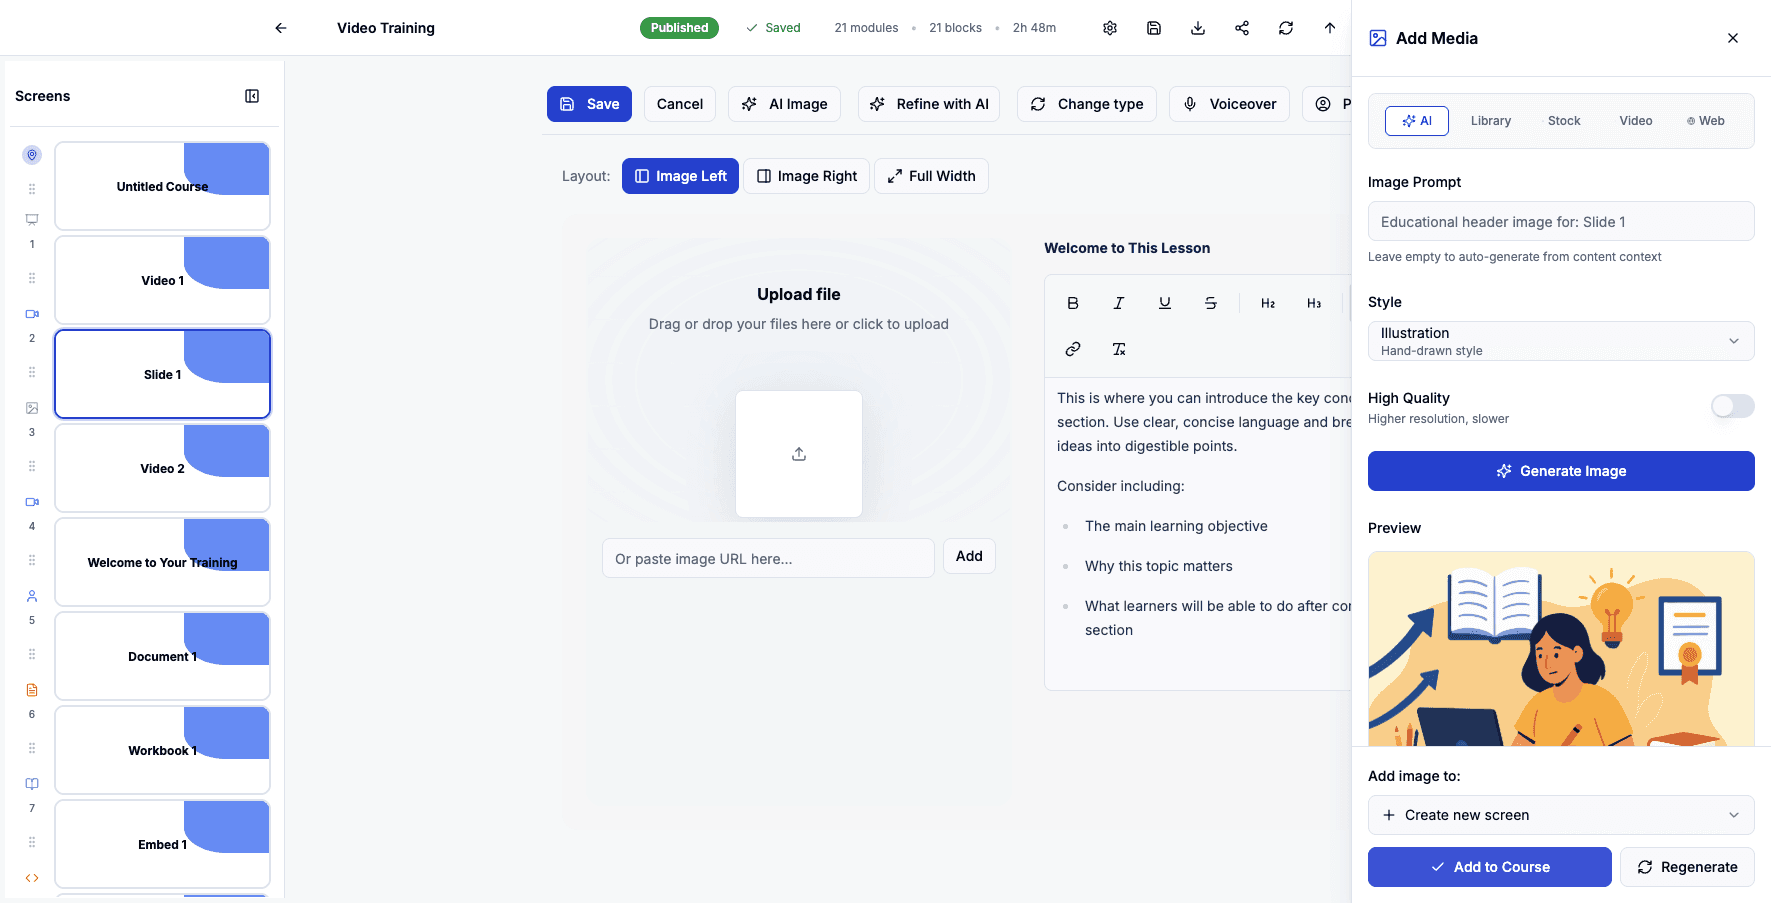
Click AI Image to generate a custom illustration using artificial intelligence.
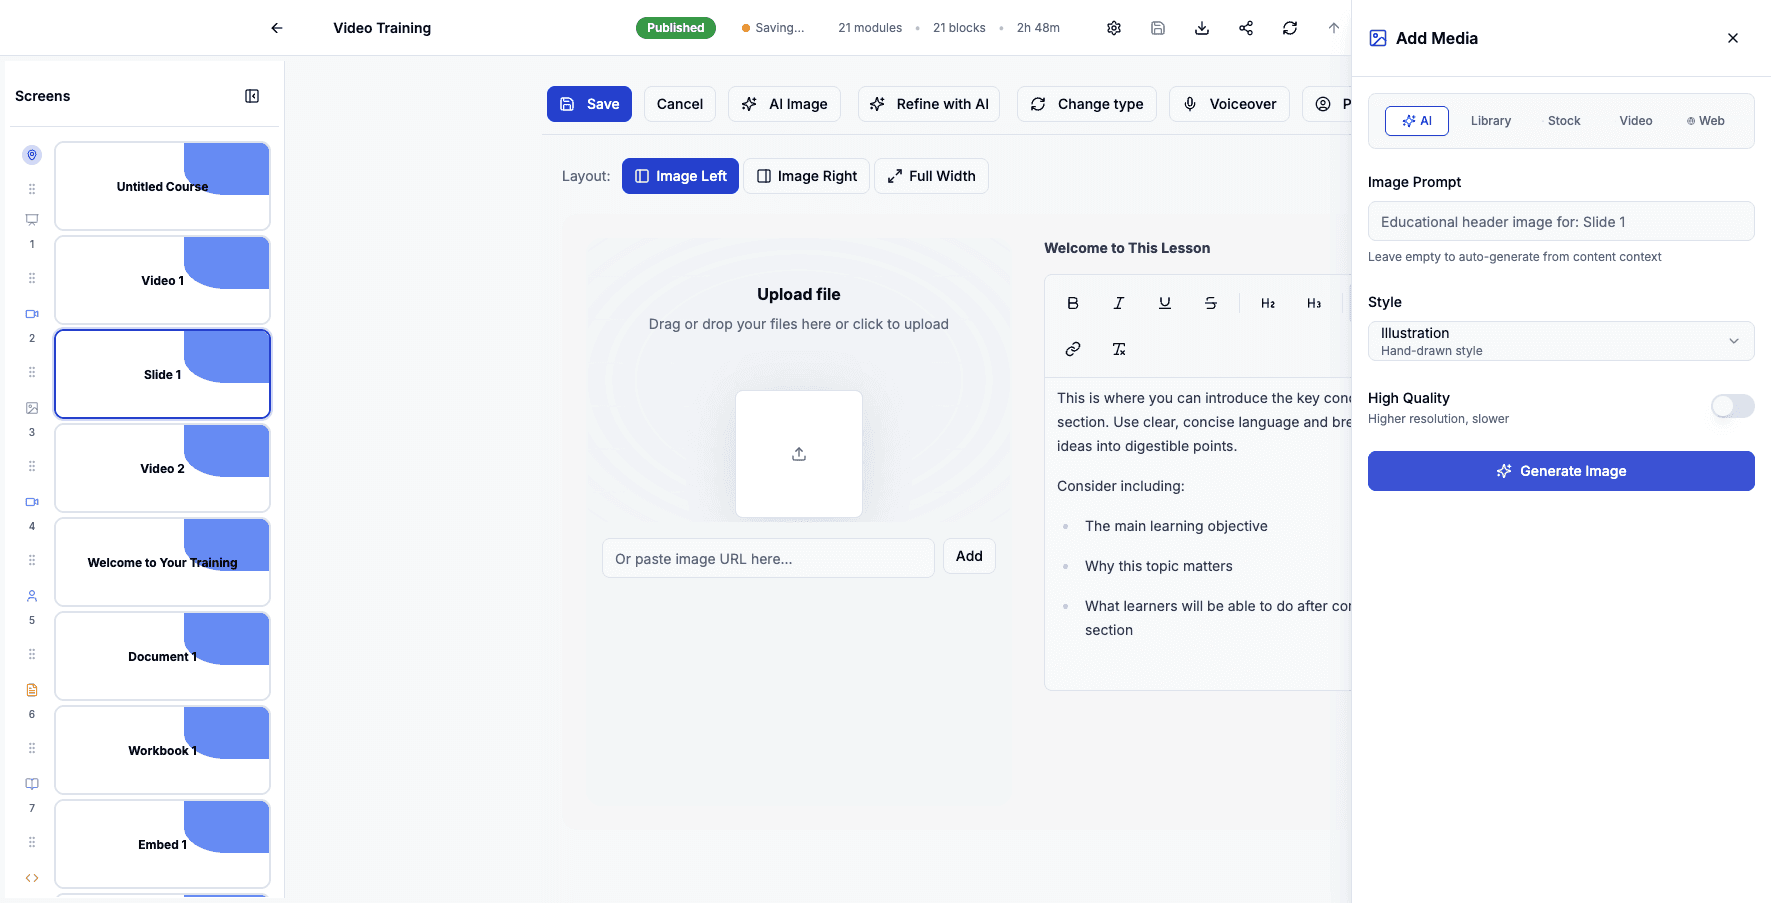
Step 56 of 82
Click Generate Image to create the AI illustration based on your slide content.
Step 57 of 82
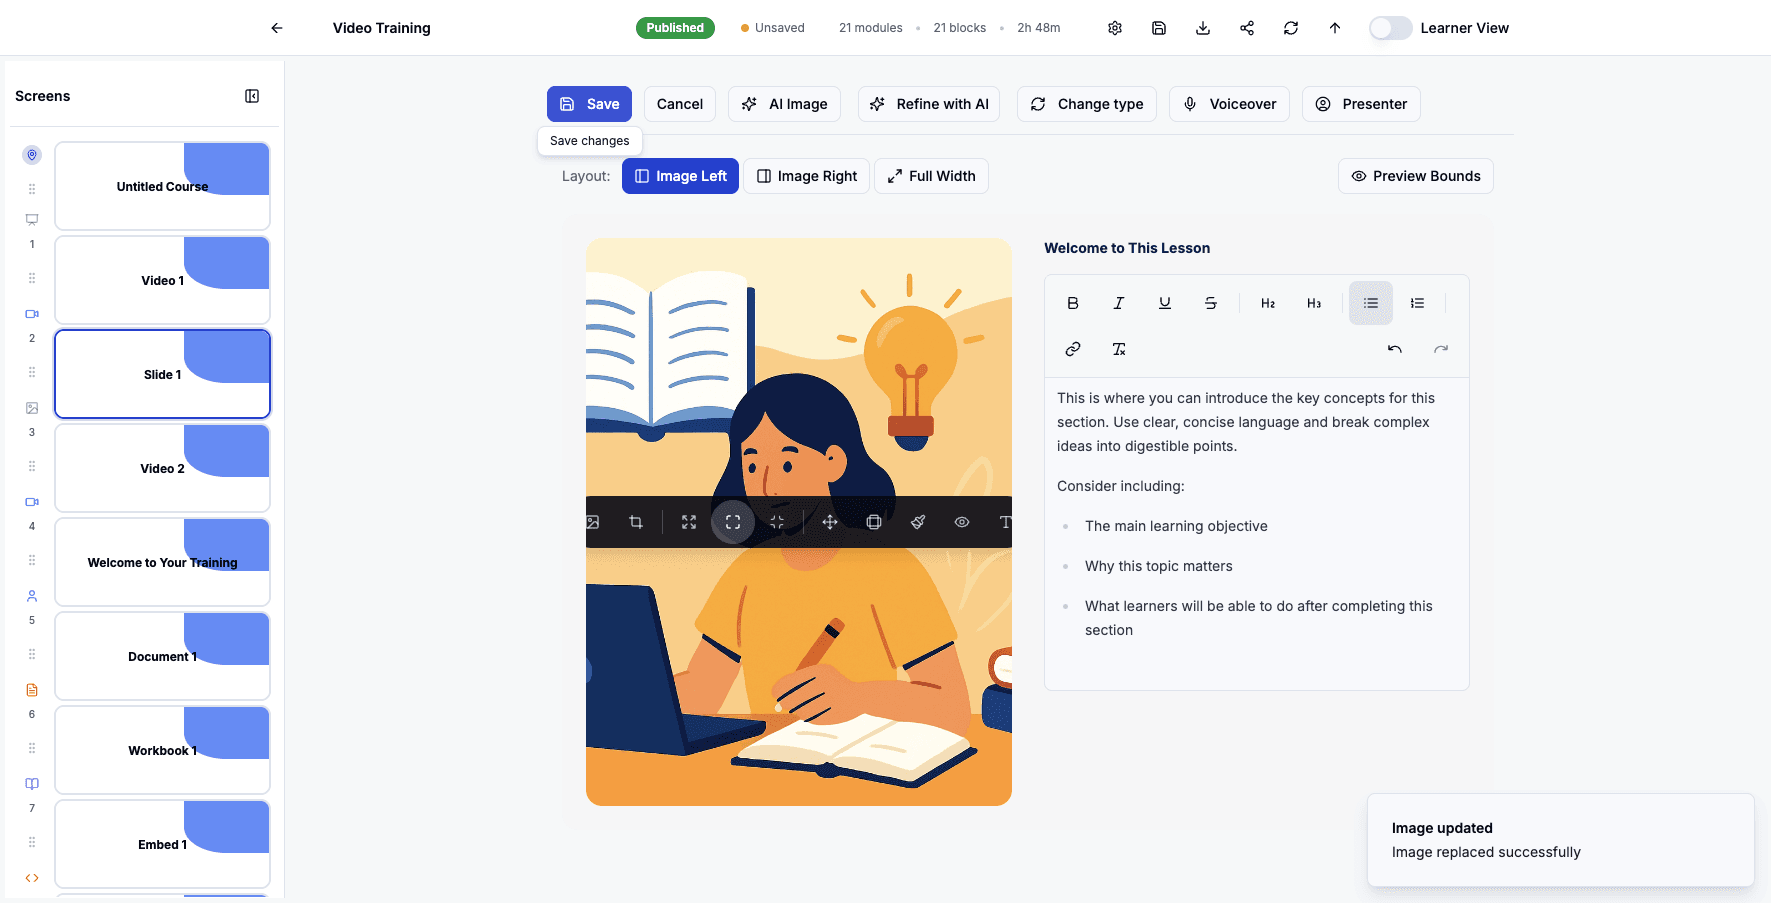
Click Add to Course to insert the generated image into your slide.
Step 58 of 82
Click Save to apply all changes and return to the main course view.
Step 59 of 82
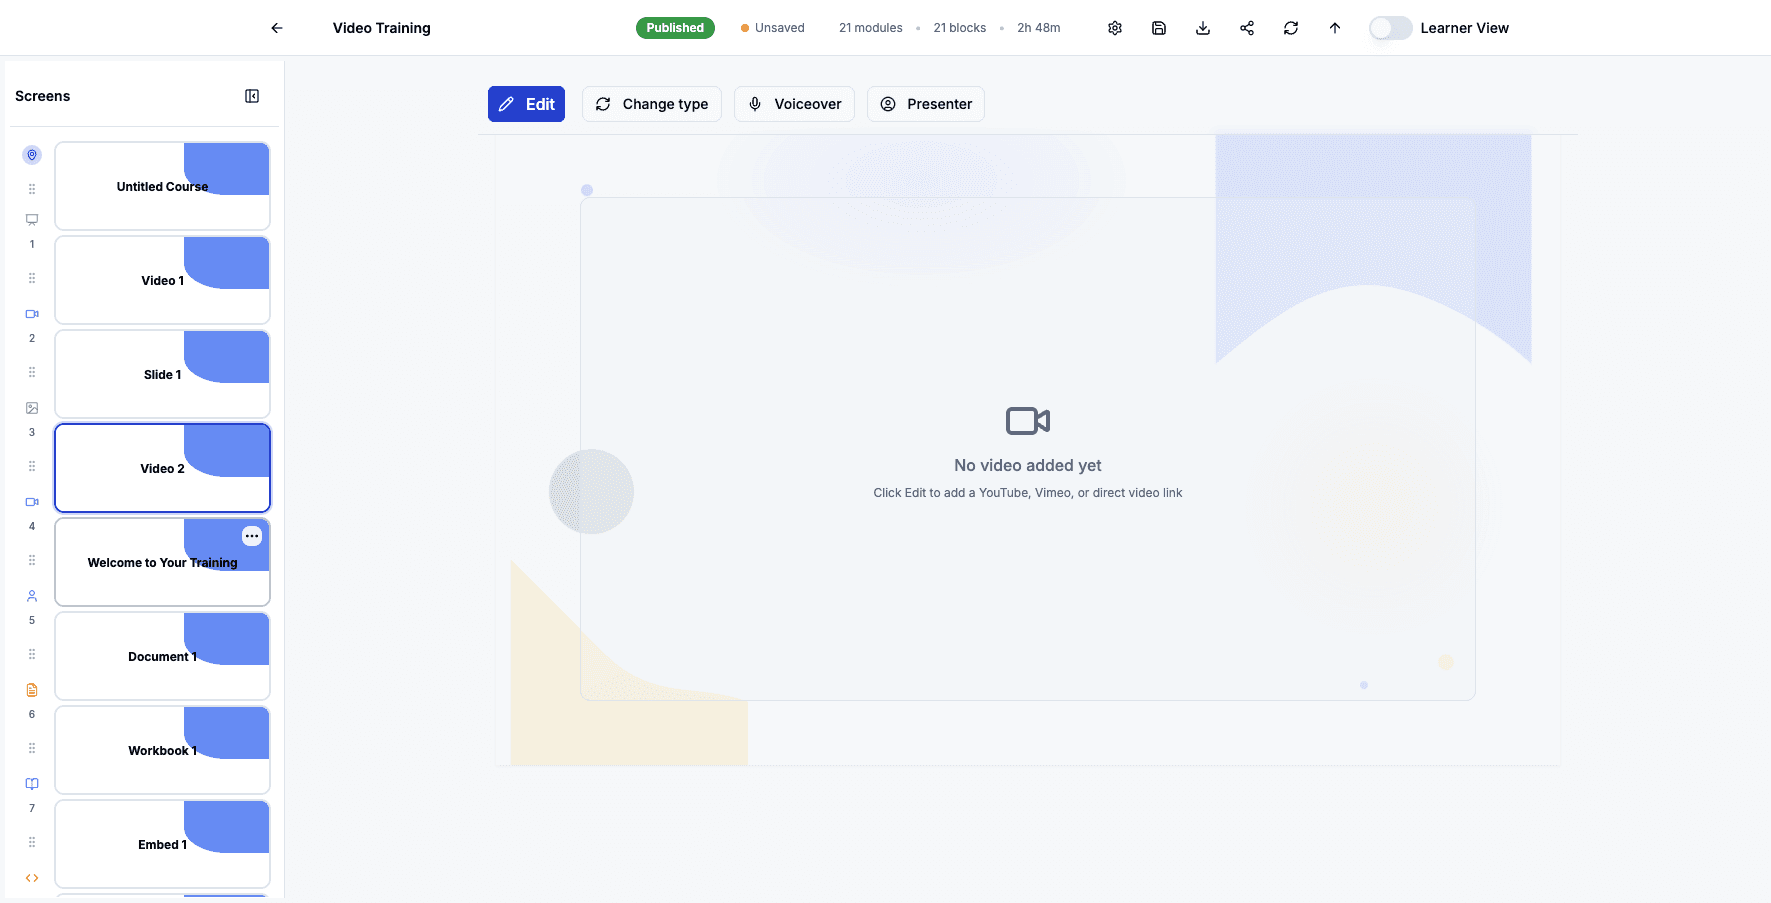
Click the Video 2 screen to edit this second video content block.
Step 60 of 82
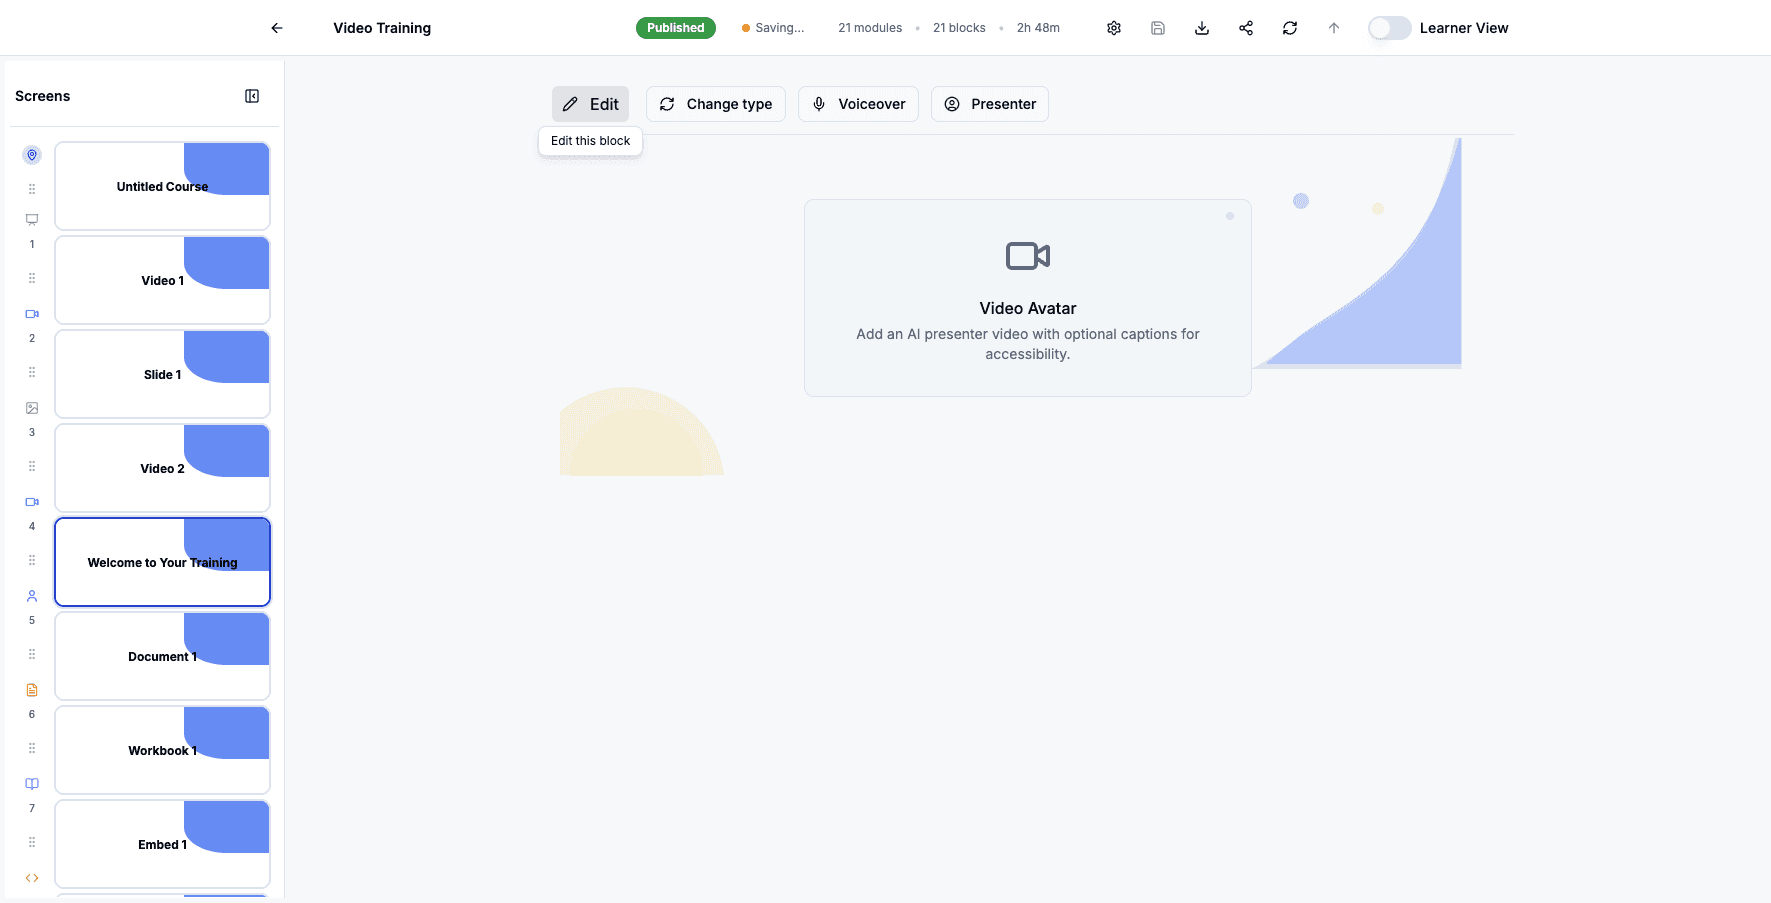
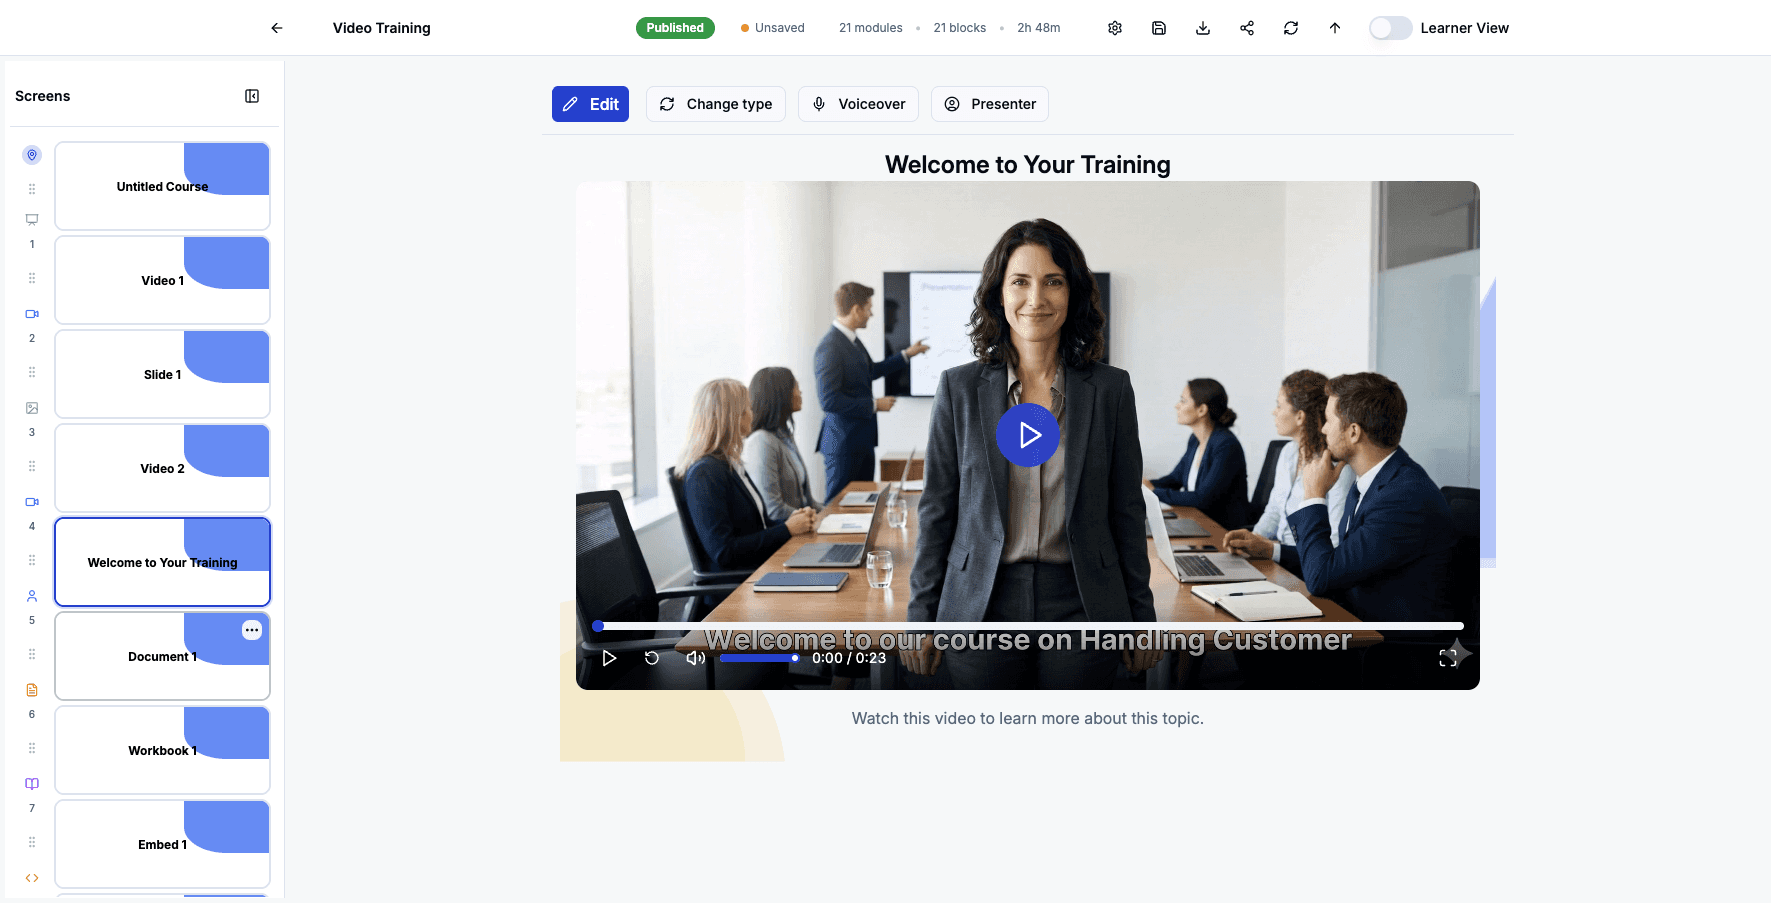
Click the Welcome to Your Training avatar screen to edit this AI presenter video.
Step 61 of 82
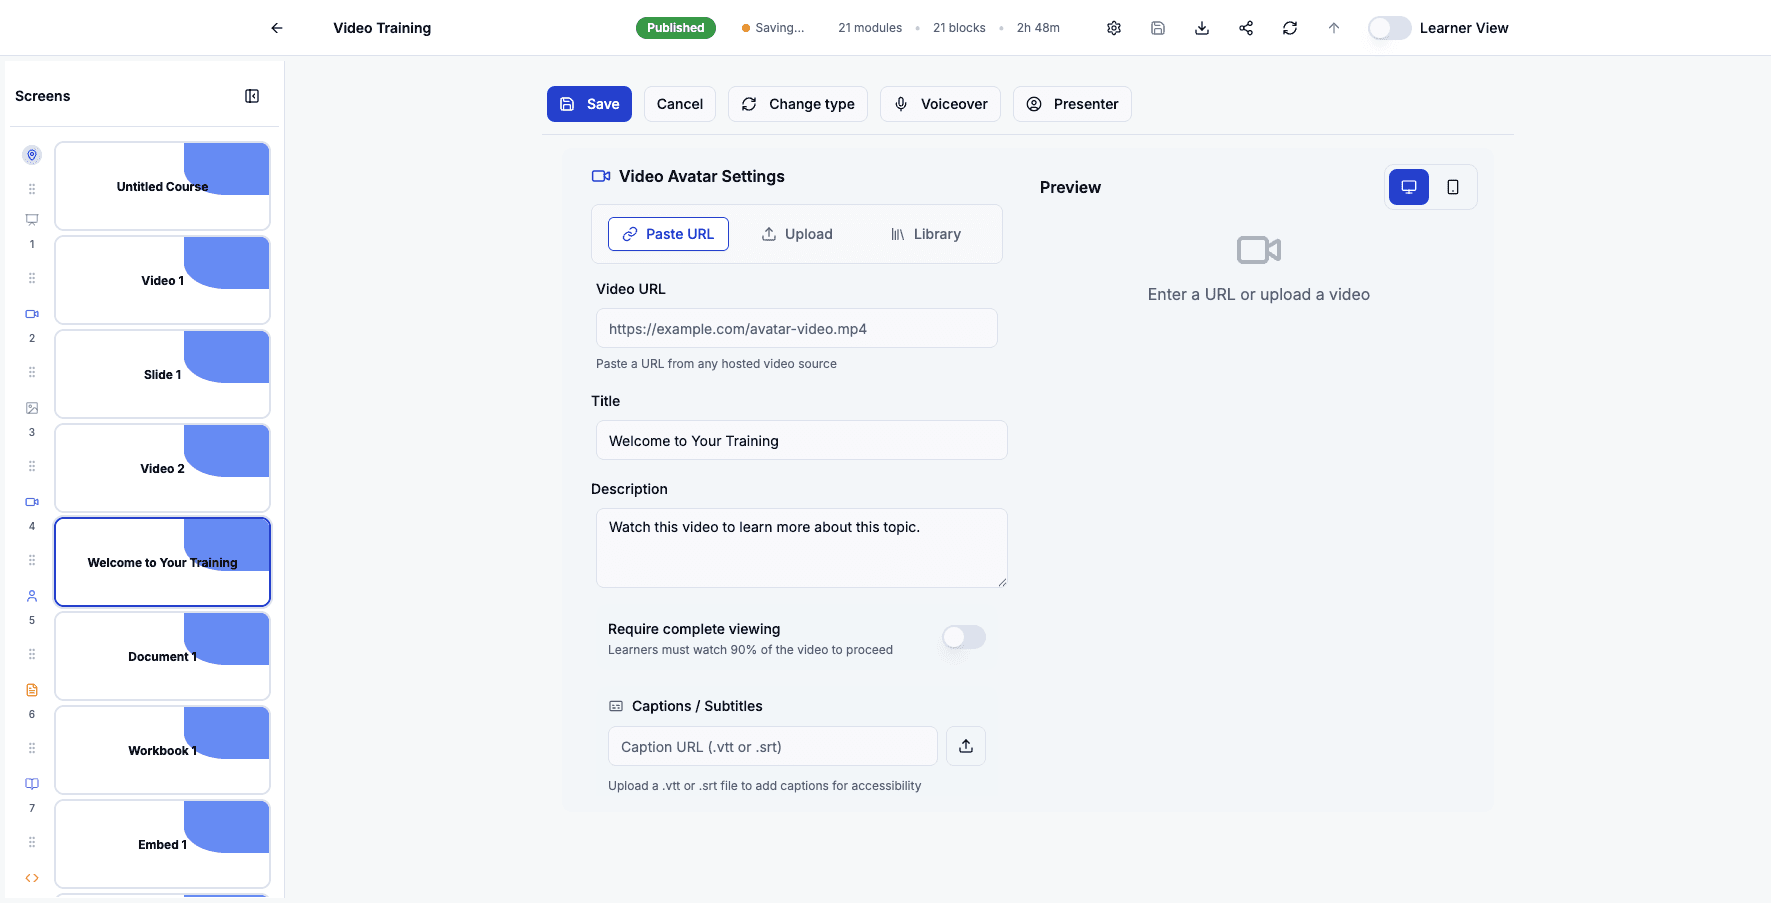
Click Edit to modify the avatar video settings and content.
Step 62 of 82
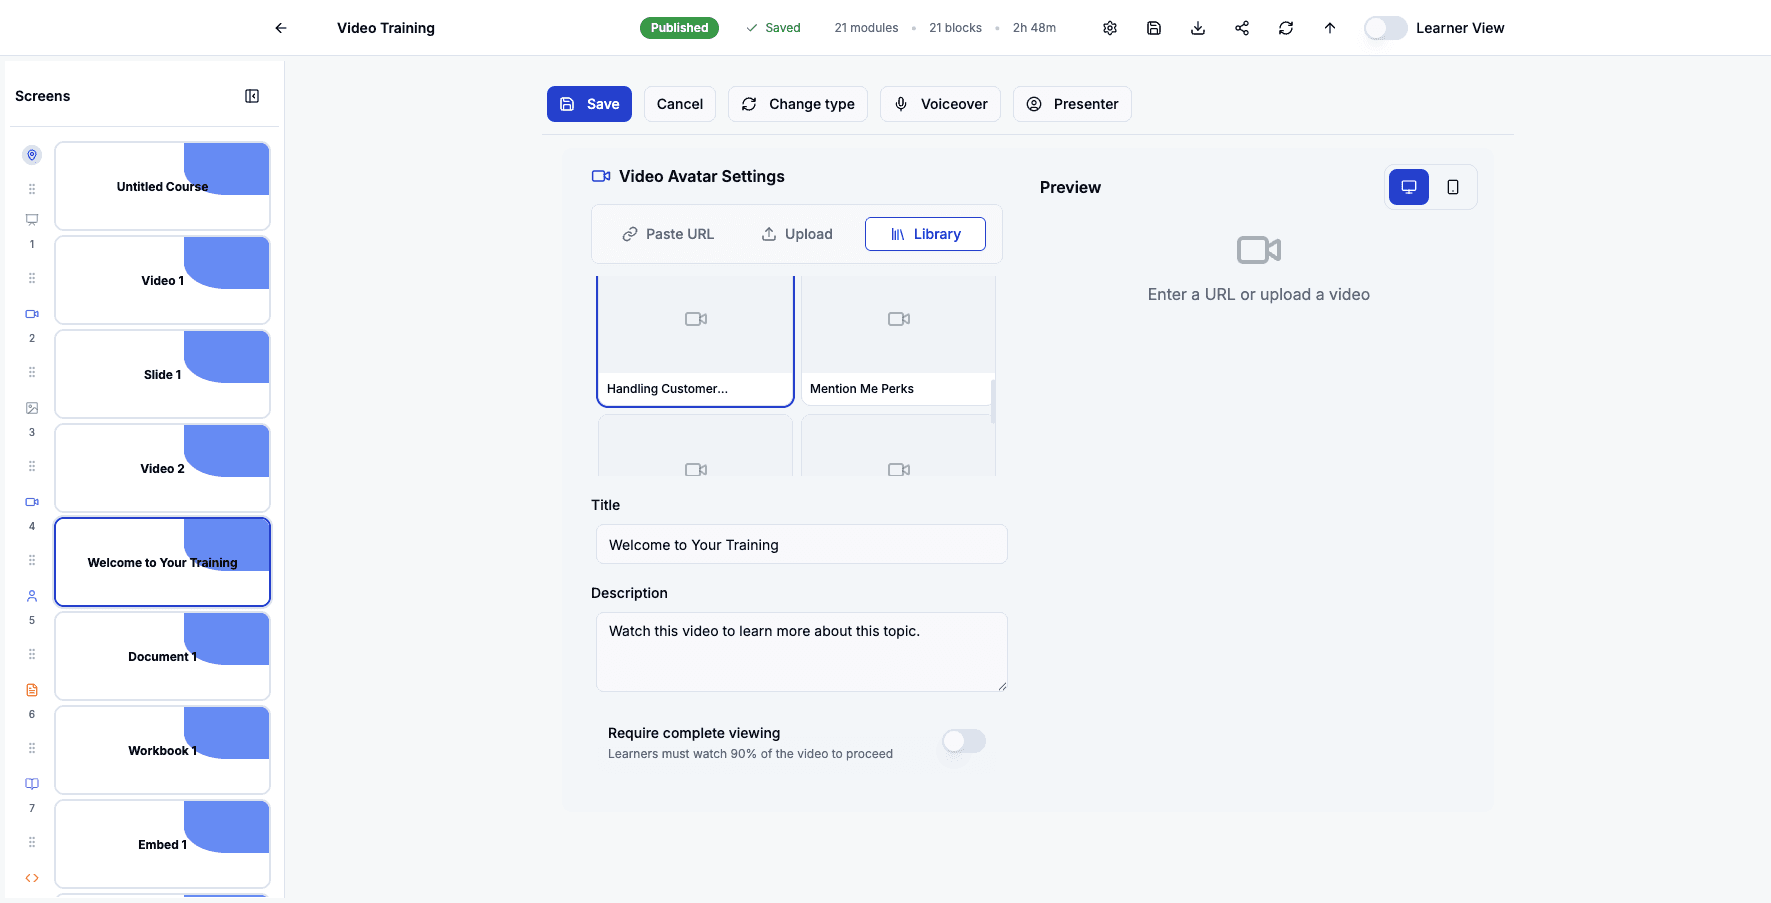
Click Library to choose a different avatar video from your existing content.
Step 63 of 82
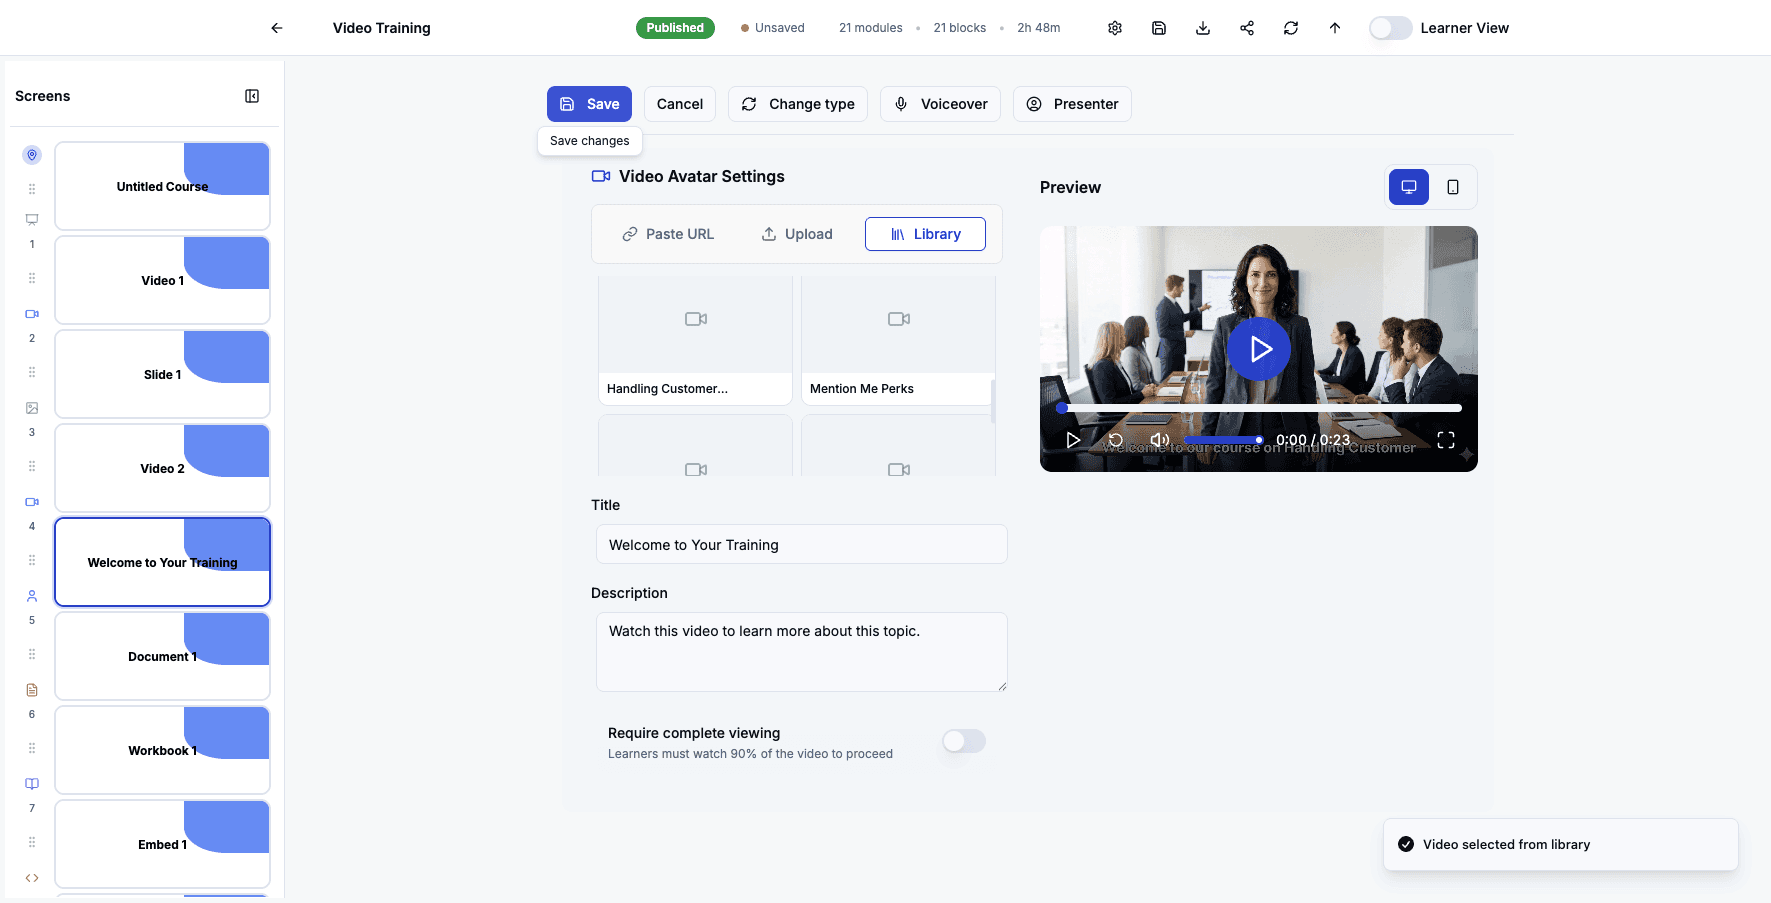
Select this avatar video from your library to replace the current one.
Step 64 of 82
Click Save to apply the avatar video selection and close the editor.
Step 65 of 82
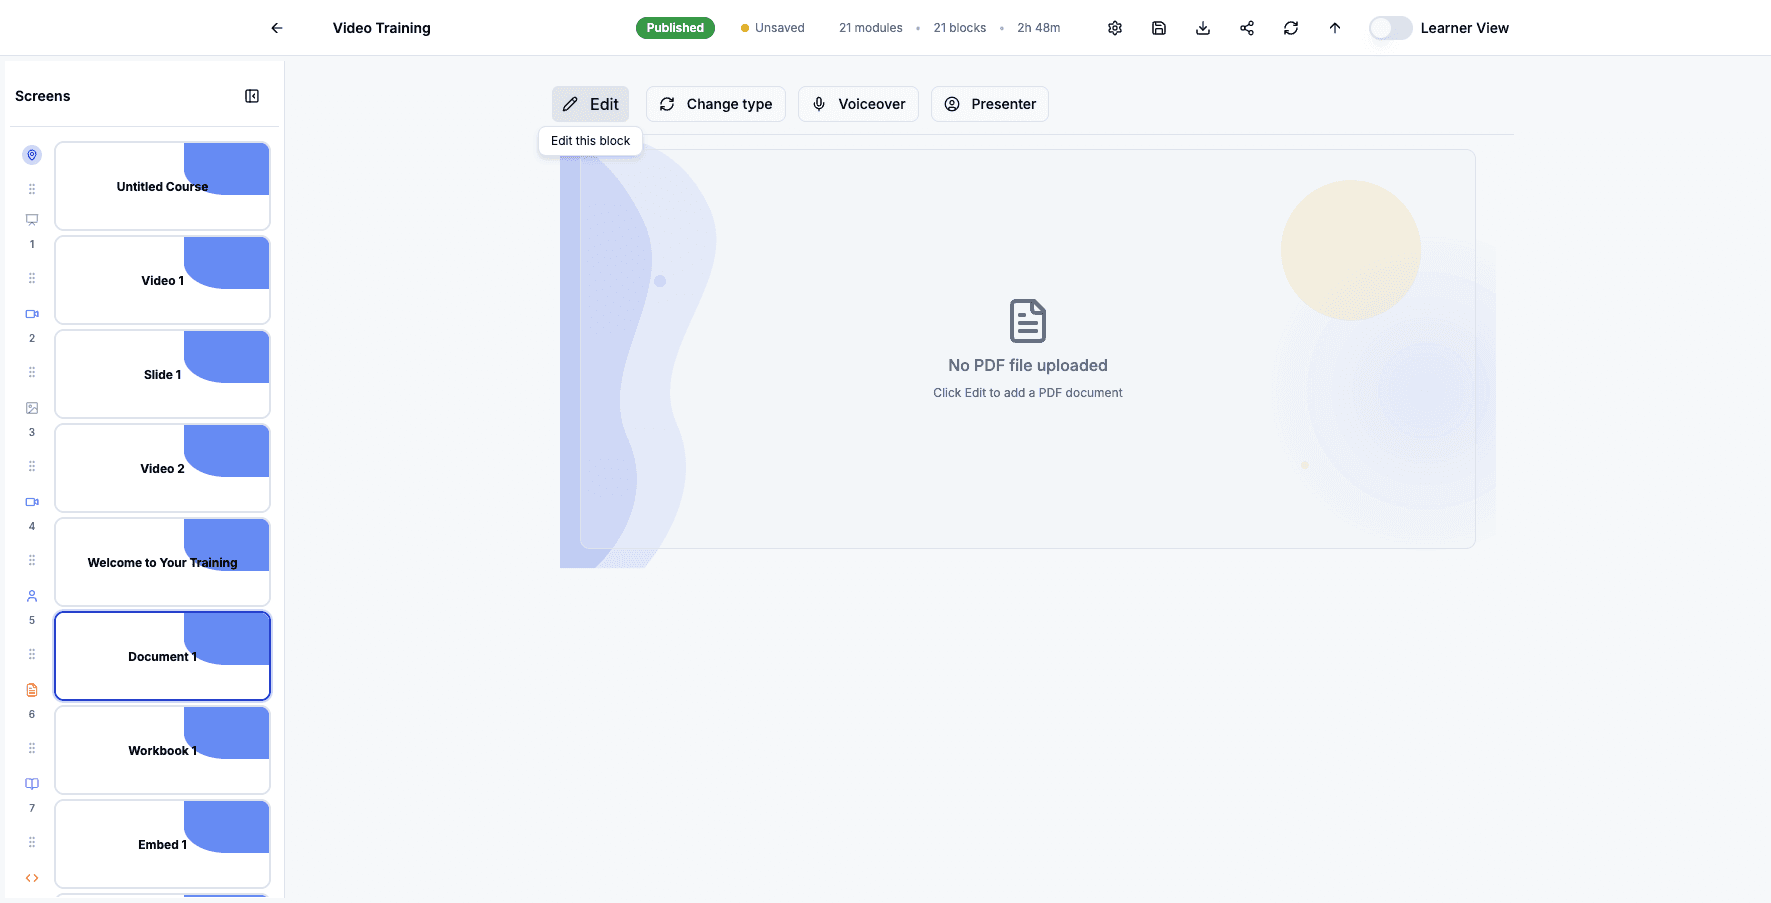
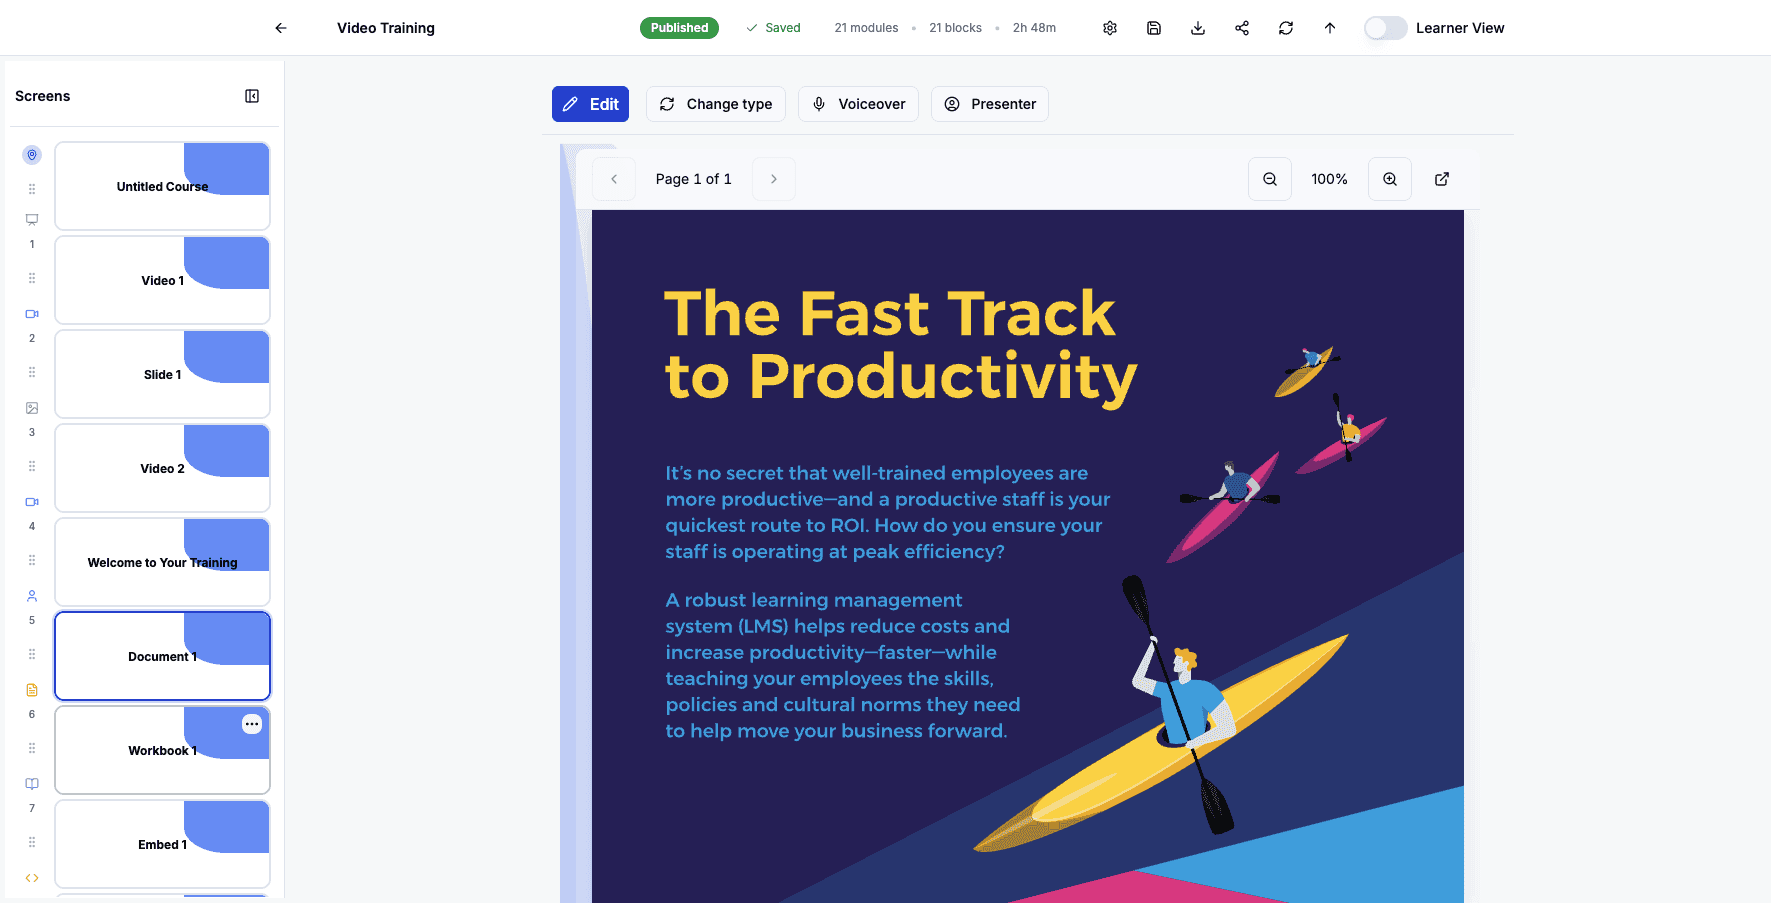
Click the Document 1 screen to edit this PDF document block.
Step 66 of 82
Click Edit to modify the document settings or replace the uploaded file.
Step 67 of 82
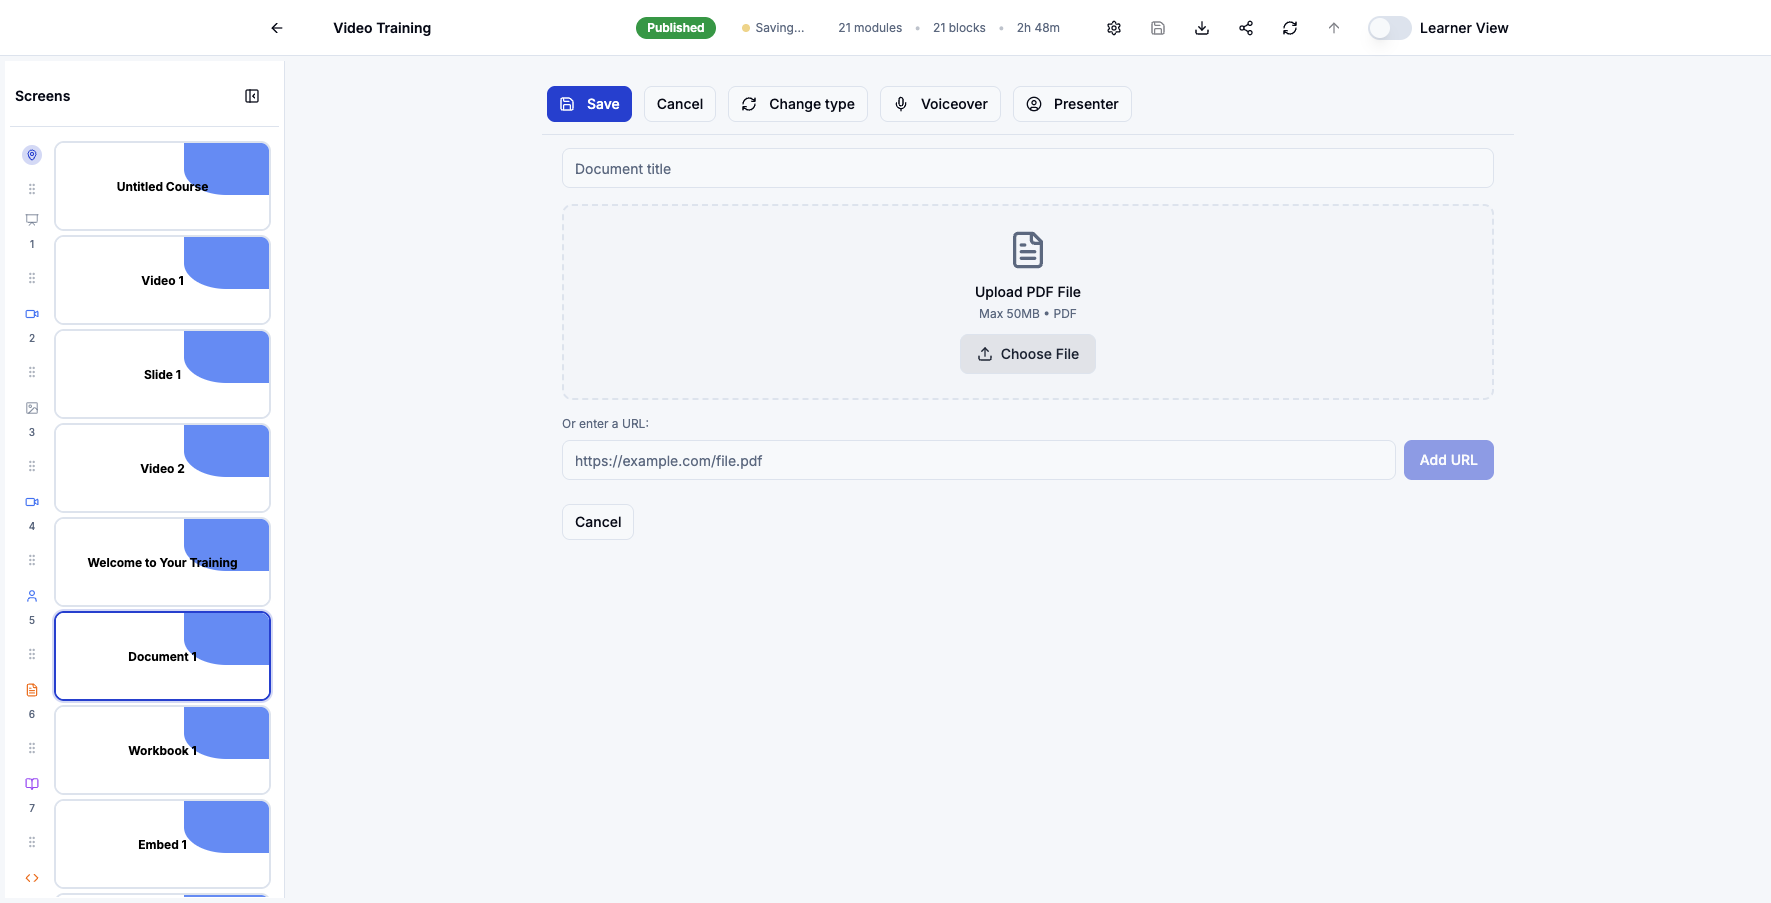
Click Choose File to upload a different PDF document from your computer.
Step 68 of 82
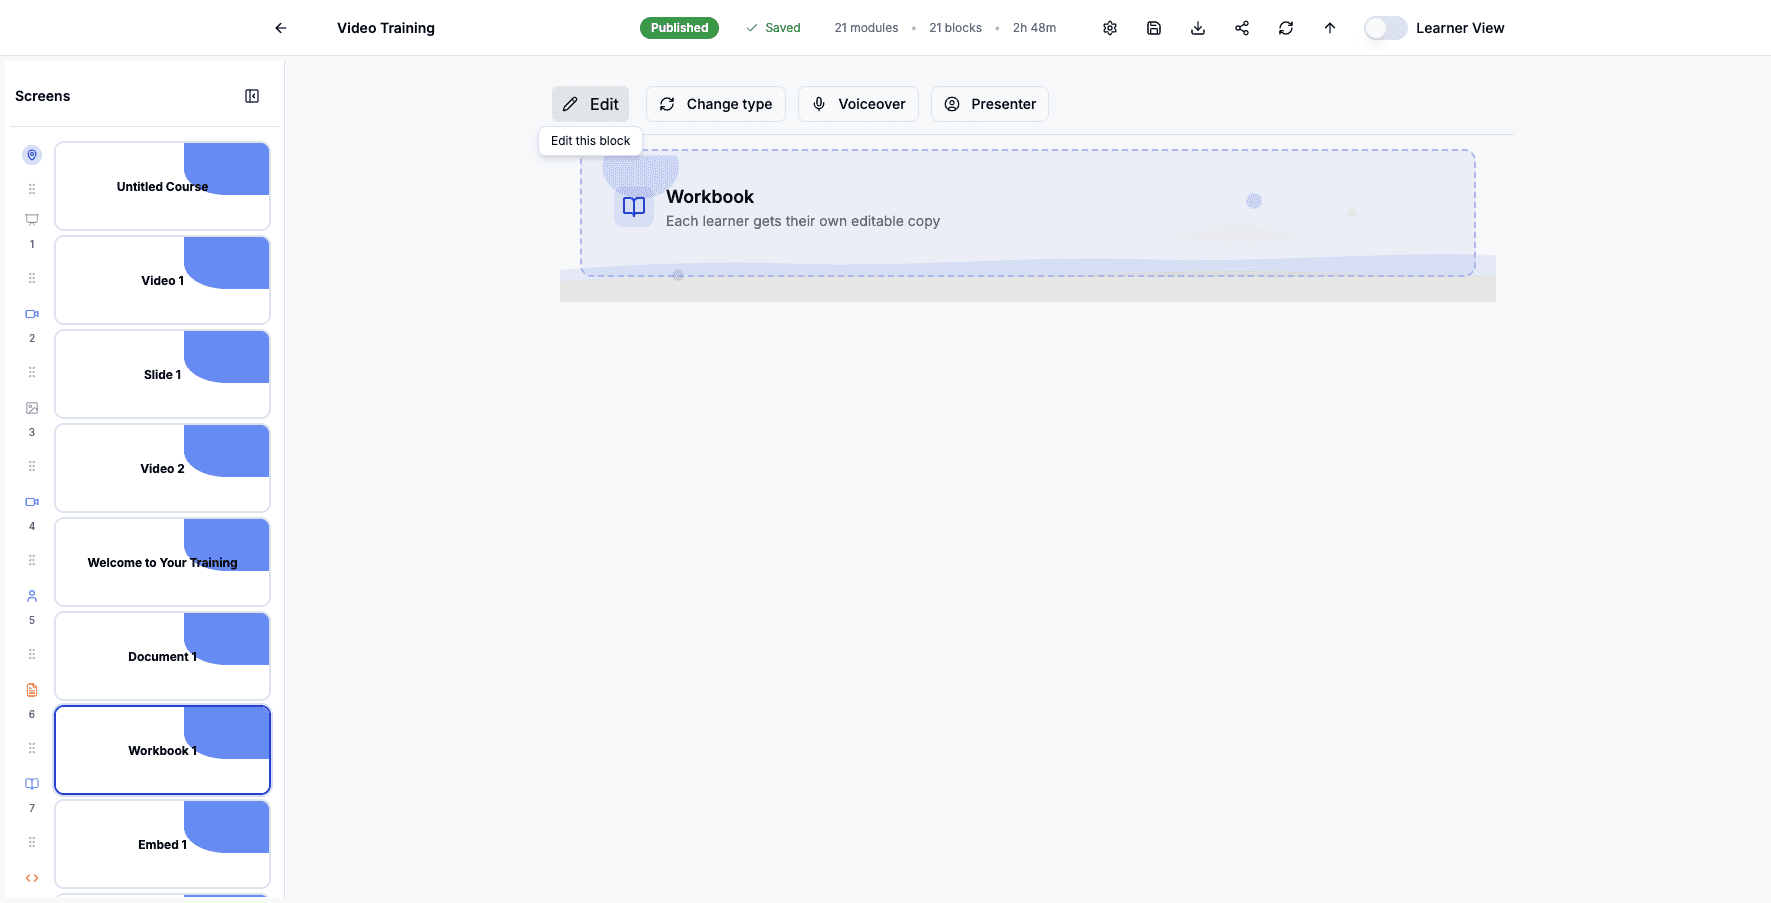
Click the Workbook 1 screen preview to edit this interactive workbook.
Step 69 of 82
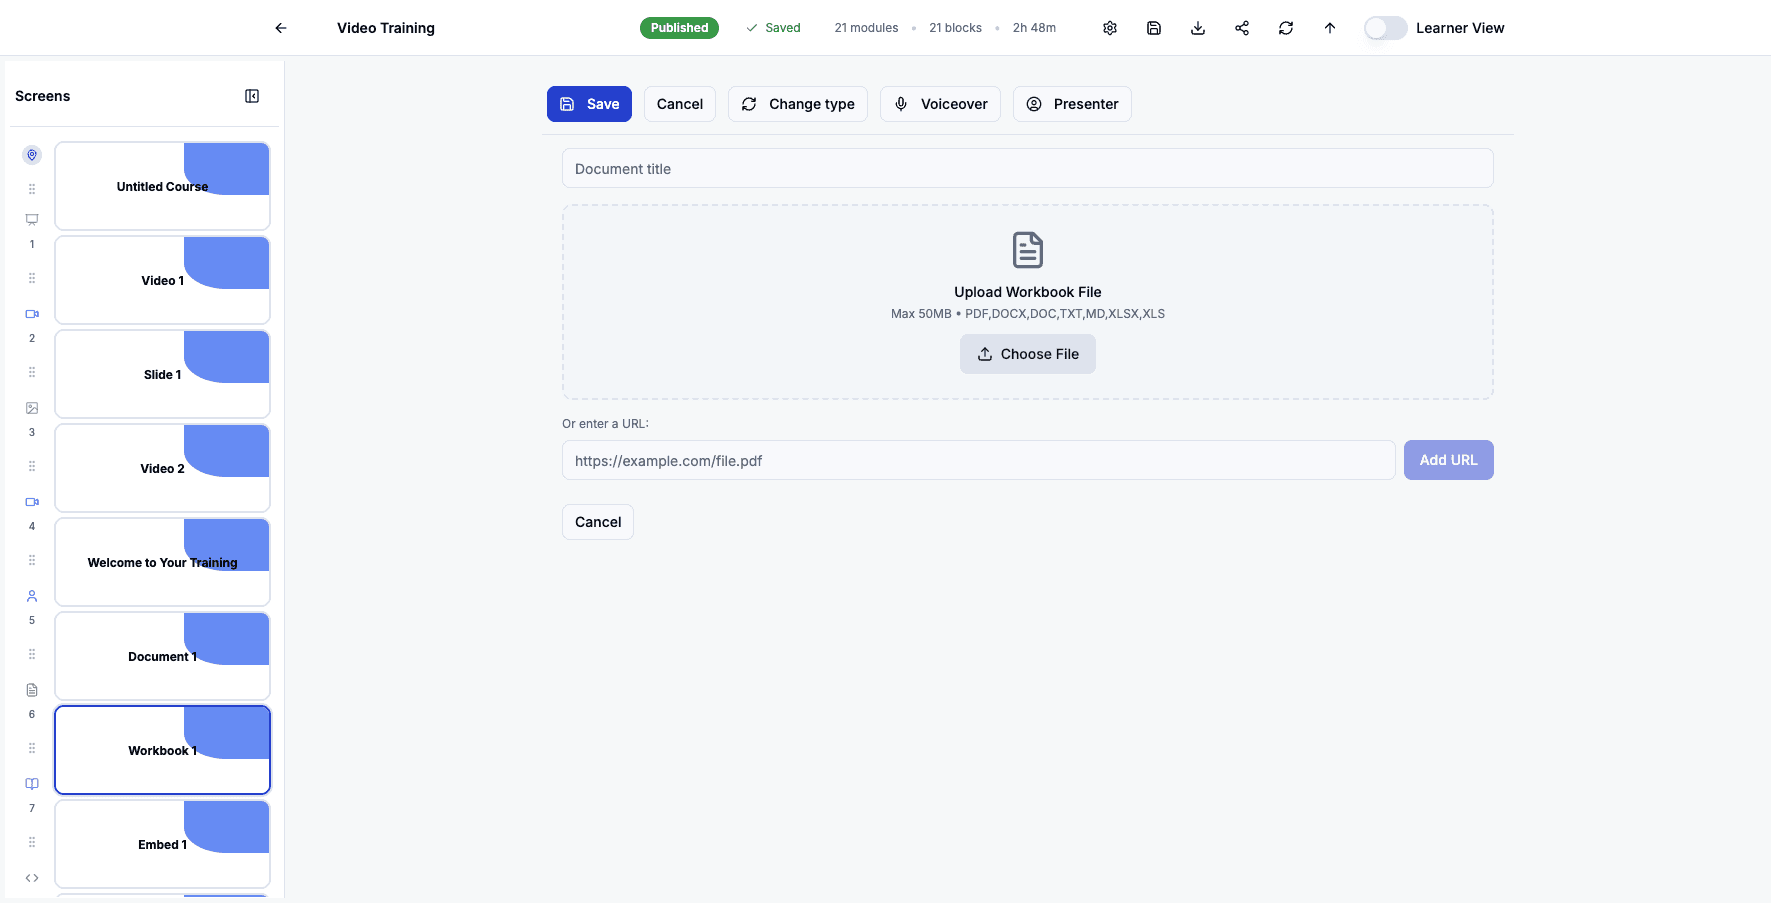
Click Edit to modify the workbook file or settings for learners.
Step 70 of 82
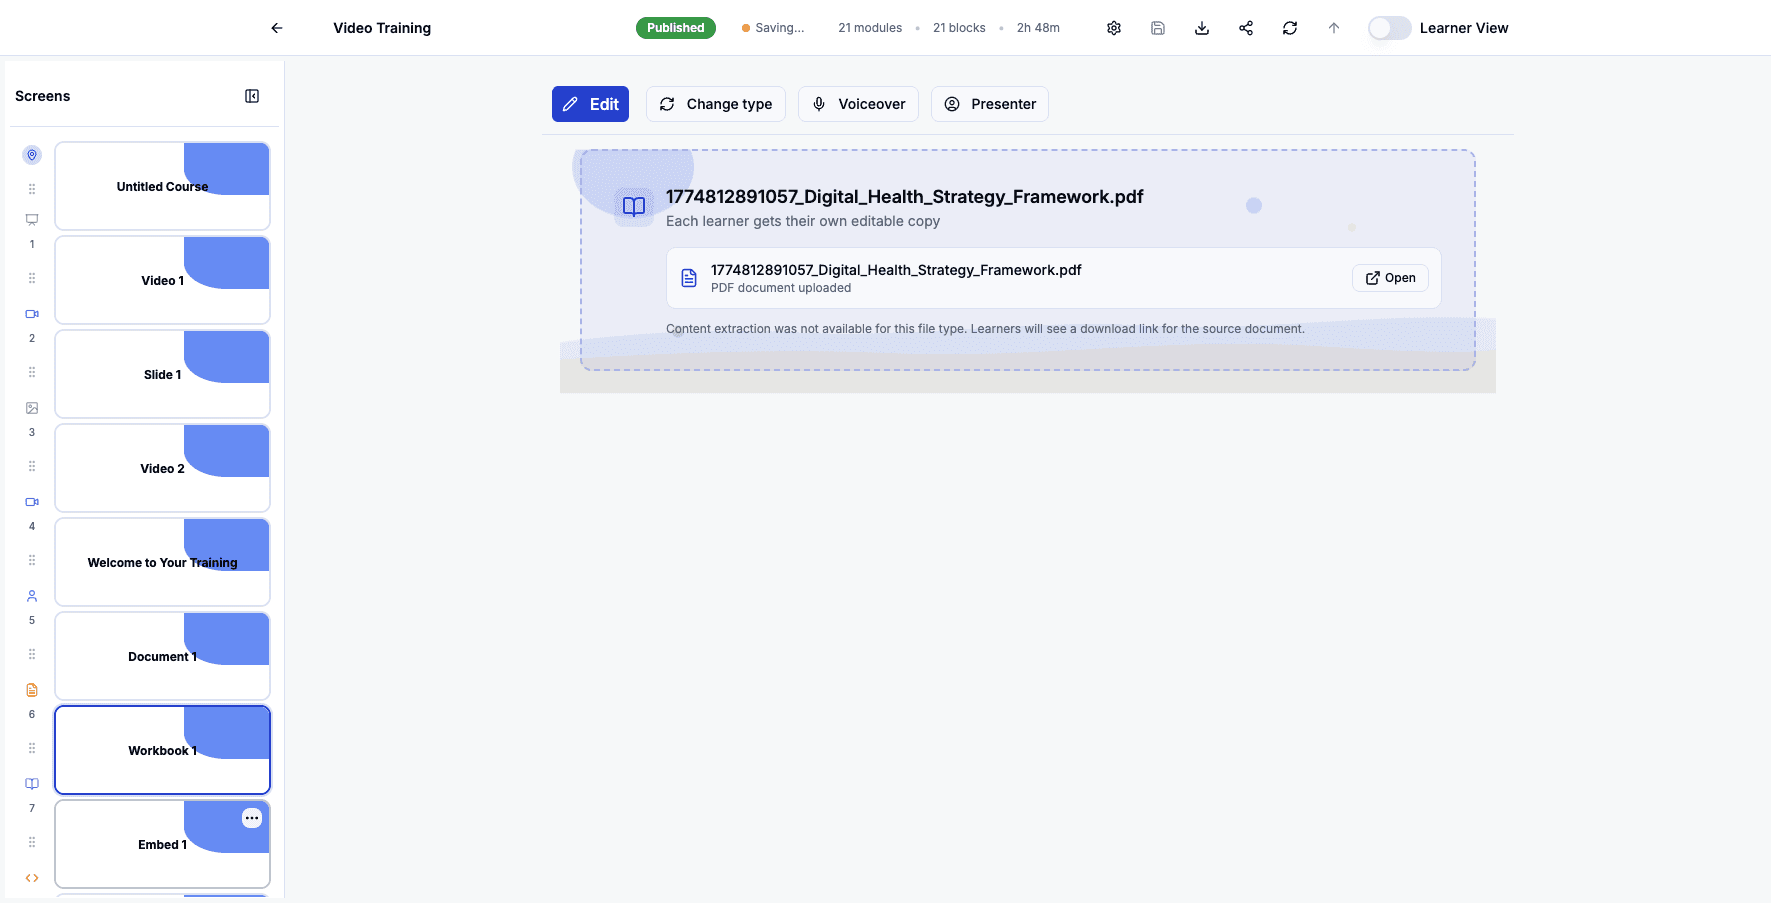
Click Choose File to upload a different workbook template for learners to complete.
Step 71 of 82
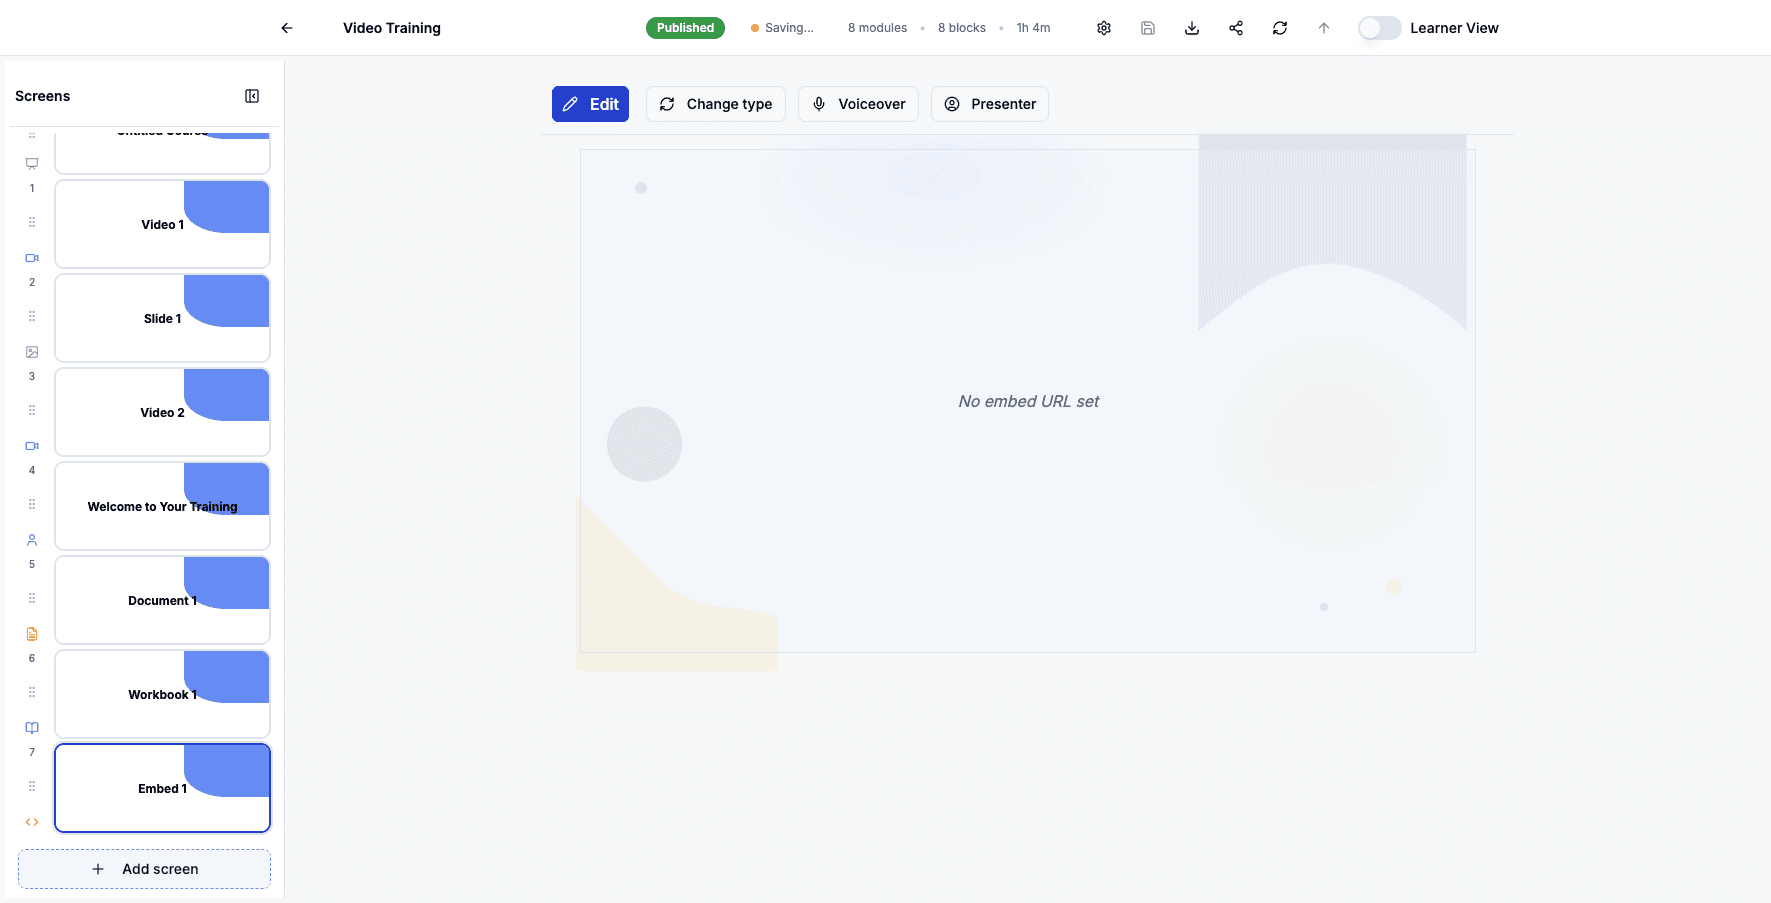
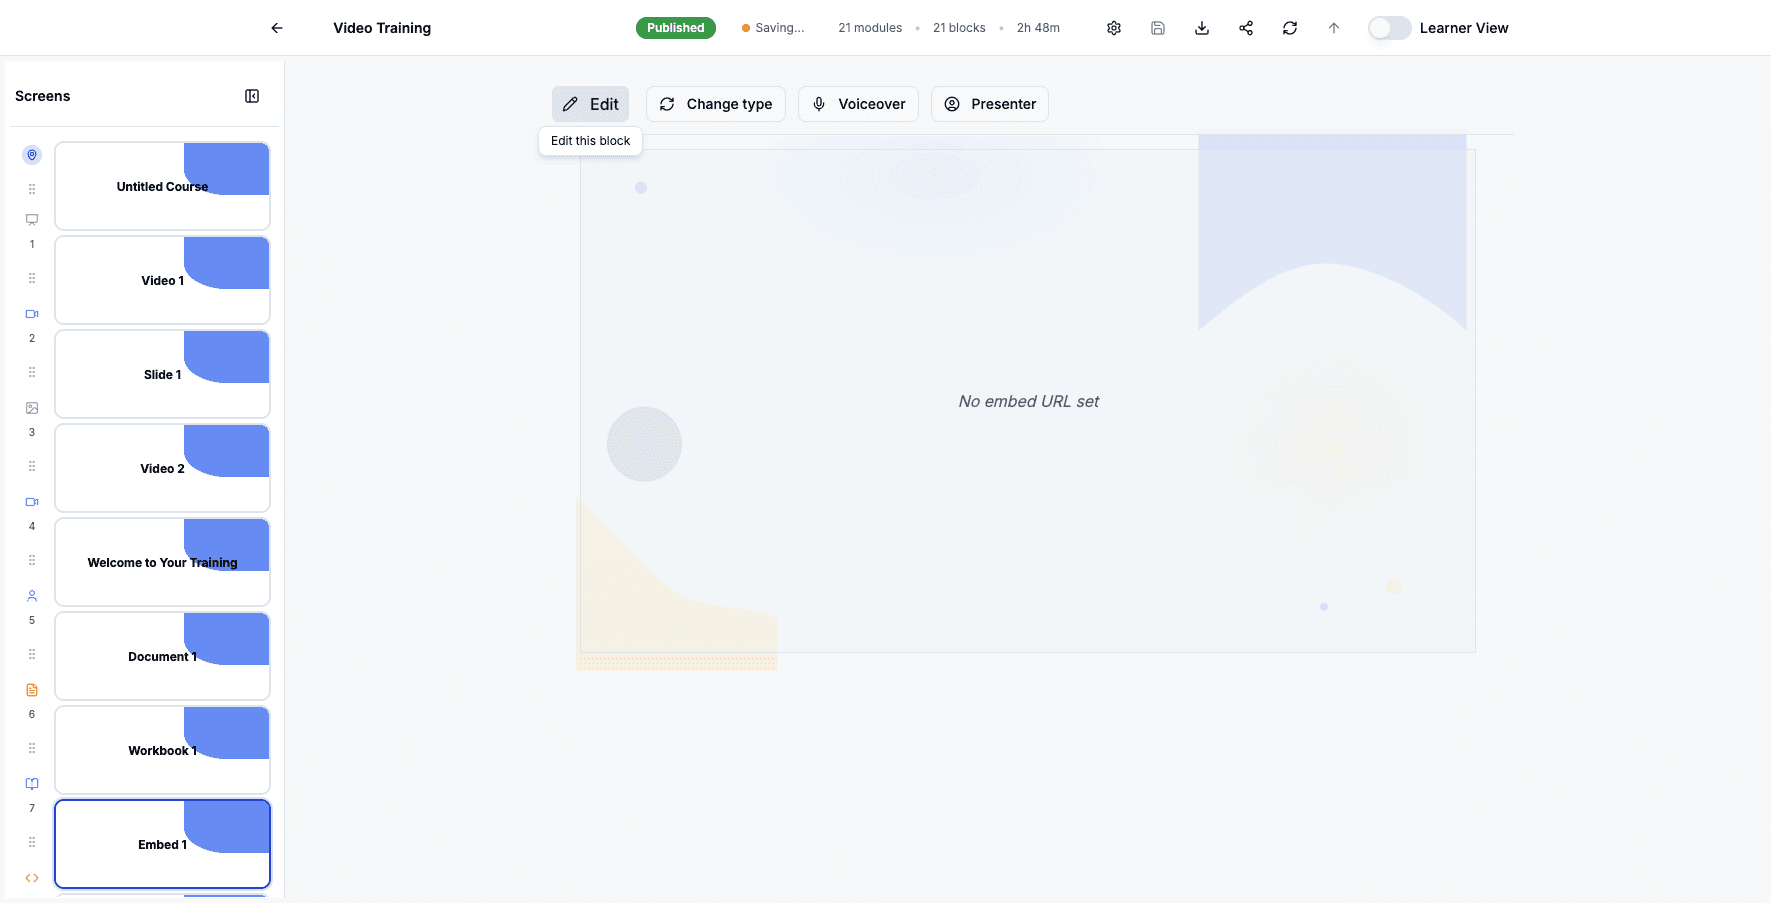
Click the Embed 1 screen to edit this embedded content block.
Step 72 of 82
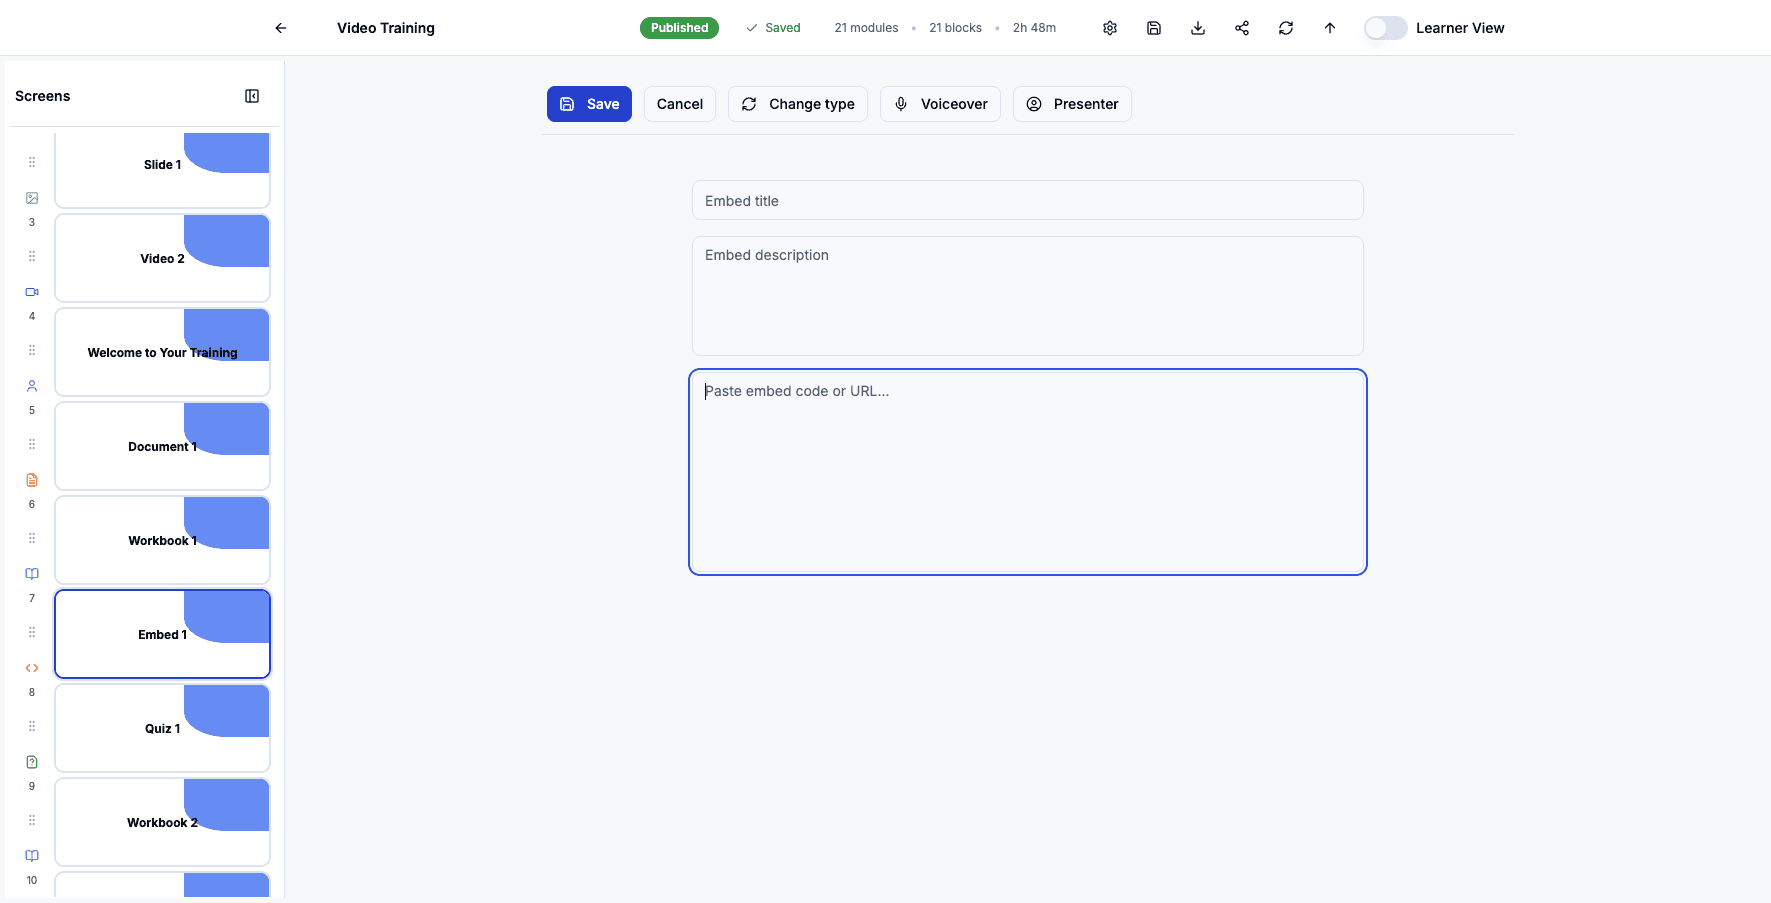
Click Edit to modify the embed code or URL for this external content.
Step 73 of 82
Click into the embed field to paste your embed code or URL.
Step 74 of 82
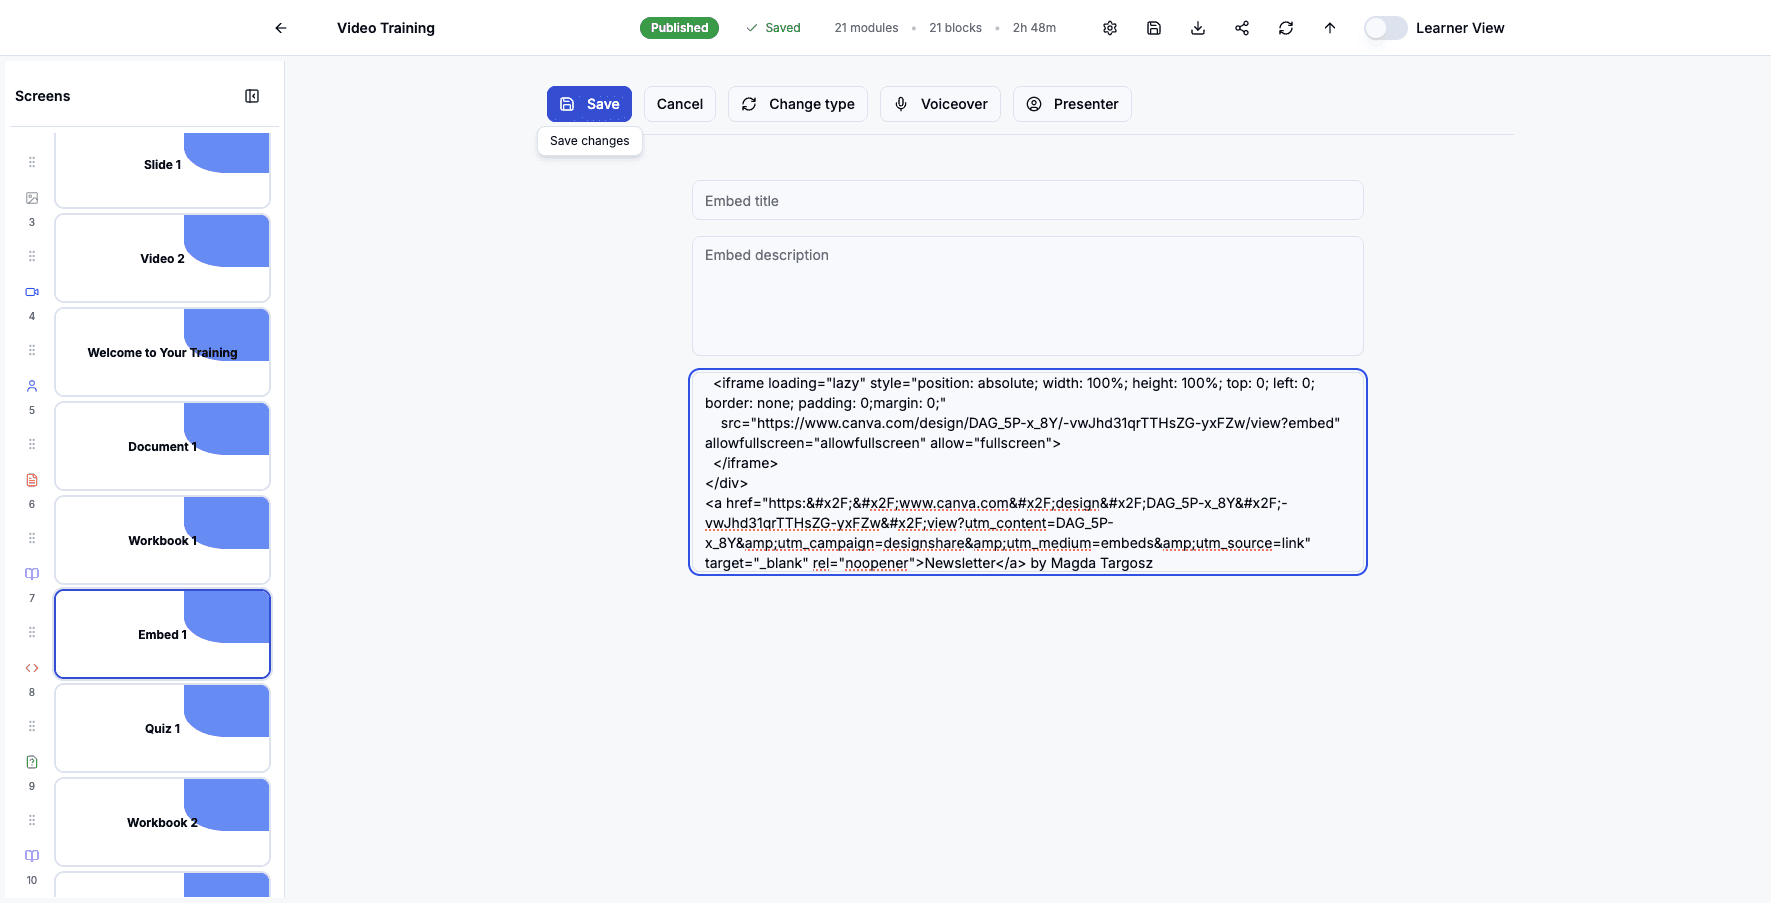
Click the embed field again to ensure your code is properly entered.

Step 75 of 82
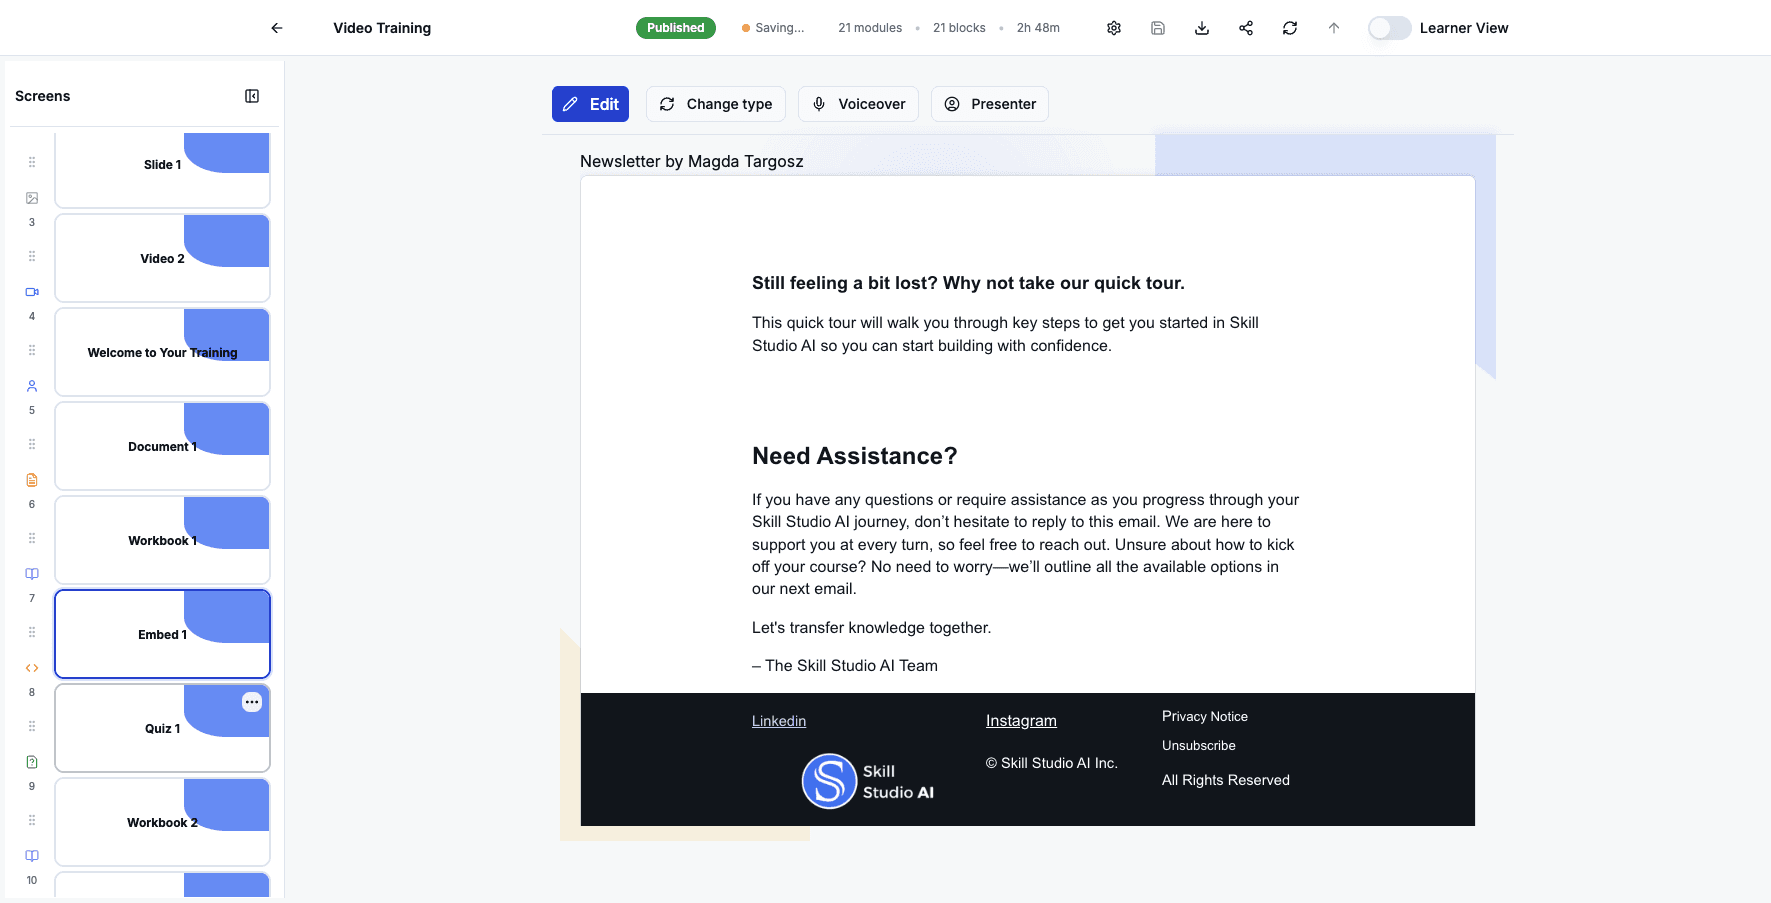
Click Save to apply the embed code and close the editor.
Step 76 of 82
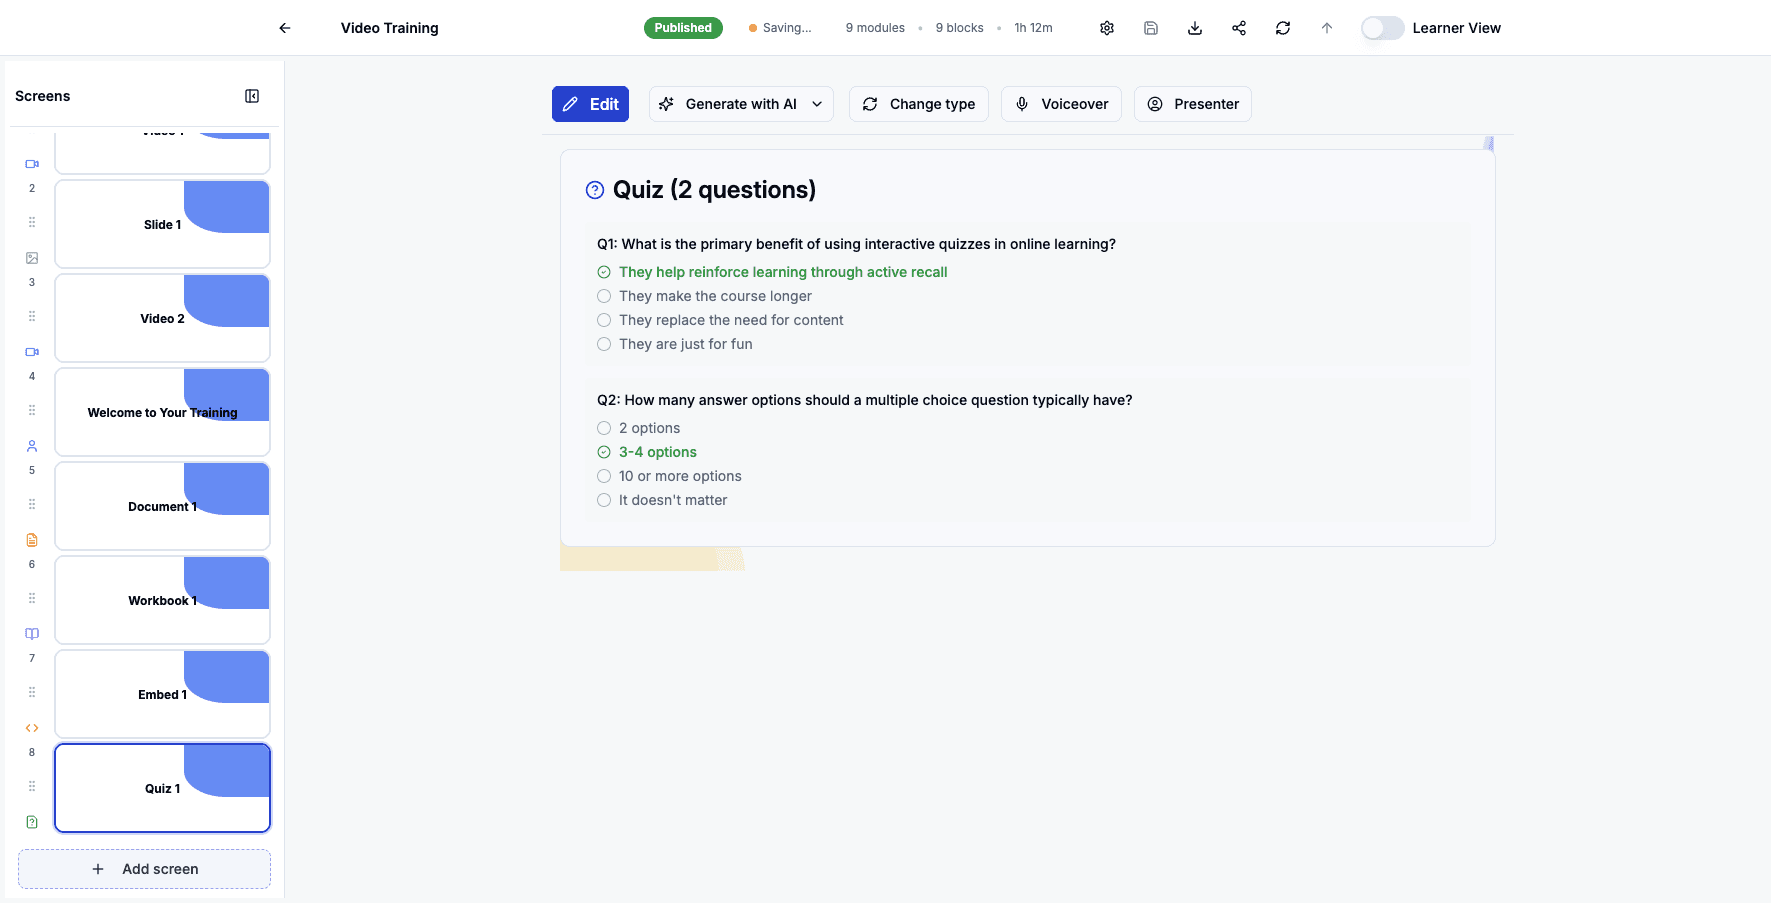
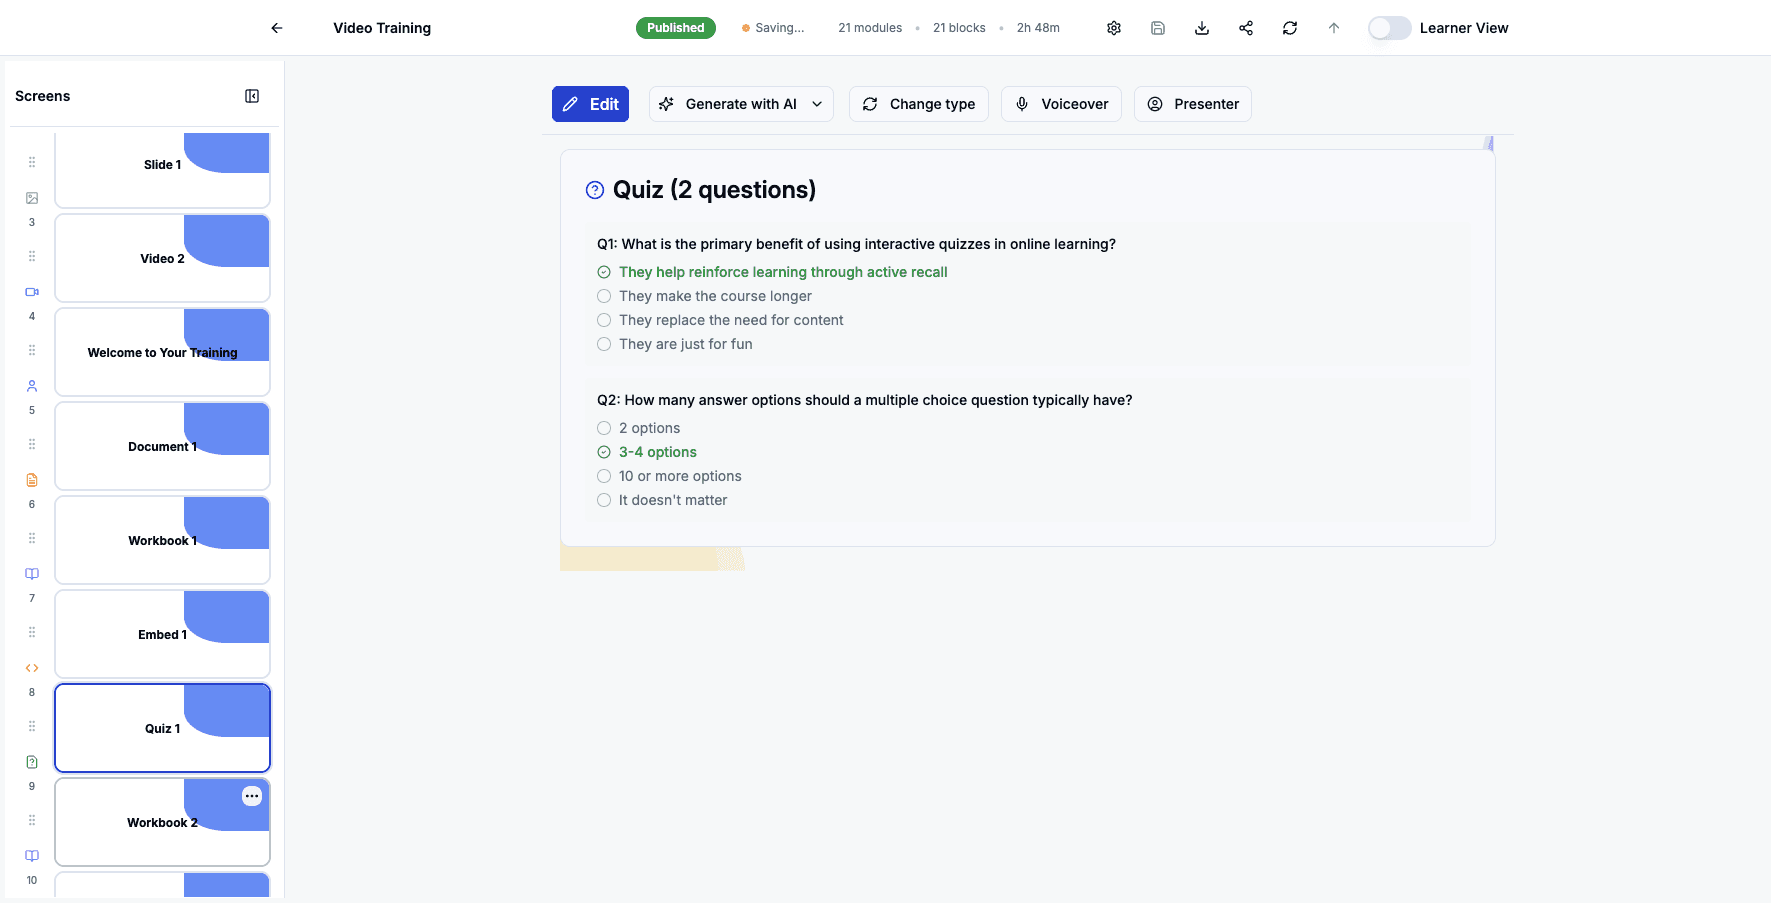
Click the Quiz 1 screen to view the quiz questions you've added.
Step 77 of 82
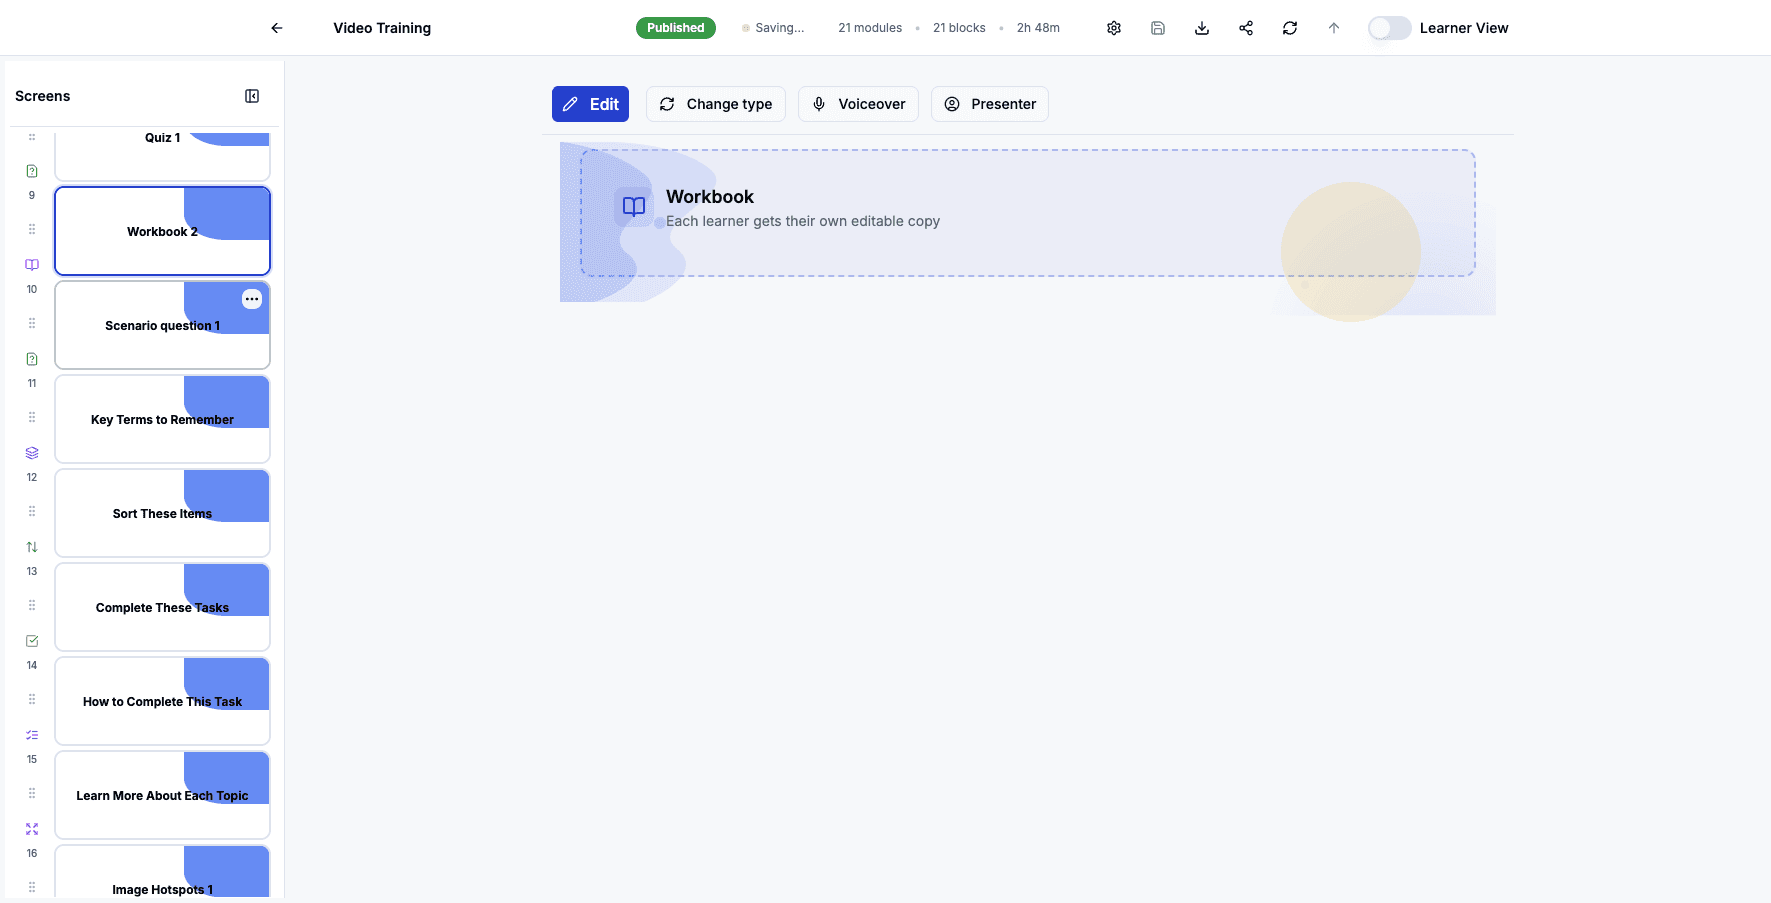
Click the Workbook 2 screen to edit this second interactive workbook.
Step 78 of 82
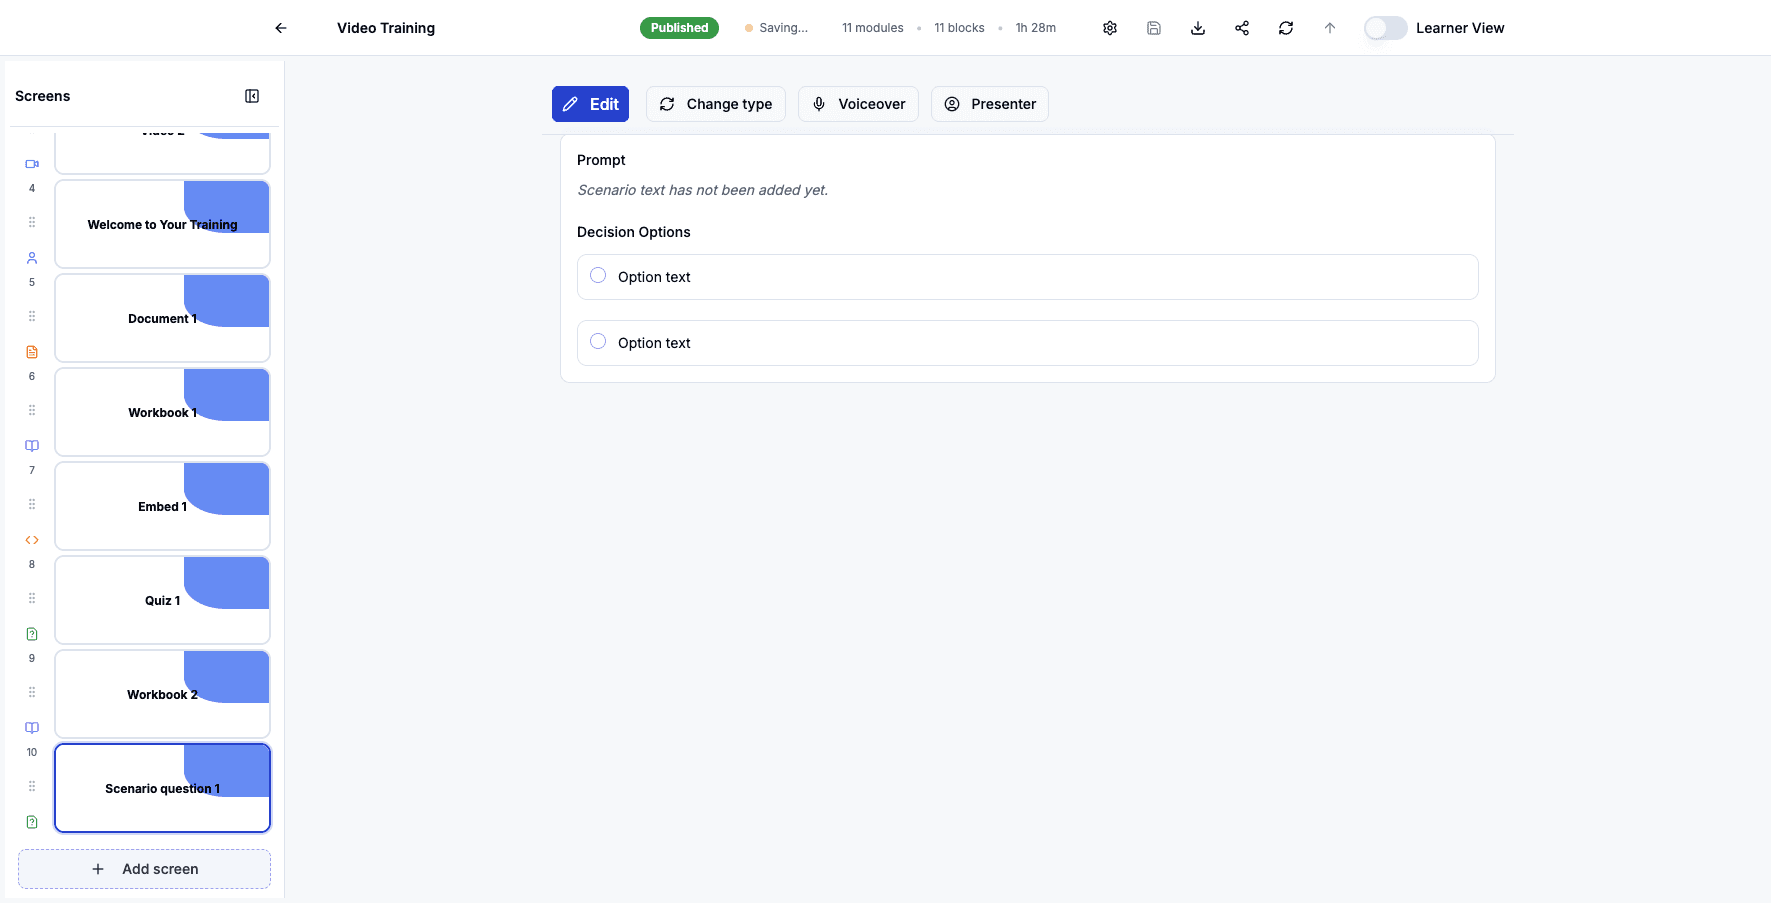
Click the Scenario question 1 screen to edit this branching decision exercise.
Step 79 of 82
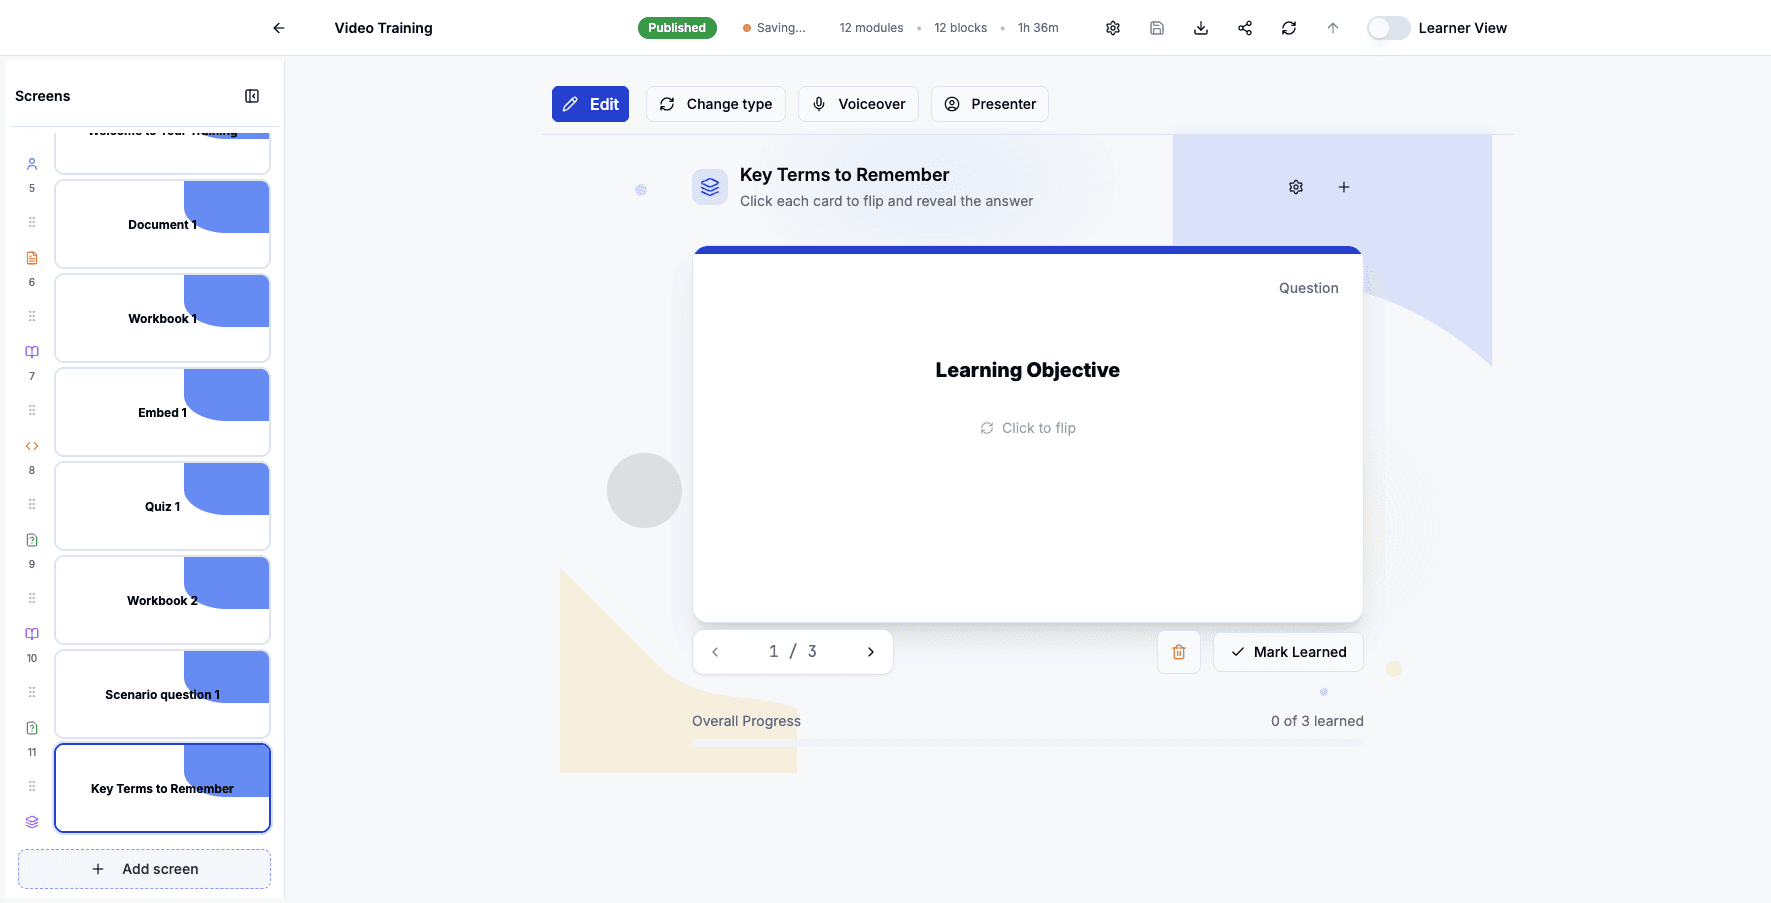
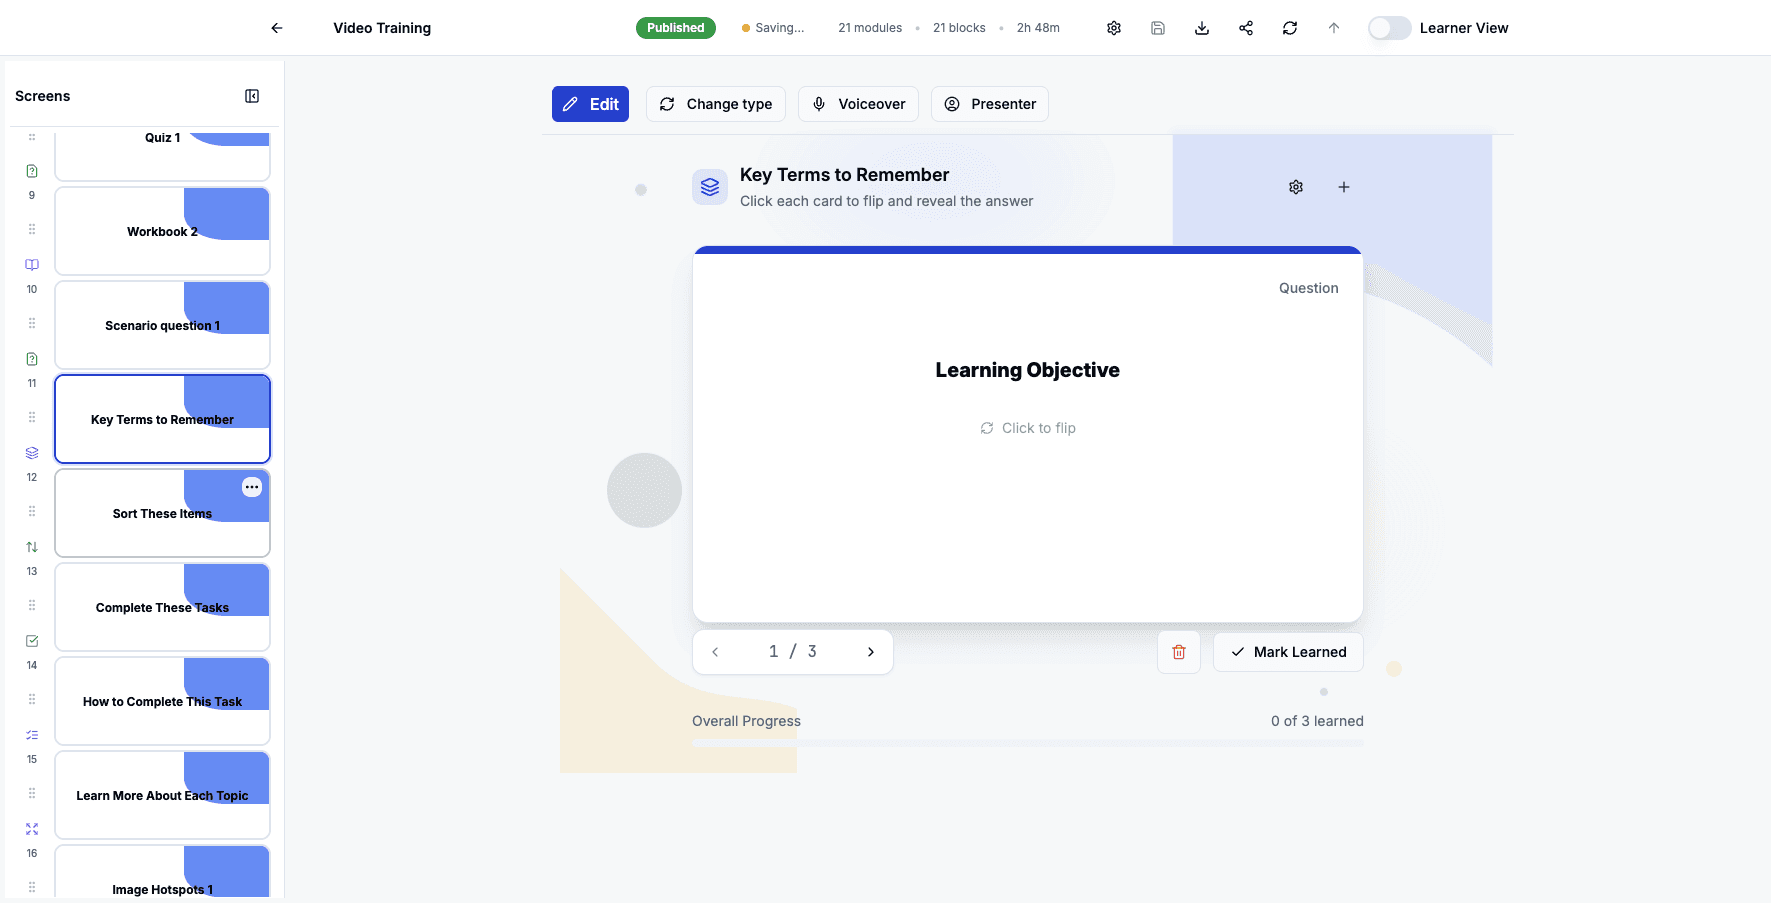
Click the Key Terms to Remember flip cards screen to edit these interactive vocabulary cards.

Step 80 of 82
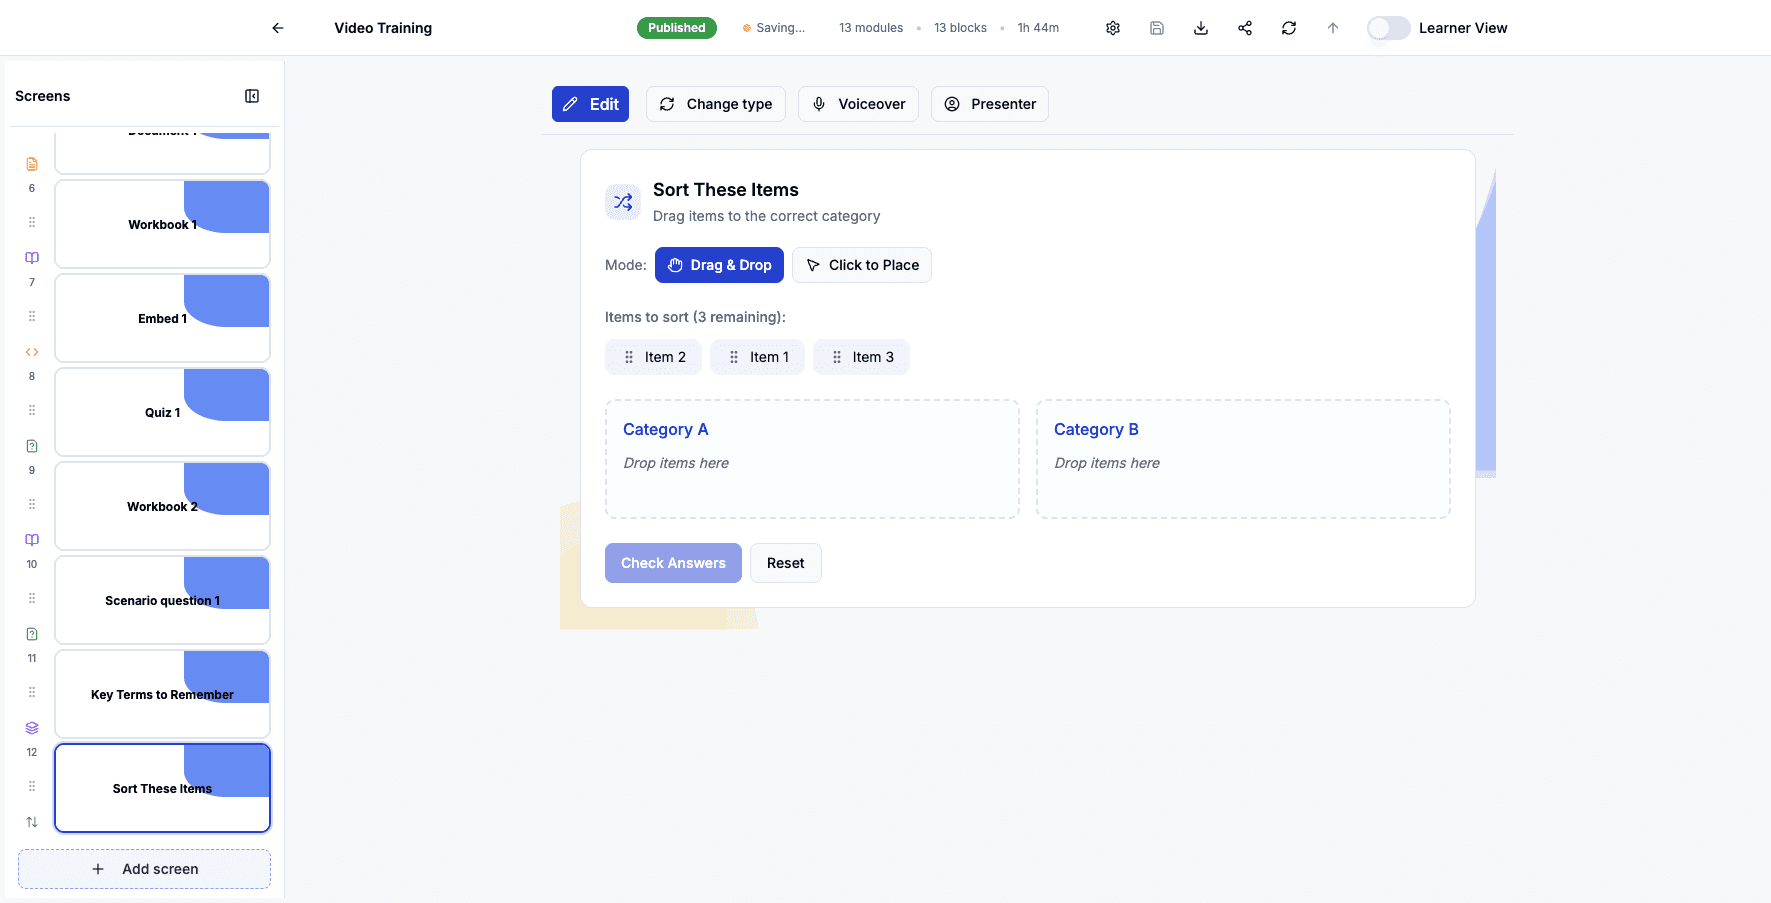
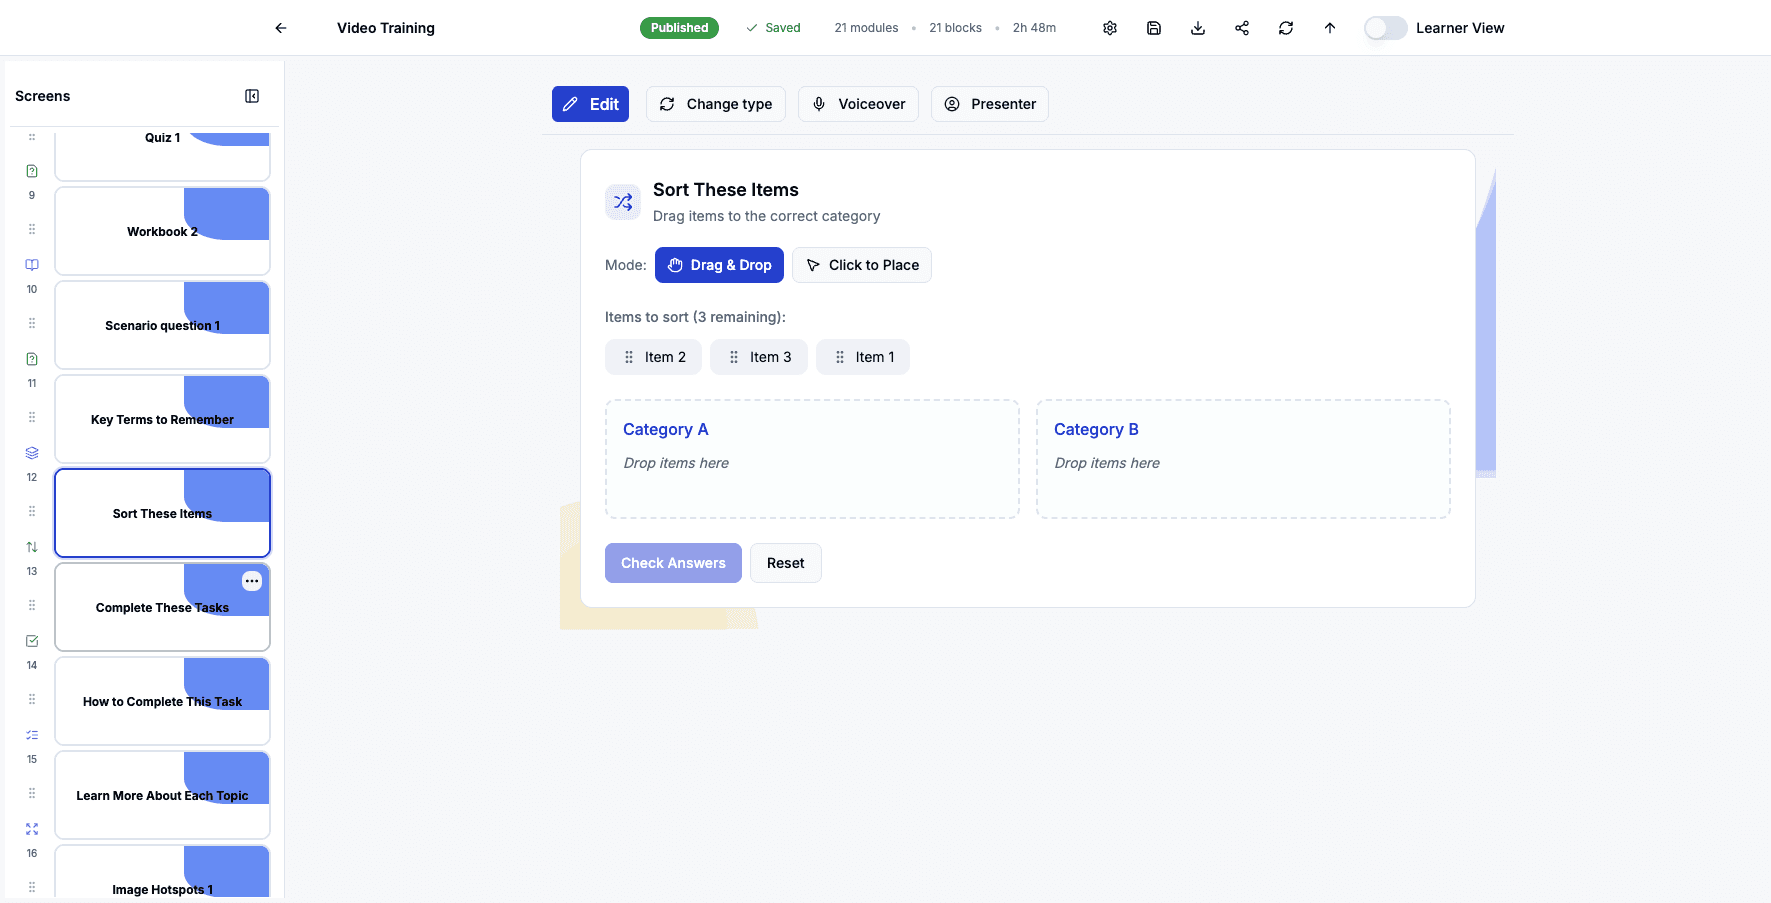
Click the Sort These Items card sorting screen to edit this categorization exercise.
Step 81 of 82
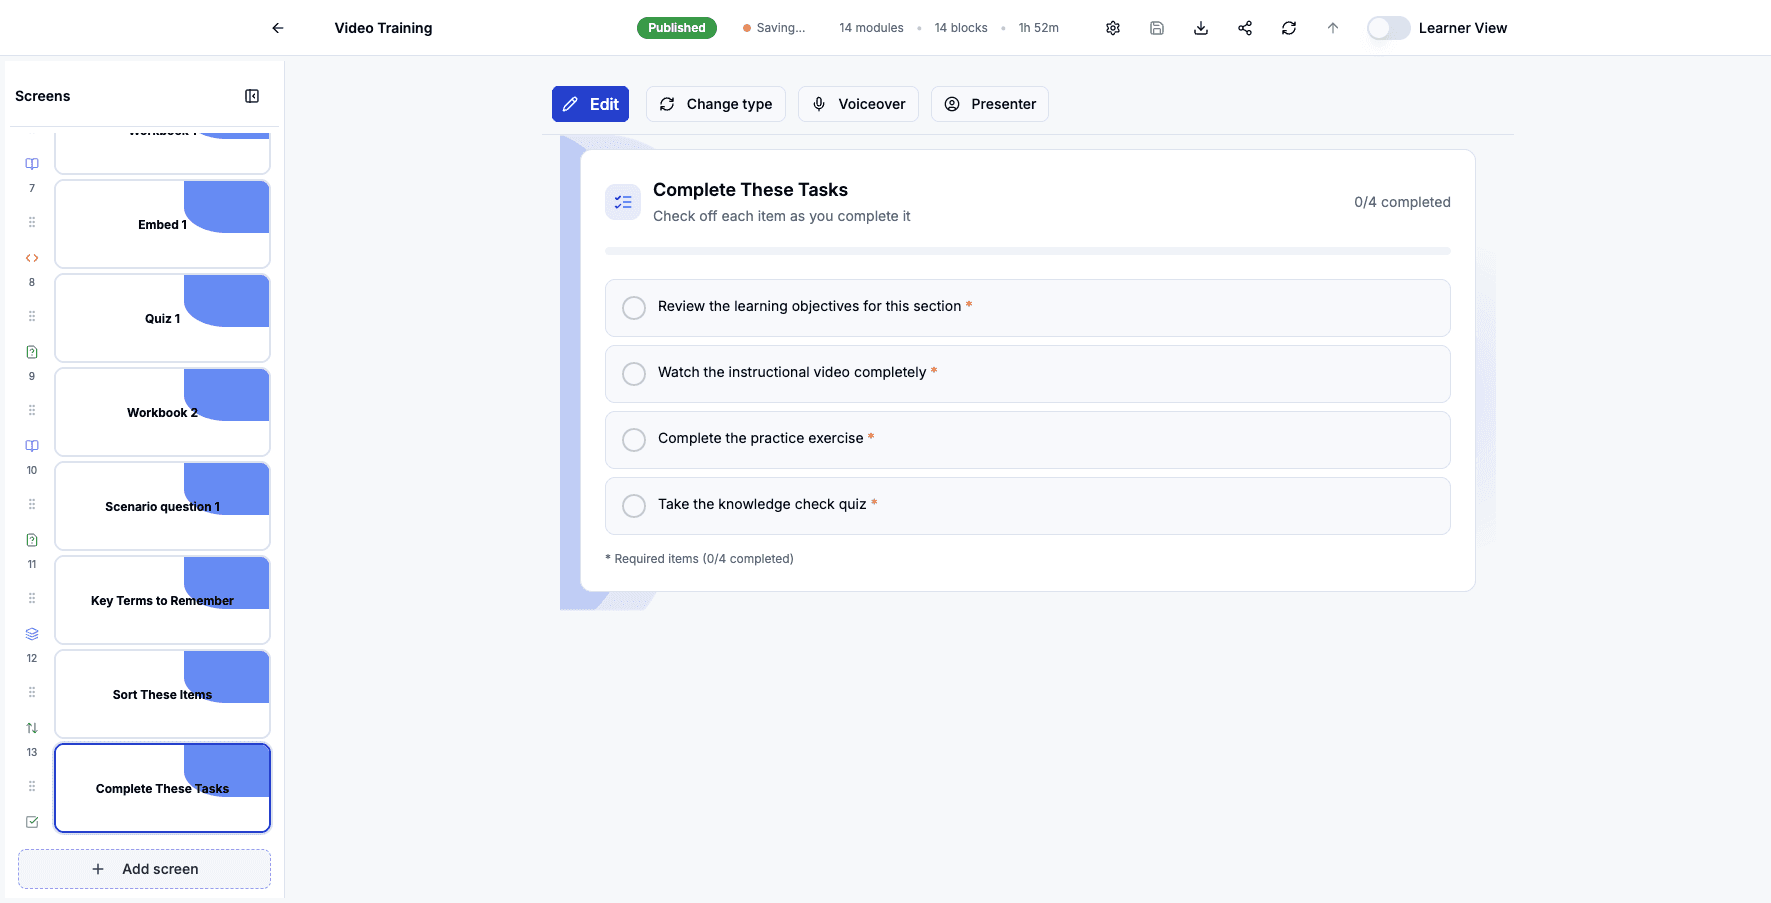
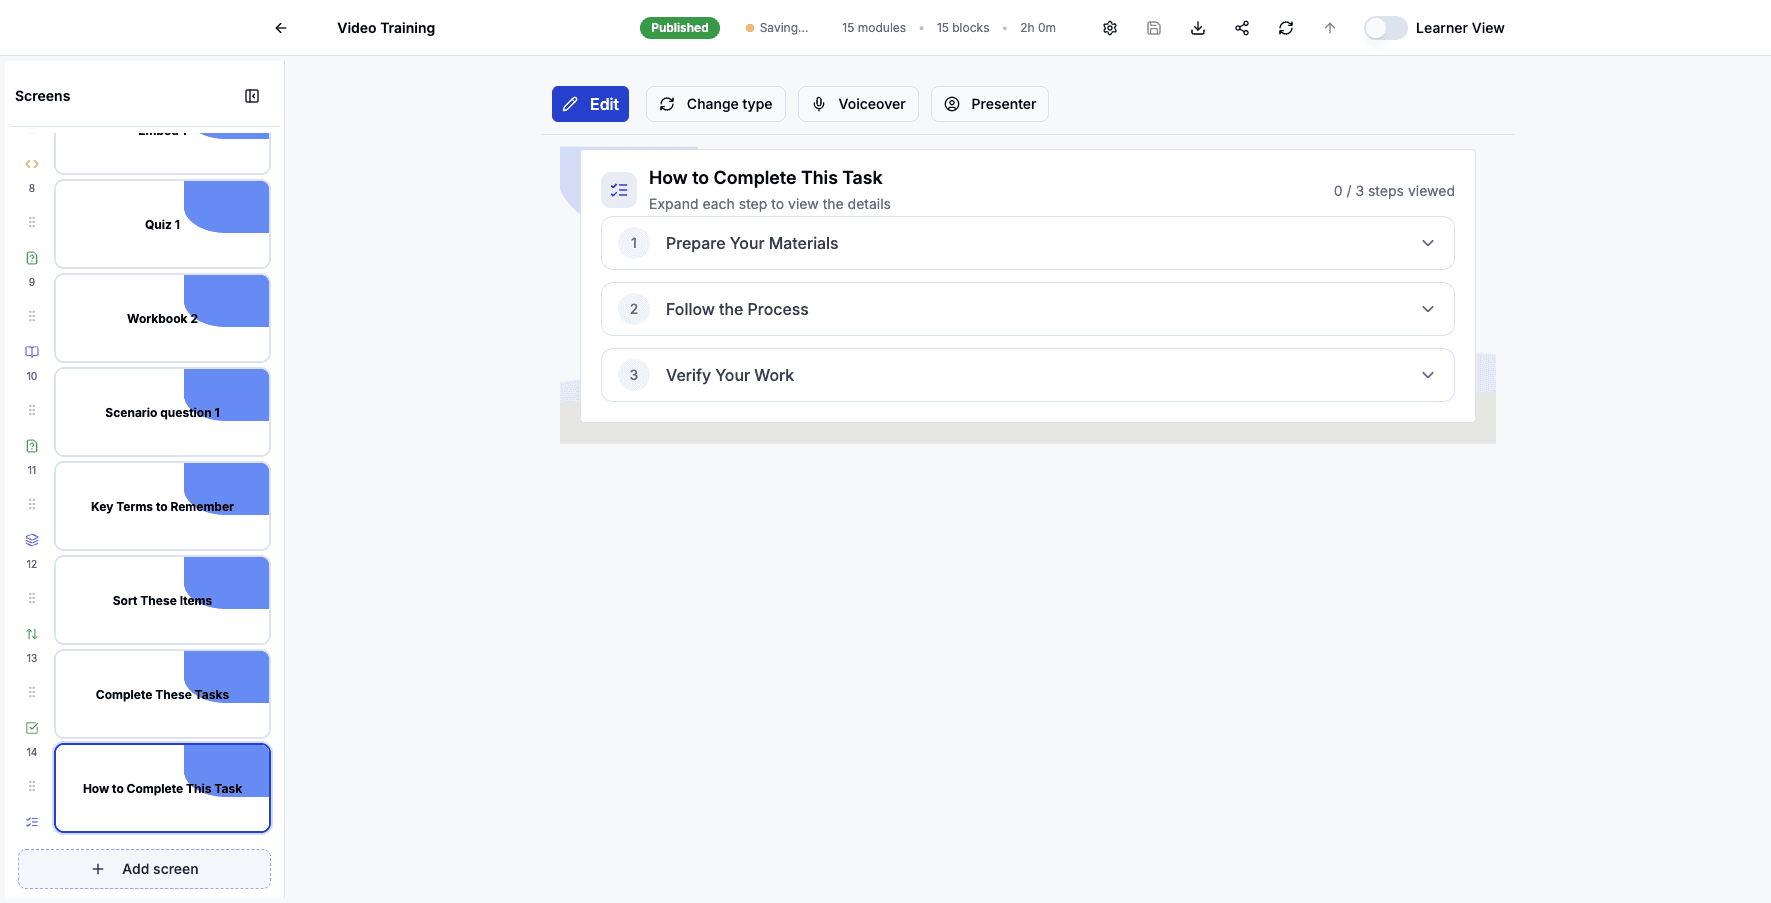
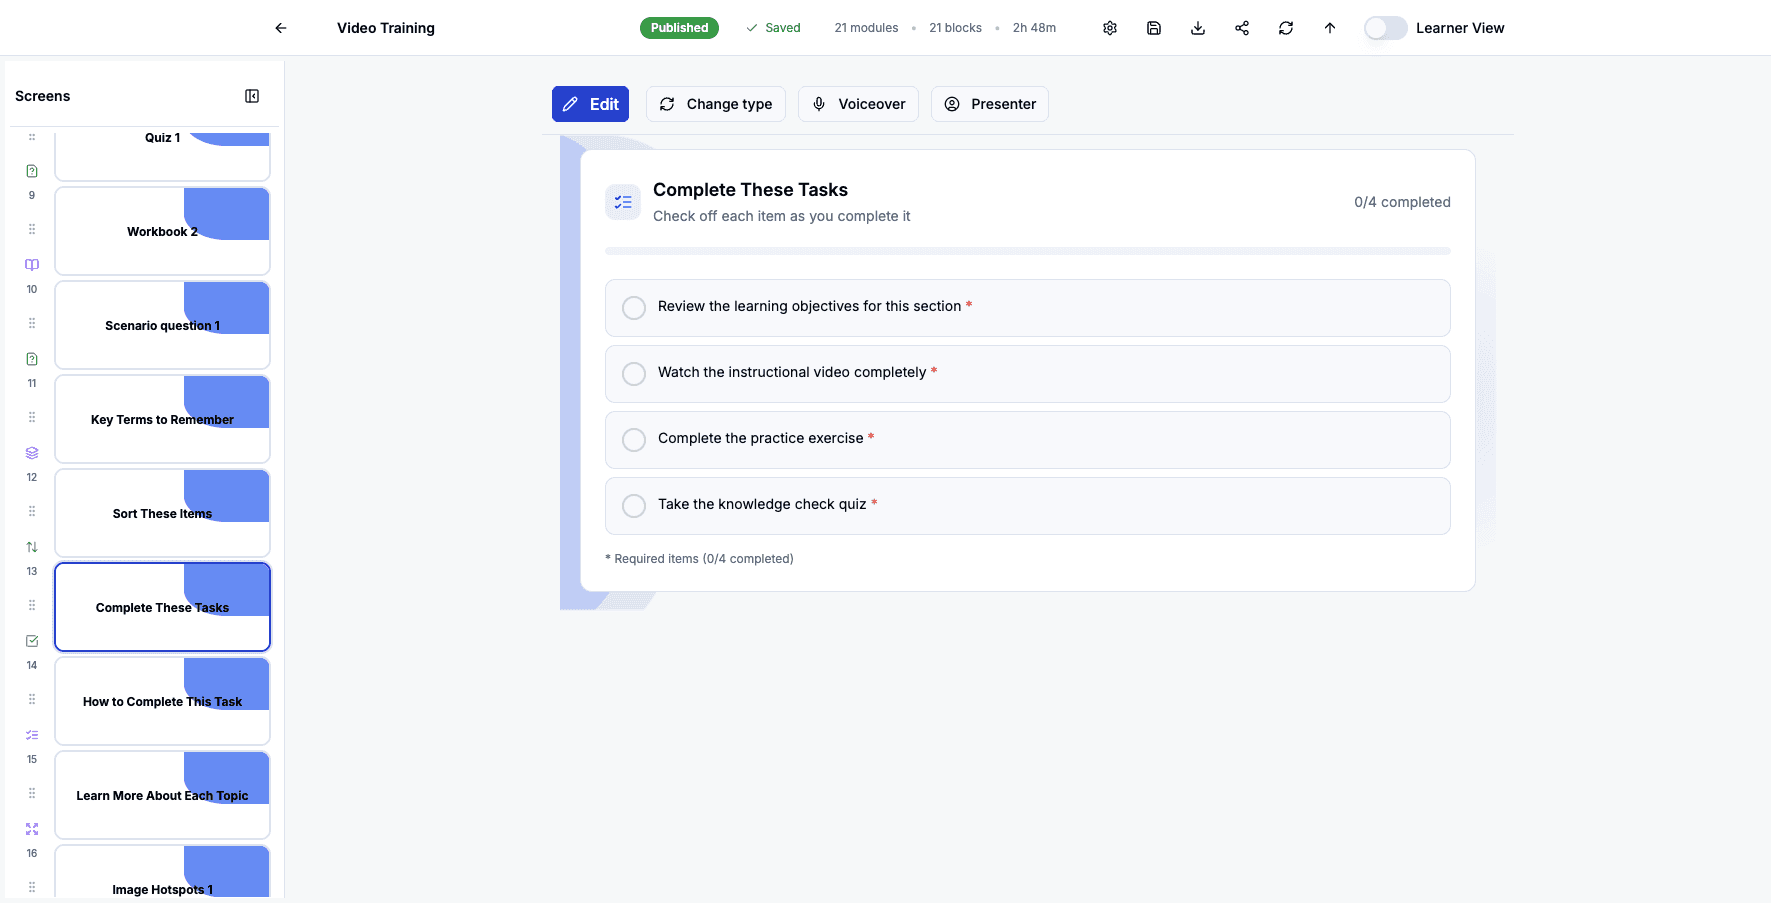
Click the Complete These Tasks checklist screen to view the tasks learners must complete.
Step 82 of 82
Here you can see a checklist of four required learning tasks to complete, showing 0 out of 4 items currently checked off.
You've added all screen types!
Your course now includes every available content type, from videos and slides to quizzes and interactive activities.